
I decided to give CCR another try after I saw a YouTube video combining the Imagine with CCR. Now I can't find the exact video that I followed. I found another one HERE in case you want to see how to combine the two to create a print out a layout. This video was made when CCR was in the Beta stage so some of the specifics have changed. The biggie is when you add elements to your patterned page, instead of clicking on Don't Weld (like this video shows) CCR will ask you if you want to make an additional layer - click yes and you can fill your shape/image with a different color.
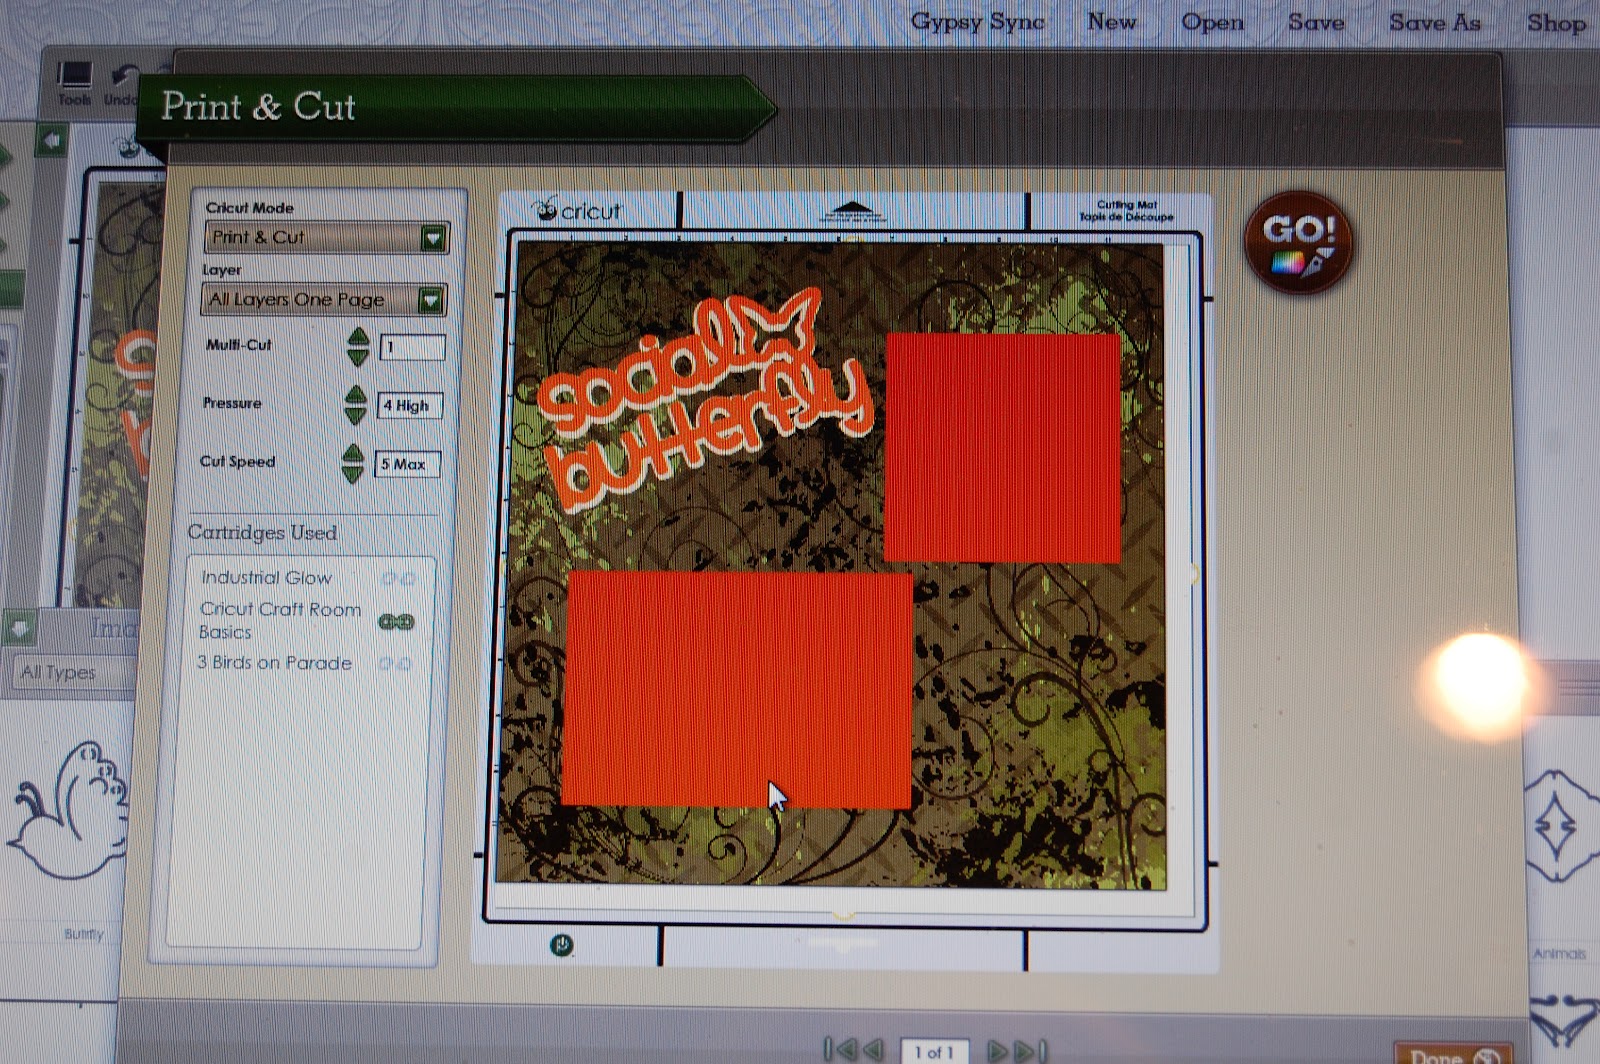
I put a 12x12 square shape on my mat and selected the paper I wanted from Industrial Glow. Next I added two photo mats. I sized a square 4.25 x 4.25, put it on my mat and colored it orange from the color options. I repeated this with a rectangle 4.25 x 6.25 in the same color.
I grabbed this title from 3 Birds on Parade and colored the shadow layer cream and the title in orange. I layered them one on top of the other.

Since I have a Gypsy, I had to dig out my carts and plug them into the Imagine to print out.
I felt this layout was a little flat, so I got to work!!

I added orange stickles to the title.

I pop-dotted the photos on the mats. I created a string of orange butterflies (inked in brown) to connect the photos. I added green gems.
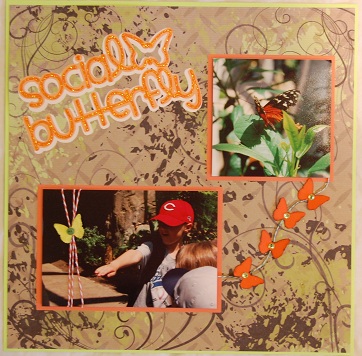
On Tanner's class field trip to the zoo, the guy in the Butterfly House put a butterfly on each of the kid's hands. It was so cool!!
I added some twine and a little green butterfly to the photo and then trimmed of 1/8" from each side and mounted the layout to a lime green cardstock- and this layout is done.
Now, I am a 2-page scrapper and I have a lot of photos of this trip. Here is how I created page 2:

I cut the remaining photos to 4x4 and adhered them around the page (lime green cardstock) leaving the center open. I went back to CCR and grabbed a 3.75 x 3.75 square and used the same background paper from Industrial Glow. I manipulated the pattern to make it smaller so it matched the 12x12 page.
I grabbed these butterflies from Wall Decor and More (banner function) and added them to the square.
I also cut out the same butterflies (on my E) in orange cardstock so I could layer them on top. I pop-dotted the butterflies on and added green gems.
I tied a bit of twine around the bottom of the square and added a journaling stamp from Pink by Design.

I think it turned out pretty good for my first time :)

Here are my two layouts together. Maybe there is hope for me and CCR after all!!


5 comments:
I LOVE this Lori! Thanks for being a trailblazer and sharing your experience about the Imagine and CCR. I've had an Imagine for 6 months and haven't played with it and totally afraid of using it with CCR!
Great layouts. Love the colors and the design. I'm impressed that you used CCR!
TFS
Wow I am impressed. Right now I just eyeball the imagine shapes and use them.tfs
Wow Lori, these are great! I really had no idea you could do such a thing with CCR and Imagine. I can't get it to work on anything I own, so maybe I can try again when I get a new computer. These are great and it gives me something cool to look forward to!
Lori, your layouts turned out fabulous!!! I'll have to try using the Imagine in CCR now...LOL!!!
Post a Comment