
I am a Guest Designer today on TheBugBytes!! I transformed my $1 wooden frame into a beautiful project with a little help from my Gypsy! Let me show you how:

I picked up this frame at Michaels along with these Martha Steward flowers. I added some paper, paint and mod podge from home.

The first thing I did was to turn over my pretty paper and trace the frame on the back side in pencil.

Then I cut it out.

I set the paper aside and painted the edges of the frame red.

I used Glossy mod podge to stick the paper to the frame. I brushed a sort-of-thin coat on the frame and put the paper on top.


I smoothed down the paper as it likes to bubble a bit.

For the top of the paper, I used sparkle mod podge. If you don't have sparkle mod podge, you can add glitter to your regular mod podge.

You can see there is a spot that wrinkled a bit. It doesn't help that my paper is thick. No worries, I will show you how to cover that right up!!

I pulled out my stash of ribbons and buttons that match my color scheme.

On mh Gypsy I find the images I want to use from my Sweethearts cart. I finally bought this one (glad I did) as I have been eyeing it for the past year!! I put "Love" and the lock and key on the mat.

I tapped the plus sign and opened up a second layer.

I put a rectangle on the second layer to represent the frame to the right of the heart cut out.

I unlinked the chain between Width and Height (called the Aspect Ratio Link) so I could specify the width and height of my rectangle.

I also tapped the Real Dial Size button so my rectangle is a true size. I am using a rectangle from George and Basic Shapes and I know from experience that I need the Real Dial Size!!

I set my width to 3.5....

and my height to 6.00.

Then I tapped on Layer 1 and sized the word LOVE to fit my rectangle width.

The key looked smaller than the lock, so I moved it closer to the lock and rotated it -40.0 so I could get a closer look.

I enlarged the key to 1.72w x 1.89h.

Then I moved the pieces where I thought I would want them on the frame.

While the pieces were cutting, I started placing the flowers on the frame. I knew I would not have enough for the entire heart and I bought the last pack, so I filled in the spaces with buttons and ribbon.

Once I had everything laid out, I used glue dots to glue them down.

This is the paper I used for my cuts! Love this shimmer stack!!

I did want to show that I moved my cuts to the top left corner to cut in order to save paper.

Here are the cuts ~ very pretty but a little light in color.

I couldn't decide which ink color to use, so I did a test on the scrap piece of my top 4 choices. And the winner is........my aAcient Page Stampin Up cranberry pad from a looooong time ago!
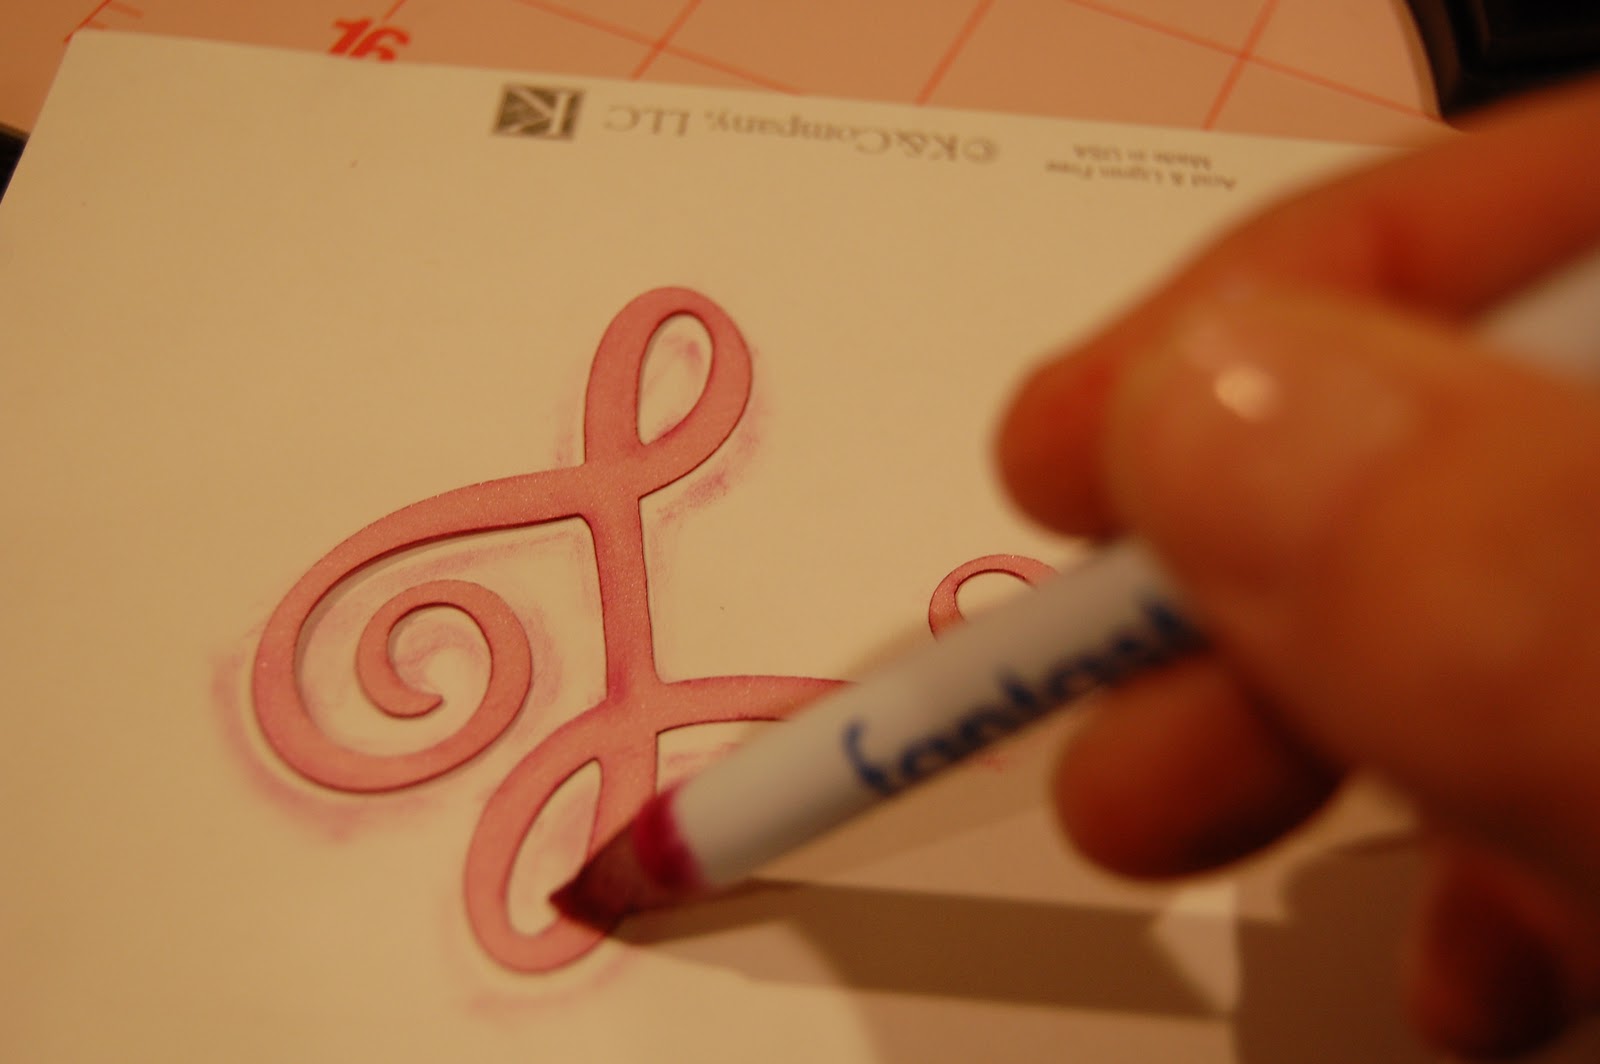
I used my Fantastix to ink around the edges.

I kind of like the look on the scrap piece too!

This part took forever....finding a photo to go inside the frame!! I took this one of my husband and I on a carriage ride at the Phoeniz Zoo looking at Christmas lights. Don't you love our sweatshirts?!? I used the heart insert to trace and cut out the photo.

I used lace to help cover up that wrinkle. I tied the key to the lock with some thin ribbon.

I put the LOVE at an angle.
I love how it turned out!!!
Thanks Pam for having me at the Bug Bytes today!!!


5 comments:
Oh Lori that is beautiful! Sweatshirts and all! :)
Totally awesome! I did some of these frames for Christmas gifts and had so much fun! Love how you used the flowers and buttons around the heart and used the sparkle modge podge! Thanks for all the great tips!
This frame is beautiful Lori. Love how the colors you have chosen. And the clever way you chose to mix in the buttons and ribbons with the flowers. I love the tulle bow on the key too. Adds a lot of charm! TFS
Lori, girlfriend, I love what you did with this wooden frame!!! No one would know you only paid a dollar for it...lol!!!
It turned out beautiful!!!
Love this frame! I’ve got an award for you! Visit my blog for details.
Post a Comment