I am delighted to be the Guest Designer today at
Sweet Sassy Diva's blog. The theme this week is Thank You cards. I do not make my own Christmas cards because I send out photo cards. I do, however, make my own thank you cards. I typically make snowman cards as I love snowmen!!!
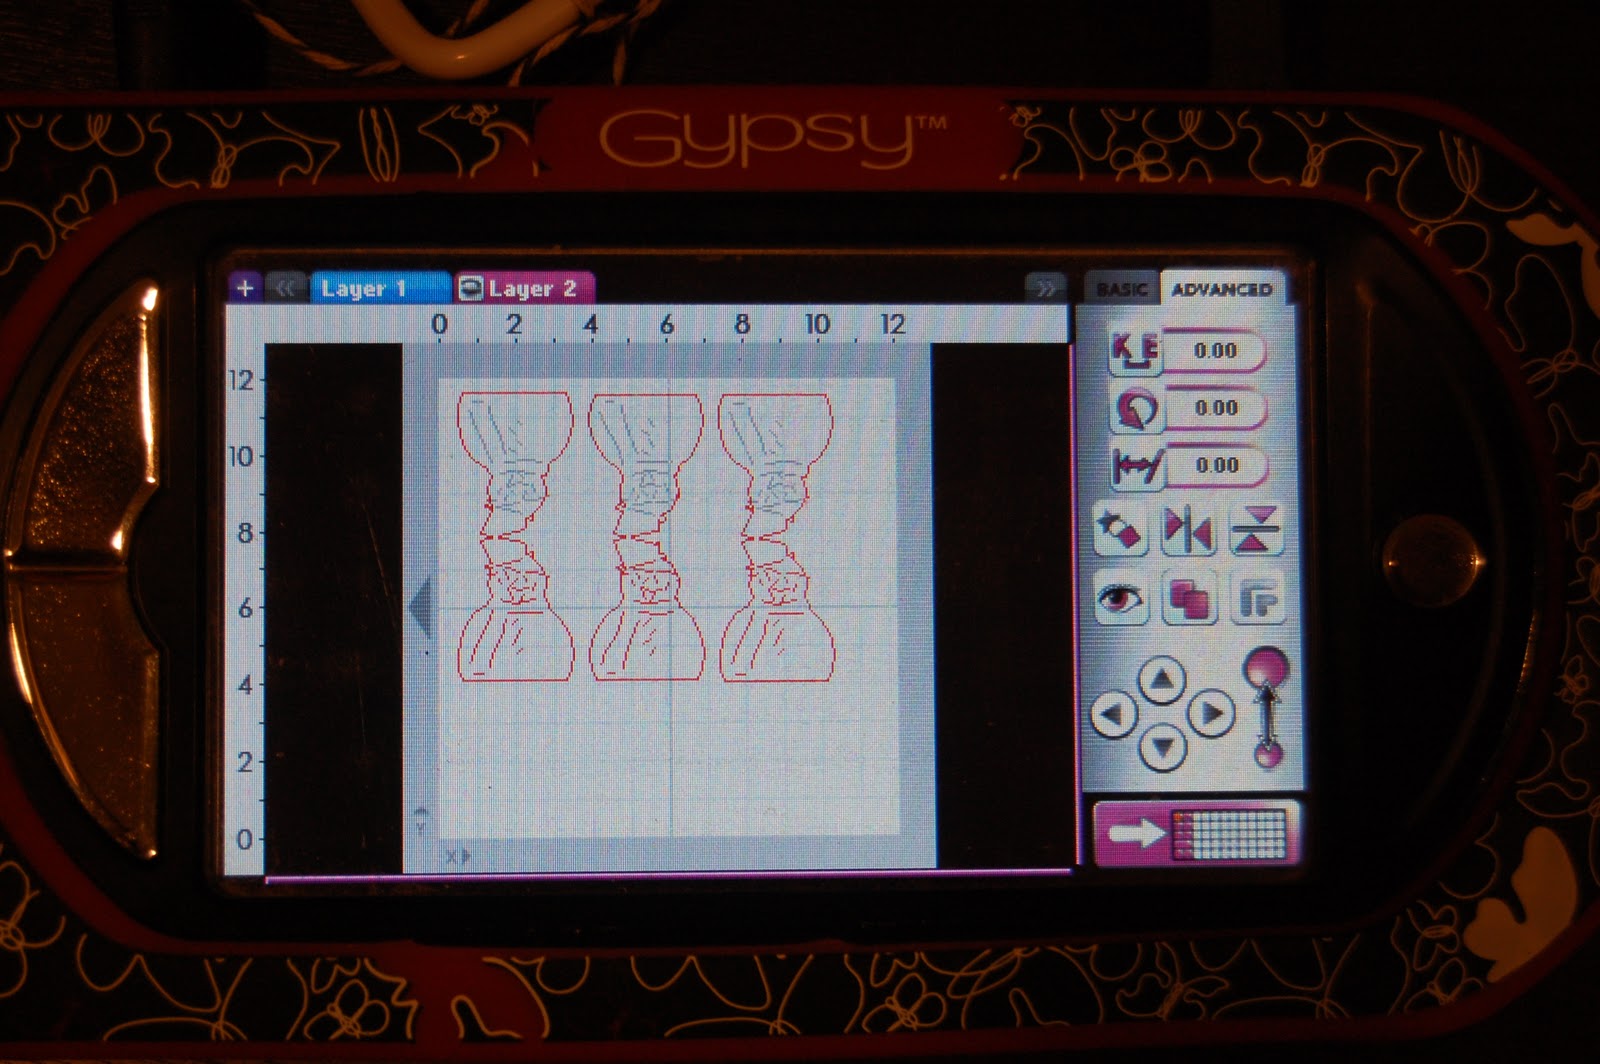
I used Smiley Cards (for the first time) to create my snowman card. I put a snowman on my gypsy mat at 3.94 inches. I copied a second snowman and used Hide Contour to hide the inside cuts. I flipped the second snowman and stacked it on top of the first snowman. I added the layers (also at 3.94 inches). I copied the hat layer twice so I could cut out the mouth in red. I hid the mouth from the hat, buttons and glasses on the first (black cardstock) and hid the hat, buttons and glasses from the mouth on the second (red cardstock).
I moved the hats, mouth and scarves to layer 2. On Layer1, I copied the snowmen two times. This way I can cut out three from an 8 1/2 x 11 piece of white cardstock. I tend to make several cards at one time.
Here are my cards cut out. I folded them in half while the rest of the pieces were cutting out.
I copied enough pieces for six cards and grouped them into colors on my gypsy.
I used black, red, purple and blue cardstock for my pieces.
I put the adhesive on the card (not the hat) as the hat hangs off the card at the top. This way it won't stick to your envelope. I used my Xyron to adhere the other pieces to the snowman.
I added some stickles to the hat, scarf and the side of the snowman. I thought about adding a stickle nose, but decided I liked them better without a nose.
My 6 year old son Tanner helped me with the stickles on the snowman body ~ he is such a good helper!
I opted to leave the inside blank as the cards are not very big and I write big!!
****This just in!!! Sweet Sassy Diva is looking to add to her design team! If you are looking for an opportunity to guest design 2-3 times a month on her blog, please let her know
HERE!!!


5 comments:
Lori, these are just as cute as can be. I just love your cards. TFS
These are just Snow Cute! I would to include them in my 1 year blog-anniversary hop at the end of January!
I am doing a snowman/men theme!
Would you join in the hop?
Here is a link on my blog:
http://scrapbookingsos.blogspot.com/2011/12/its-snowing-again.html
Michelle
Lori, these are as cute as can be -- and how cool are they in their little glasses! Funny, but they remind me of the "Blues Brothers"!!! LOL!
Very cute, my sister-friend!
Hope you and that wonderful family of yours enjoyed a wonderful holiday!!!
Hugs!
How fun is this?!? Love 'em!
I love these cute snowmen! tfs
Post a Comment