
I cracked out my Mini Monsters cartridge for this one. I wanted to add some bling with my new toy. I also had to try a glitter technique I saw HERE from Kimberly (My Craft Spot).

I cut out the Witch's Hat card at 6". I wasn't sure if the entire card would be 6" or if it would be 6" once folded. It was the latter.

I cut out the layers (keeping the size on 6") from cardstock.

I flipped over the stars and dots and ran them through my Xyron upside down. This puts the sticky on the front.

I got out my new Martha Stewart glitter. This glitter is awesome ~ it is very fine and very sparkly!

I used my scoop tool to rub around my layer pieces to prevent glue boogers (he he) and then peeled off the plastic.

I put the pieces sticky side up and dumped on some glitter. I used a folded scrap paper under the pieces so I can dump the excess back in the glitter bottle.


Next, I attached the hat to the front of the card with my Tombow tape runner.

I have been reading about the I-Rock tool and the Tulip tool. Both are battery operated and comparable in price ~ around $14.99. I also found the Jolees Jewels at Michaels in the bead area and decided to use my 40% off coupon on it. The regular price is $19.99. I really like that it has a cord. I can't wait to try this on clothing!!
This one comes with several metal tips, I picked the 3mm tip and screwed it on the edge of the tool. I plugged it in for about 5 minutes and it was ready. The tip gets really hot so be careful!

I bought both of the I-Rock rock collections ~ this one and the clear one. These crystals have glue on the back and are ready to stick down.

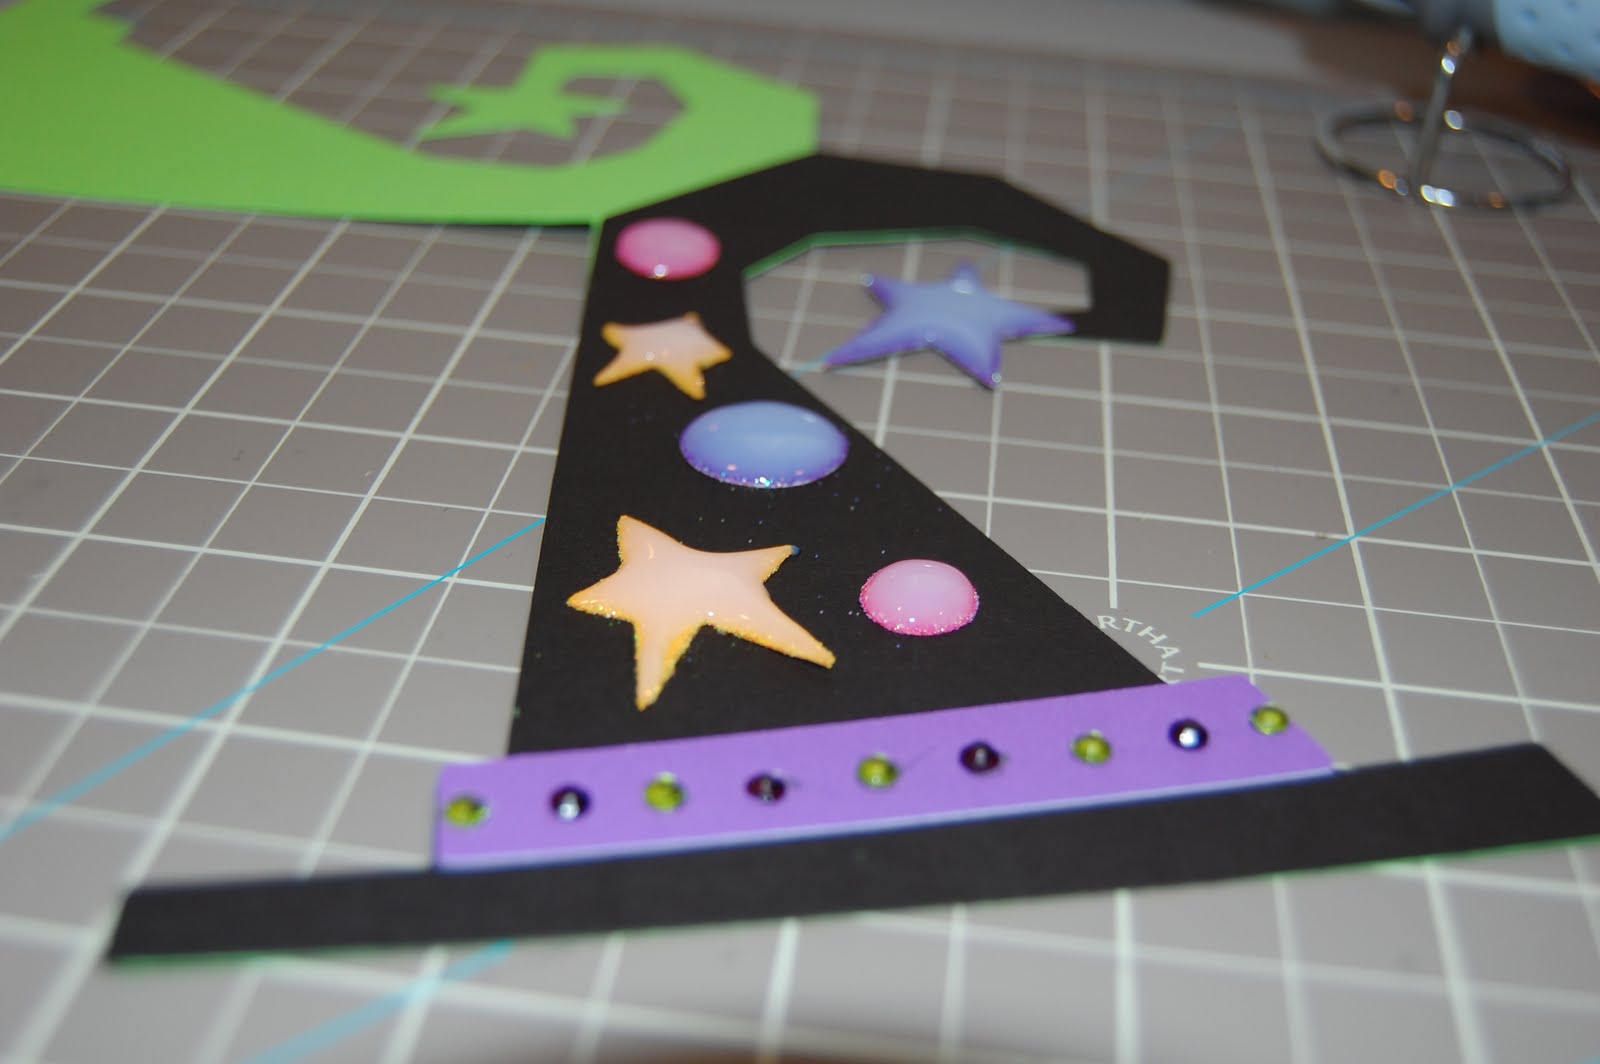
I glued down the hat brim and marked out where I wanted my gems.

I tried the Jewel Setter Applicator to place the crystals. It said "Easy to use! Just add water!" but it was not easy for me! I ended up using my fingers and my tweezers.

I just set the crystal on my pencil dot and pressed down with the tool for about 5 seconds. The glue melts and the crystal sticks.

Here is the blingy brim!

Next, I glued down the glittered stars and dots using my Martha Stewart Glue Writing Pen.

I covered the glittered pieces with Glossy Accents. This seals in the glitter and at the same time gives dimension to the layered pieces.
I outline the shapes first then fill in.

Once it dries, you can see the dimension.

Here is the front of the card ~ sparkly!! I cut out letters from Cherry Limeade at 3/4" to put inside the card. For fun, I alternated black and purple.

Once again, I am honored to be a Guest Designer on Sassy's blog!
A side note: even though I was feeling "wicked" on Wednesday when I made this project, I heard some sad news from two different friends. Hearing that two friends were having worse days than me put things into perspective very quickly! Flying off on my broom to enjoy my vacation!!


8 comments:
Lori, I LOVE your hat. It's so cute!!! (Can I say that about a witch's hat?) So would you recommend an IRock tool?
Love it Lori!!!!! Upside down Xyron is the best!
Super cute idea! I've made this had but didn't put the bling across the bottom. Awesome idea! I'm going to add it to mine!
Thanks!
Lovin' this project. It's so full of cuteness!
Lori, I saw this on Sheila's blog and it's too adorable! Great job my fairy-sister!!!
The I-Rock and the Tulip brand are both battery operated. Some people were having problems with the battery part of the I-Rock. I love that you can set the jewels on paper or fabric, but I didn't want to mess with the battery thing, so I opted for the Jolee's brand that plugs in.
I am on vacation right now and saw a denim hat that had crystals on it.....
Very cool!!! I love how you added the glossy accents over the glitter to seal it in. I finally used that stuff last week and I really love how it creates an epoxy like finish to your embellies. I think I need to go buy some more of it :)
Love this card!! Sooo cool how you put the accents over the glitter
Post a Comment