
Hi, this is Lori from ScrappinMyStressAway and I am Sassy's Guest Designer today. Today I am demonstrating the process I go through when designing a layout from a sketch. I typically don't use sketches, I start with photos and go from there. Every now and then I find a sketch that I want to follow and this is one of those times! I also mainly scrap 2 pages together, so this sketch really appealed to me!

I found this paper pad at Michaels. It is 2-sided paper (my favorite kind of paper right now).

Here is the front and back of the paper I used in my layouyt.

I re-created the sketch on my gypsy on a 12 x 24 mat. I found the scallop tags from Storytime, but there are similar shapes on Gypsy Wandering.

I copied the tags and hearts onto Layer 2 and arranged them on my mat for cutting.


Here are my cuts!

Next, I opened Layer 3 and put the flowers (with the centers hidden) and M&L. I could not find paper that was the color I wanted for the flowers, so I ended up not cutting them out.

I used these instead.
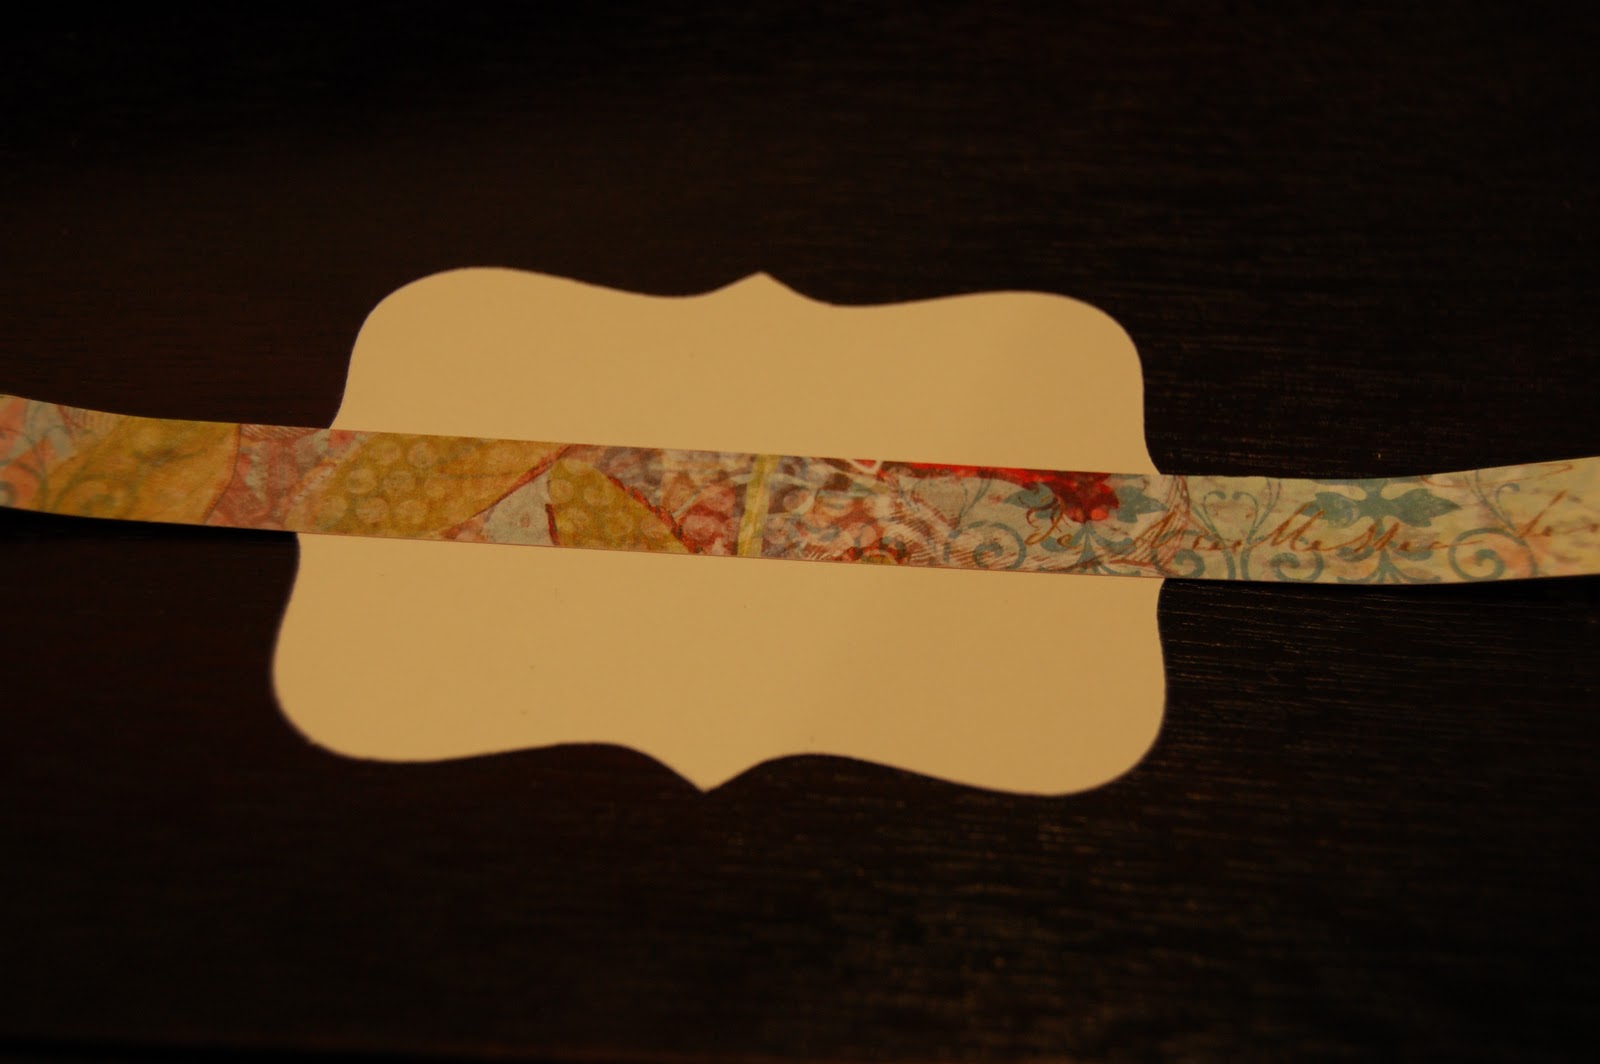
The tag looked a little plain, so I took a strip of paper that matched the layout and added it to the tag.

I took my negative piece and layed it over the tag (I taped the tag to the back of the paper). I ran the letters through my 1" Xyron and stuck them on.

I carefully peeled away the negative piece...

and my letters are perfectly spaced and centered!

Next, I adhered the rectangles to the paper and laid everything else on top. I walked away and came back later. I find this really helps me sometimes!

It was missing something so I got out my inks!


I dug out my ancient Stampin Up! Eggplant Envy and my go-to Tim Holtz Vintage Photo and inked the paper flowers.

Much better!

I inked some lace...

and weaved some light blue ribbon through it and added it to my layout.

I added some light blue buttons to the center of the flowers.

I inked the tags and hearts with Vintage Photo. I added some journaling around the picture.

I changed the hearts and flowers a bit from the sketch.

I added a flower and some hearts to this page to help tie the embellishments together.
Here is the final layout. The original sketch I saw showed this as a wedding page. I really liked the couple's initials in the smaller tag and I knew I had to make something with it!
Thanks Sheila for having me on your blog today!! It is always an honor to be here!!


4 comments:
Just finished leaving you a comment over on Sheila's blog! Job well done!!!
Oh, I love this sketch and may have to try it too. This is a great topic to share. I'm teaching a class on this same thing Tuesday night at my LSS. Great tutorial.
I love when you do tutorials because I always learn something new!! Beautiful LO... love the colors and the papers! Thanks for the how to!
barb :)
Love your pages they turned out so great! And what a great idea to do the before and after! Thanks for sharing this wonderful tutorial with us at Shes A Sassy Lady.
Post a Comment