
This week at SweetSassyDiva's our theme is a Scene. I created a Pumpkin Patch Scene 2 page layout. Every fall, I take my daycare kids to The Bellevue Berry Farm and Pumpkin Patch near my house. We look forward to it every year!
This layout took me 3 days and (merging) two different ideas to complete!! I changed my mind so many times I lost count!
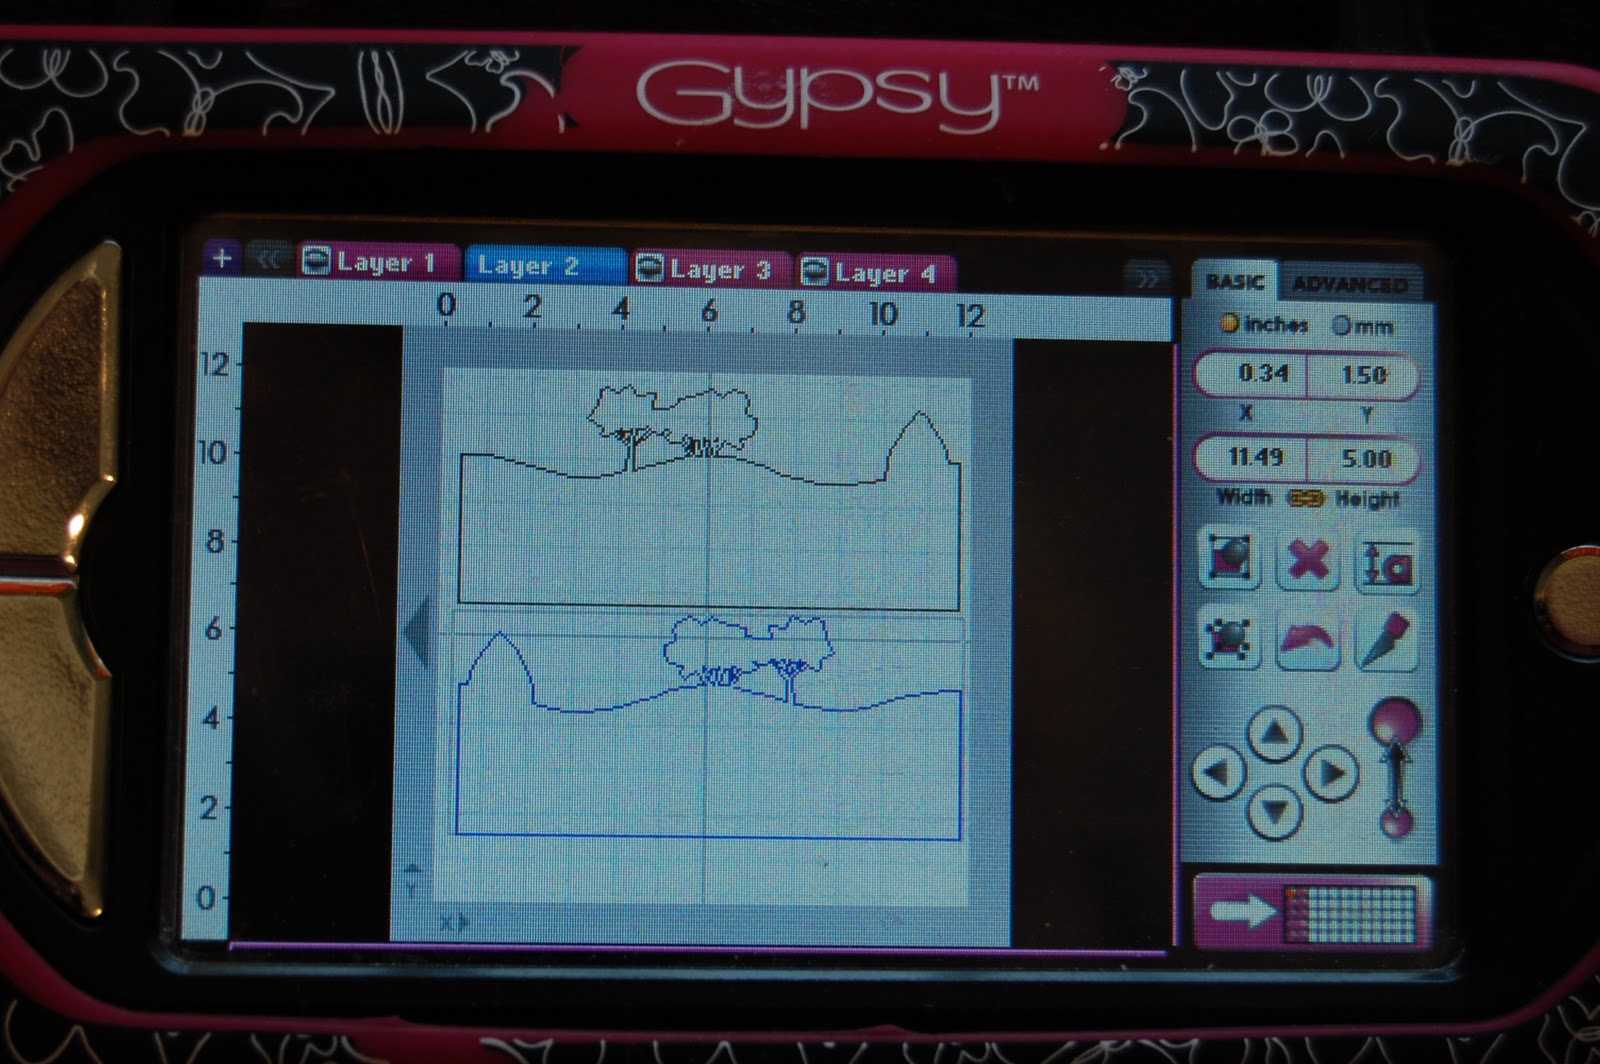
I started with this hill from Pop Up Neighborhood (found in the Accessory Function) sized at 5.00h x 11.49w. I copied a second scene and flipped it.

I opened up a new Layer and took the shift layer of the Accessory Function and put the hills on my mat twice. I flipped the second one.

I opened another Layer and put the Accessory Layers on it twice. This was the trees and trunks. I flipped the second layer. I positioned the pieces on my mat by color for easier cutting.

Once I cut out the hill layer (without the trees) and set them on my workspace, I thought there was too much sky showing. I cut another set of hills.

I needed some other pieces for my Pumpkin Patch, so I opened up an old file that I started but did not use. I tried to cut the wheat from Pop Up Neighborhood, but as you can see below the paper tore. I liked the barn, pull cart and the tractor. I thought I might use the pumpkins but changed my mind.


I went back to my first file and added these pumpkins from Pumpkin Carving. I welded two sets together (sized at 1.24 inches) to make a large border. I grabbed the cart and campfire from Old West, but ended up not using them. I found the Pumpkins from Chic and Scary and sized it to 6.32w x 2.18h so it would fit across the top of my 4x6 photo.

I journaled on the hay in the cart. I pop dotted the barn and some of the pumpkins.

I added twine across the bottom. I filled in the pumpkin border with some additional pumpkins.

I used some lime green stickles to color the stems on the pumpkins.

I have been saving this cloud paper for some time ~ glad I finally got to use it!! Thanks for stopping by!


10 comments:
This is really cute Lori!! I love creating scenes on my layouts and you did an awesome job on this one!!
Really cute LO!
What a fabulous layout! love all the detail!
Wow! You are way more patient than I am!! But it is worth it... you LO is amazing!! I love every last detail of it! And I even liked that you shared what worked and what didn't work!
barb :)
Wow! This is a lot of work, but SO worth it! Just look at this amazing LO!!! Love it!
Scenes are fun and this is so cute:) TFS!
~Madison funkycards.blogspot.com
Super cute layout, I absolutely love the scene you created! All of the details are fabulous!
http://www.scrappindhilly.blogspot.com
This is such a cute LO, I love the barn house. CUTE CUTE CUTE@!
adorable layout
This is one amazing layout... and I need to let you know to check out my blog. ;-)
http://fishmememoriesandmore.blogspot.com
~Michele
Post a Comment