
I can't believe it is November already!!! Today is my turn for the Show Me Sunday tutorial at Frosted Designs. I am sharing how I made some fun 3D ornaments. We are HUGE Christmas fans at our house and start decorating for Christmas right after Halloween.
I have an AWESOME gold tinsel rotating Christmas tree that belonged to my Grandparents. It has two spotlights and plays music too. I decorate the tree with purple - my favorite color.
I wanted to make some purple and gold ornaments and thought this was the perfect time to get started.

I started out with some purple patterned paper from K and Company, purple cardstock and metallic gold cardstock.
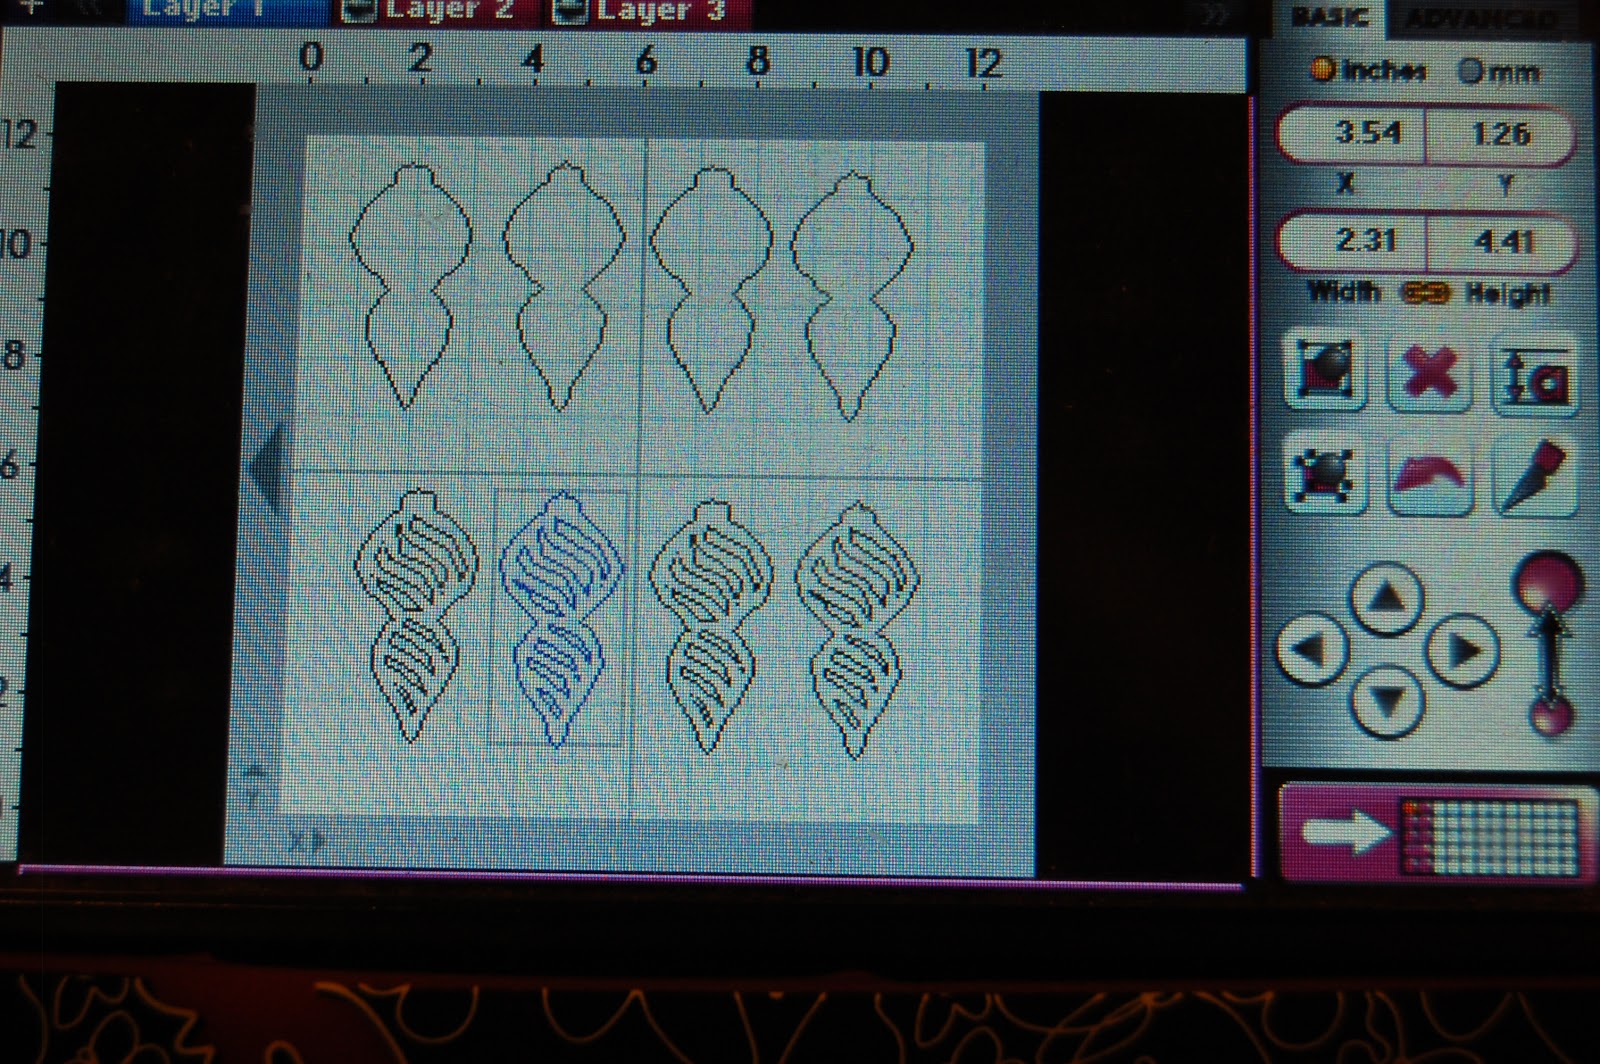
I found these awesome ornament shapes on Close to My Heart Artiste Cricut Cartridge and grabbed my Gypsy. I used three different ornaments, this first one I sized to 4.41 inches (you could use 4.5 inches on a cricut without a Gypsy). I cut out four of each layer since this is a skinny shaped ornament.
Now, if you don't have a Cricut or Gypsy ~ no worries you can use any shape that is symmetrical ~ below is an example.

The next ornament shape I sized to 4.65 inches (again you could cut it to 4.5 inches without the Gypsy).

The third ornament is a bit wider, so I only cut out three of each layer. This one is sized to 3.94 inches (you could size to 4 inches without the Gypsy).

I used gold cardstock for the base and one of the purple pages for the top layer and cut them out. I adhered the purple layer to the gold layer using a liquid adhesive pen.

I used my Martha Stewart Score board to score the ornament in half.

If you notice on the top of this photo, I have a line drawn across my score board. I forgot I did this with the first piece, but it is helpful if you have a shape to score that is not a square or rectangle. You can mark the center of each side and line it up with your pencil mark.
I used my bone folder to fold the scored line.

I repeated this on the two other ornament pieces. They should look like this when they are all scored.

Next, I ran two pieces through my 5 inch Xyron (or you could use another super sticky adhesive like an AGT gun or red tape).

I pulled one side up from the sticky ornament piece (on the Xyron waxed paper sheet) and adhered one side of the ornament piece that had no adhseive on it.
Next, I peeled the two pieces off of the waxed paper and stuck the third piece on.

Here is the result. All three sides are stuck together.

I then took my Crop-A-Dile and punched a hold at the top of the ornament and used some purple skinny ribbon to make a loop.
Very pretty and easy to make!!
If you don't have a Cricut or the Artiste cartridge, no worries you can still make 3D ornaments. You can use any die cut or shape that is symmetrical.
I demonstrated how you can do this with just a circle punch.

I punched three gold circles and folded them in half. I ran two of them through my 1 inch Xyron and stuck them together to sides at a time.

Here is a top view of the circle ornament.

Here are all of the ornaments that I made. I can't wait to get them on my gold tree!!!
Thank you for joining us today ~ I hope I inspired you to make some of your own!!


3 comments:
Fabulous ornaments and great tutorial - will have to give these a go:-) TFS
http://karonskraftykorner.blogspot.ca/
These are really gorgeous, Lori, and your tutorial is really great!!
Lori, Thanks for your great tutorial on these ornaments! Can't wait to pull out my xyron and artiste and give this a try! Kathi
Post a Comment