
Hello!!! I am excited to be a Designer today at My Cricut Craft Room!! Our theme for today is to make a Card to Read With A Child. I interpreted this to be an interactive (or peek-a-boo) card!

Tanner just celebrated his 7th birthday last week - I can NOT believe that my baby is 7!!! He was a bit of a surprise and is 11 years younger than our middle son. I still remember how excited I was (when the shock wore off) that we would get to go back to Disney again!!!! We have been to Disney with Tanner 4 times and on one Disney Cruise. We hope to squeek out one more trip next fall before he outgrows it (Mike and I will never outgrow Disney)!!!

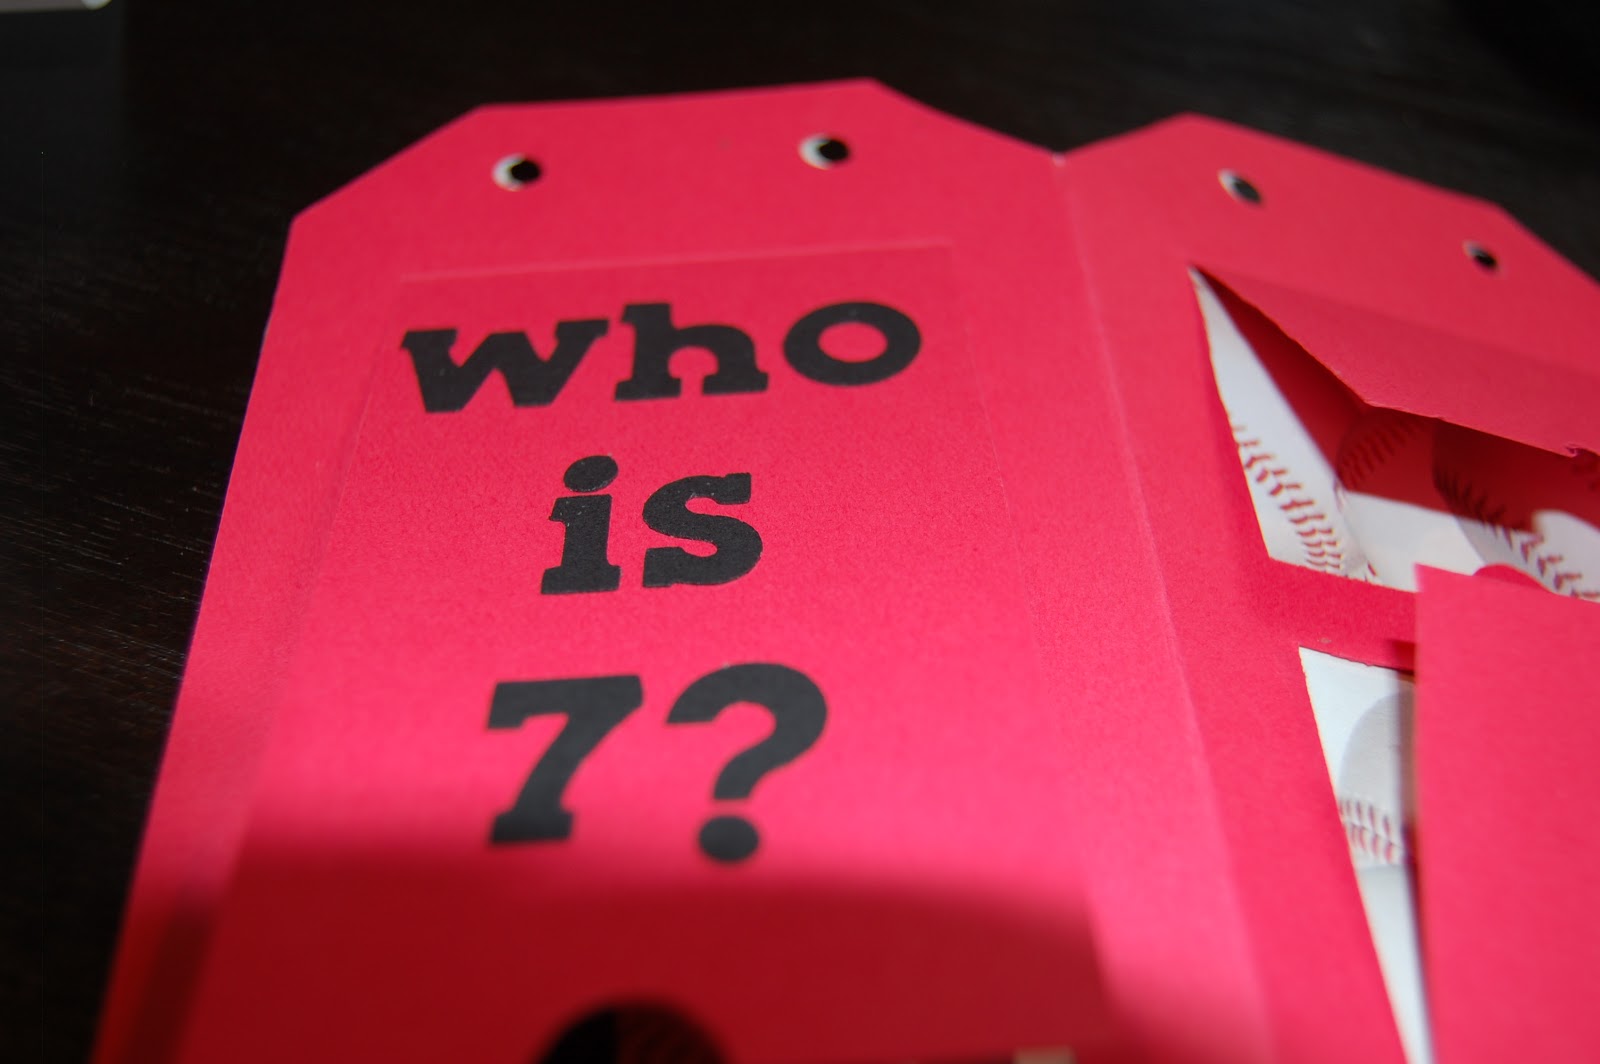
I opened the tag card on Fabulous Finds. I put both layers on my Gypsy mat sized to 5.5 inches.

I cut out the layers in red cardstock and some double-sided baseball paper.

I opened another Layer in my Gpysy to size the words and images for the flaps.
I used Birthday Bash. I overlapped Tanner and welded it to fit my space. The letters are .88 each.
The font for the rest of the letters and numbers are sized to .65 inches.
The packages are sized to 1.47 inches.
The baseball is sized to 2.06 inches.
The gecko is sized to 1.47 inches.
The balloon is sized to 3.59 inches.

I assembled the card as my cricut was cutting! I used my ATG gun to adhere the red layer to the baseball paper.

I moved my images into groups by color. I cut out the letters in black cardstock, the baseball and bow in white cardstock, the balloon in red (later changed to blue) cardstock, and the gecko and other package in green cardstock.

I used my throw-away piece as a template for my words. I used painter's tape to hold my template in place. I ran the letters and 7 through my 1" Xyron.

I stuck the letters all down, and peeled away my template.
Perfect words every time!

Here's Tanner!!

What a fun card for a child to explore! This card can be personalized for the recipient and for different holidays.
Here are some close ups:


I added some baseball ribbon and it was complete!
Thanks for stopping by today!! To see additional projects like this one, go to http://mycricutcraftroom.blogspot.com!!


7 comments:
Hi Lori - this card is fabulous - wow love how it all came together. TFS
http://karonskraftykorner.blogspot.ca/
Love it!!!
DT sis!!
Robin
This is fabulous!! I'm going to have to try something like this soon! I also love how you used the outline to lay the letters correctly, definitely a tid bit to keep in mind!!
Sarah Mae
MCCR DT Seester
(now following :) )
This is awesome! I love it!
WOW!!! this card is absolutely fabulous. I love it. have a little nephew it would be so awesome for. TFS
Super card. Saw it on FB and had to come visit your blog. Great job.
Such a fun fun card. Great
Post a Comment