
Welcome to The Original Disney Pixar Blog Hop!!! I am so honored to be a part of this hop!!

Here is the complete lineup for both Days:
Day One - January 19th
Day Two - January 20th
Amy Chomas http://amychomas.
ContainYa Crafts will be donating a Scrap'n Easel for a prize!
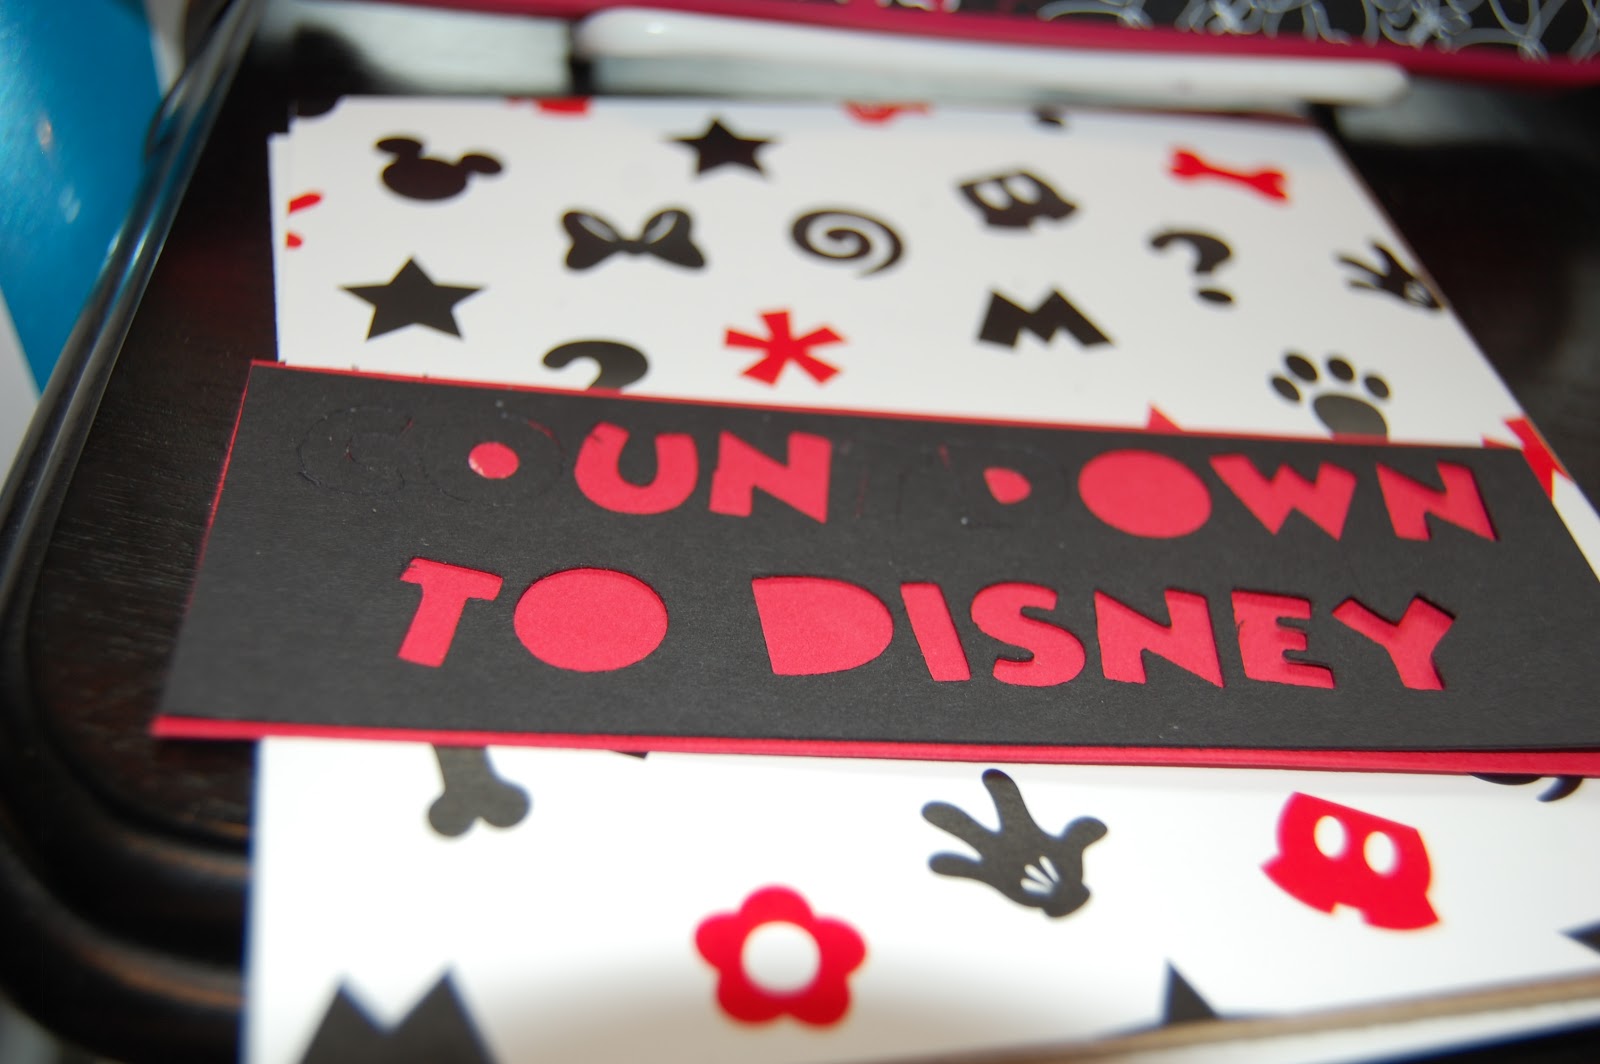
Here is what inspired my project today:
.JPG)
I saw a Back to School Countdown on Pinterest and I made one that counts UP to the 100th day of school. I did include enough numbers for the entire school year. You can see how I made this HERE.
We are planning a Walt Disney World trip in the fall. Our youngest is 7 and will soon be too big for all the kiddie magic of Disney. We want to go one more time while he is still young, especially now that Toon Town is completely refurbished.
For the record - we are a HUGE Disney Family and will return to Disney again....we just want to take advantage of other vacation opportunities. Tanner has been to Disney World 5 times plus a Disney Cruise last year - he is very lucky!!
I sized both of these count down projects to 5" x 5". It took me a while to figure out the best size to use with my Bind-It-All. I knew that when I made my note pads, the pads are 3" across the top and my BIA fit 6 wires - so I made my number cards half that size (1 1/2") to fit 3 wires across.

Once I had the measurements of my number cards (1 1/2 x 2 1/2) I could figure out how big to make the Mickey Heads.
I used the Mickey Heads from Disney/Mickey Font Cartridge and sized them to 1 inch.
I used the numbers from Disney/Mickey Font Cartridge and sized them to .5 inch.

I put a 5x5 square on the next layer to use as a guide for my "Countdown to Disney" title. I sized the letters to .5 inch.
I centered the letters in my space to provide me a template (more on this later).

I used black and red cardstock to cut out my numbers, letters and Mickey Heads.
I grabbed this Mickey paper from my Disney Stash and cut two 5x5 squares to cover both sides of the 5x5 chipboard I cut as my base.
I cut a rectangle of red cardstock to 1 3/4 x 5 inches. I laid my template on top of the red rectangle. I ran my letters through my 1" Xyron and stuck them inside the template.

I gently peeled up the template and my words are perfectly placed on my project!
This is one of my favorite skills I learned from my Gypsy!!! If I have to put words on a page without a template, they are NEVER straight!!

I ran the numbers and Mickey Heads through my Xyron and adhered the numbers onto the Mickey Heads.

I added a little black border with my EK Success punch on the advice of my good friend Jenny. Very happy with it (I rarely use the few punches I have)!!

I punched the entire 12" top of the paper and then trimmed it. I cut it to fit both the top and bottom sides of the mat. I adhered it onto the back of the mat.

Before I adhered the mat to the base, I wrapped yellow twine around it.

I included these photos to show where I lined up the base in my BIA.
I need 9 holes, so the middle set of 3 holes were punched twice.


For the number cards, I lined up the left side of the paper with the center arrow.

I cut 9 rings and attached the number cards.

I am totally guessing here, but we try to go to Disney in late September or early October when parent teacher conferences are. This way we will minimize the number of days we take Tanner out of school.

I used an inexpensive plate easel to hold my project and still allow the cards to be flipped over every day.

This was a fun project to make!!!
Thanks for joining me today!! Your next stop in the hop is the Marvelous MADISON!


26 comments:
OH LORI, what a totally fun project!! I am SO scraplifting this for my family! As you know, we're trying to go this May. I'd love it if we were there together ... maybe some year that will happen. Daughter Emily is hoping to be pregnant again soon, so October won't be a good travel month if all goes as planned. But then again, you know what they say: When you plan, God says HA! Regardless, I will definitely be making one of these ... THANK YOU FOR THE IDEA. You rock!! Totally!
I love hopping with you, my friend!
Fondly,
Ellen ♥ CardMonkey
http://cardmonkeyspaperjungle.com
E-mail: cardmonkey@comcast.net
Very cute idea!
bbiswabic@new.rr.com
LOVE IT! So if I make one for myself that means we just HAVE to schedule the next trip to Disney!
Thanks for being in the hop!
Shawn ~
Crafty Chics Blog
and
MyCutSearch.com ~ Find your Cricut images FAST!
Webmasters Earn Money Here!
Very clever! I can see a classroom getting excited over keeping track of this. By the way, I'm 65 and I'm NOT too old for Disney. LOL
Rae Ann O.
What a fabulous idea! Yours turned out so adorable Lori! Now I think I need a Zutter and I haven't created anything in over a year!
You're Disney projects never disappoint. This is such a cute idea.
I LOVE THIS!!!!!!!!! We have over 3 hundred days until our trip booked for Christmas and this is perfect and so so so fun. LOVE!!!
MOJO gone??? I think NOT!!! Your project is amazingly brilliant and I think I'll stick it on my Pinterest board and start one for our trip in Dec. to Australia/New Zealand. Loved being in this hop with such talented peeps like you!
Creative wishes & hugs,
Claire S
www.scrapmyway.blogspot.com
I think your mojo found YOU! This is great and I love the trick to keep letters straight!
Hummer Hugs,
Misty
http://deliteful-gifts.blogspot.com/
hummingbird204 at comcast dot net
Great idea & project. I think it turned out SUPER cute! I enjoying the hop very much. So many wonderful things you ladies have made.
What a neat project!!! I must try this one day!
What a wonderful idea! I just love this and I think you have plenty of crafty mojo! I think you just didn't realize it was hiding on you. :) TFS.
~tami
Wonderful. We all have countdowns to special events and this will be very handy. I need one now...countdown for our grandsons' arrival in May.
LindaV
TheTulipCollector
tulips4u_90501 at yahoo dot com
What a super fun ideal for a family vacation. Even though I am older then the hills I would love to make one for our next disney trip. TFS! and for inspiring me.
Hope you are feeling like you are getting your Mojo back with this cute project! Maybe you should use punches more if you don't use them much! I love punches, dies and my die cutter.. Thanks for sharing! Kathi
Very cute and what a great way to count down! I cannot imagine being able to go to Disney 5 times! I have never been but really want to take my grandchildren some day. If it looks possible, I may make a count down too! Thanks for being and inspiring part of the blog hop! hugs and God bless
That's a nice way to count down to go to Disney. With a Little creativity you could make count down books for any happening thing. TFS
DawnRI
abosoffit@hotmail.com
What a fun Thanks for sharing your tutorial.
What a fun project!!
Cute countdown!!
I LOVE your Countdown to Disney!! This is adorable. TFS.
dmcardmaker (at AOL)
I like this Idea.
vickiesscrappings.blogspot.com
Love, love, Love your countdown! One of the cutest ever :)
So thrilled to be in the hop with such talent and creativity!
Kim
u.scrap2(at)yahoo(dot)com
Oops, almost forgot why I was visiting your blog (the blog hop) cuz I got drawn into looking at your craft room. :-) Great space!! :-)
Now, the blog hop. LOL
Very cute countdown! TFS! :-)
I see you're using the BIA. Did you get the new upgrade to it? (Binding Buddy & Add it All)? They're both great! :-)
Lori, this is AWESOME, AWESOME, AWESOME!! I love that it can be used LONGTERM too!! It looks like you spent a HUGE amount of time on this, but I know we can always count on you for a thorough tutorial and project of love!! :)
I'm so glad to have been a part of the hop with you (even if I didn't get to hop til today)...
Disney Hugs,
Amy :) at www.lovetocrop.com
I am back... have looked high and low for this tutorial! lol Knew I had seen it but didn't find on first look through your site or on google search... but found you!!! YAY... now to scraplift your idea for my brother who is cruising in just under a year with 4 kids! :D Thanks so much for sharing how you did this! Kathi
Post a Comment