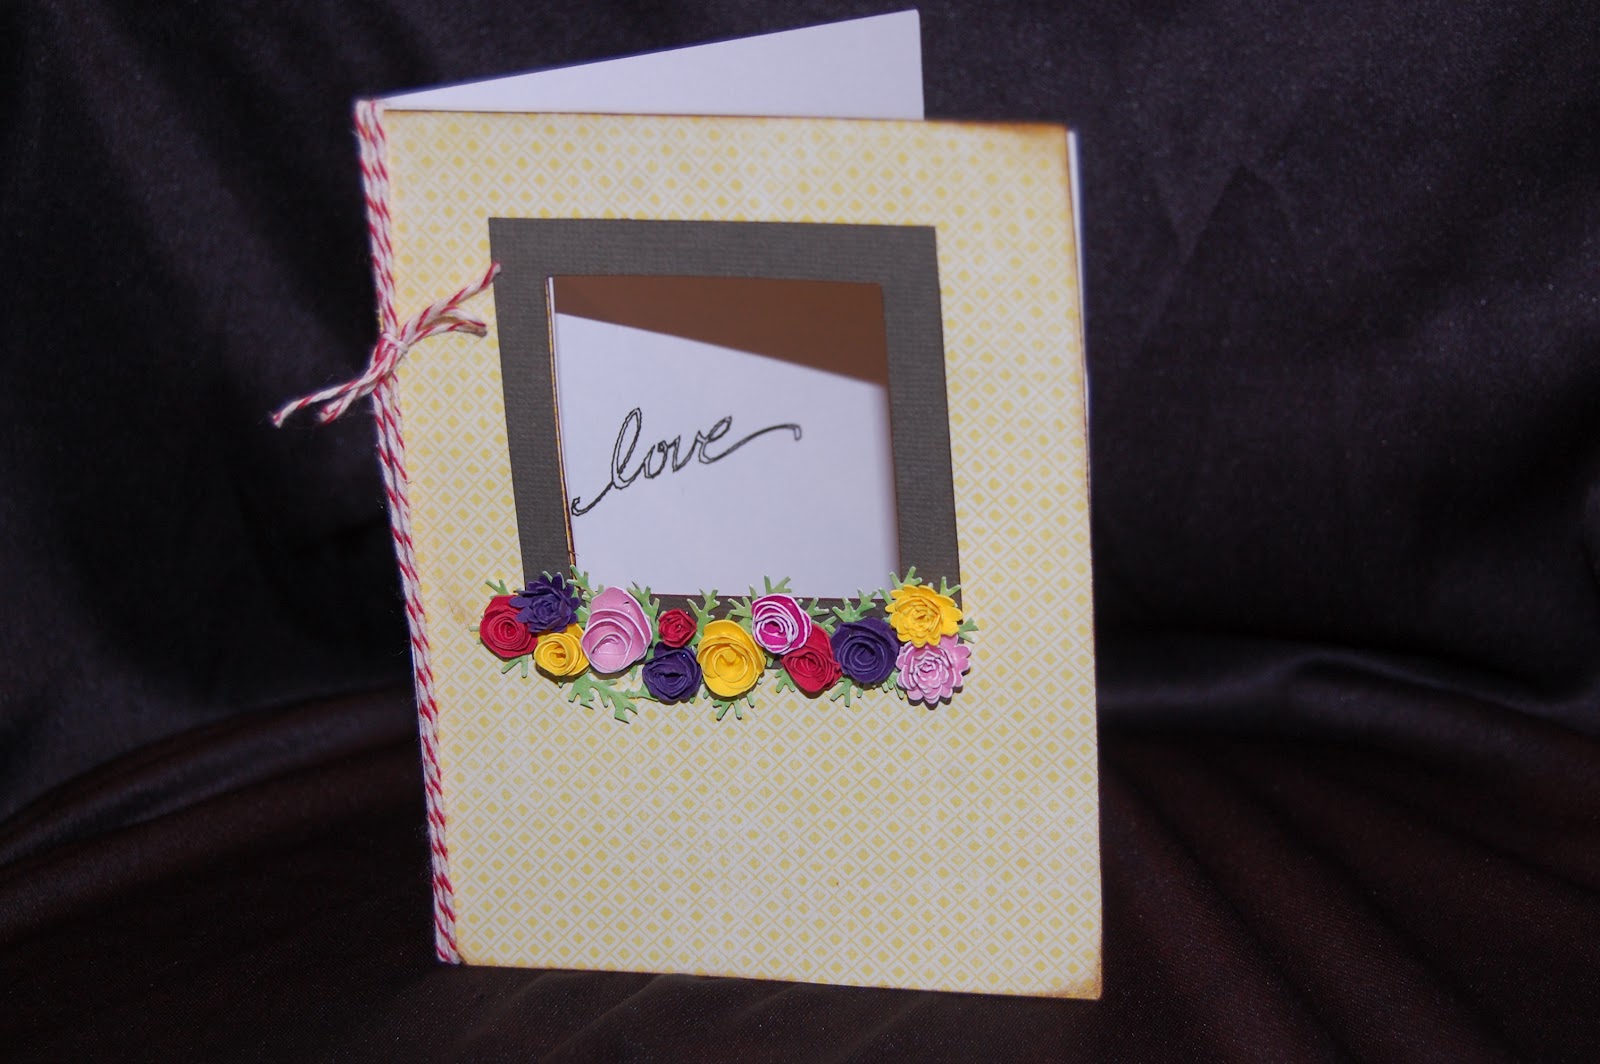
This week at Frosted Designs, our challenge is rolled paper. I have wanted to make these tiny flowers for a while now and decided to give them a whirl this week!

I took 4 different flowers from Art Philosophy and sized them to 1 inch. I put them into groups of 5 each in each 1/4 of my mat. I loaded four colors of cardstock: yellow, pink, red and purple.

I cut out the flowers but had a little trouble with the reds. Luckily I cut out way more than I needed for this project! Originally I planned on putting the flowers all around the square cut out, but later changed my mind.

I found this card on Wild Card and sized it to 5.5 inches.

I flipped the card when I realized I wanted to draw the word "love" inside the card, showing through the opening.

I used this "love" from Home Decor sized to 0.61 inches.

First, I drew in "love" using my Chomas Gel Pen Holder and a black pen. Then I returned to the design, changed layers to the card and put my blade back in. I cut out the card.

I folded it over so the love shows through.

I borrowed this MS Branch punch from my friend Jenny and created my greenery. Love this little punch but it has been discontinued :(

I used my paper quilling tool to roll up the flowers. I glued them with Scotch liquid glue.

I decided to create a window flower box look. First, I cut out another card in this yellow patterned cardstock, inked and adhered it to the front of the card. Then I cut out the frame layer of the card in brown. I trimmed the sides and top by 1/8" and inked it in brown. I adhered the branches along the bottom and then used the liquid glue to adhere the flowers on.
I finished with a bit of twine along the spine (I am a poet)!

Here is my LOVE-ly window card! I hope you join us at Frosted Designs with a rolled paper project of your own!


