Copyright Information

Thank you for stopping by my blog! I hope you enjoy the things that I create and share! I do have a copyright on my original creations (see logo on my sidebar below).
If you create and post a creations based off of mine, please refer (with a link) back to my blog. Please do not use my ideas for files, profit or for contests. Thank you!


My Craft Goals for 2015

My Goals for 2015:

1. Update my goals for 2016 in January of 2016 :)
2. Maximize my crafting time!
3. Keep plugging away at scrapbooking photos!!
4. Learn how to Heat Press!!
5. Have fun!


Showing posts with label Cricut DIVA. Show all posts

Sunday, September 15, 2013

Boo Banner (Cricut DIVA)


Hello Divas!  I am sharing my Halloween Banner today at Cricut DIVA!!  


I know it is a little early, but Halloween is my very favorite holiday and I start early every year with my decorations!!!

Today I made a BOO Banner to share with you.  I used my Gypsy and Cricut Expression to decorate my it.


I used BOO! from CTMH Artiste sized to 2 inches.  I used Hide Contour to hide the inside cuts and the "!".  I cut this out of glitter cardstock.  When I use glitter cardstock, I reverse the image (I am showing the original image here) and place my cardstock glitter side down.  I use multi-cut 2.  When I am done, I wash my mat with dish soap and a scrubbie to get the glitter off.


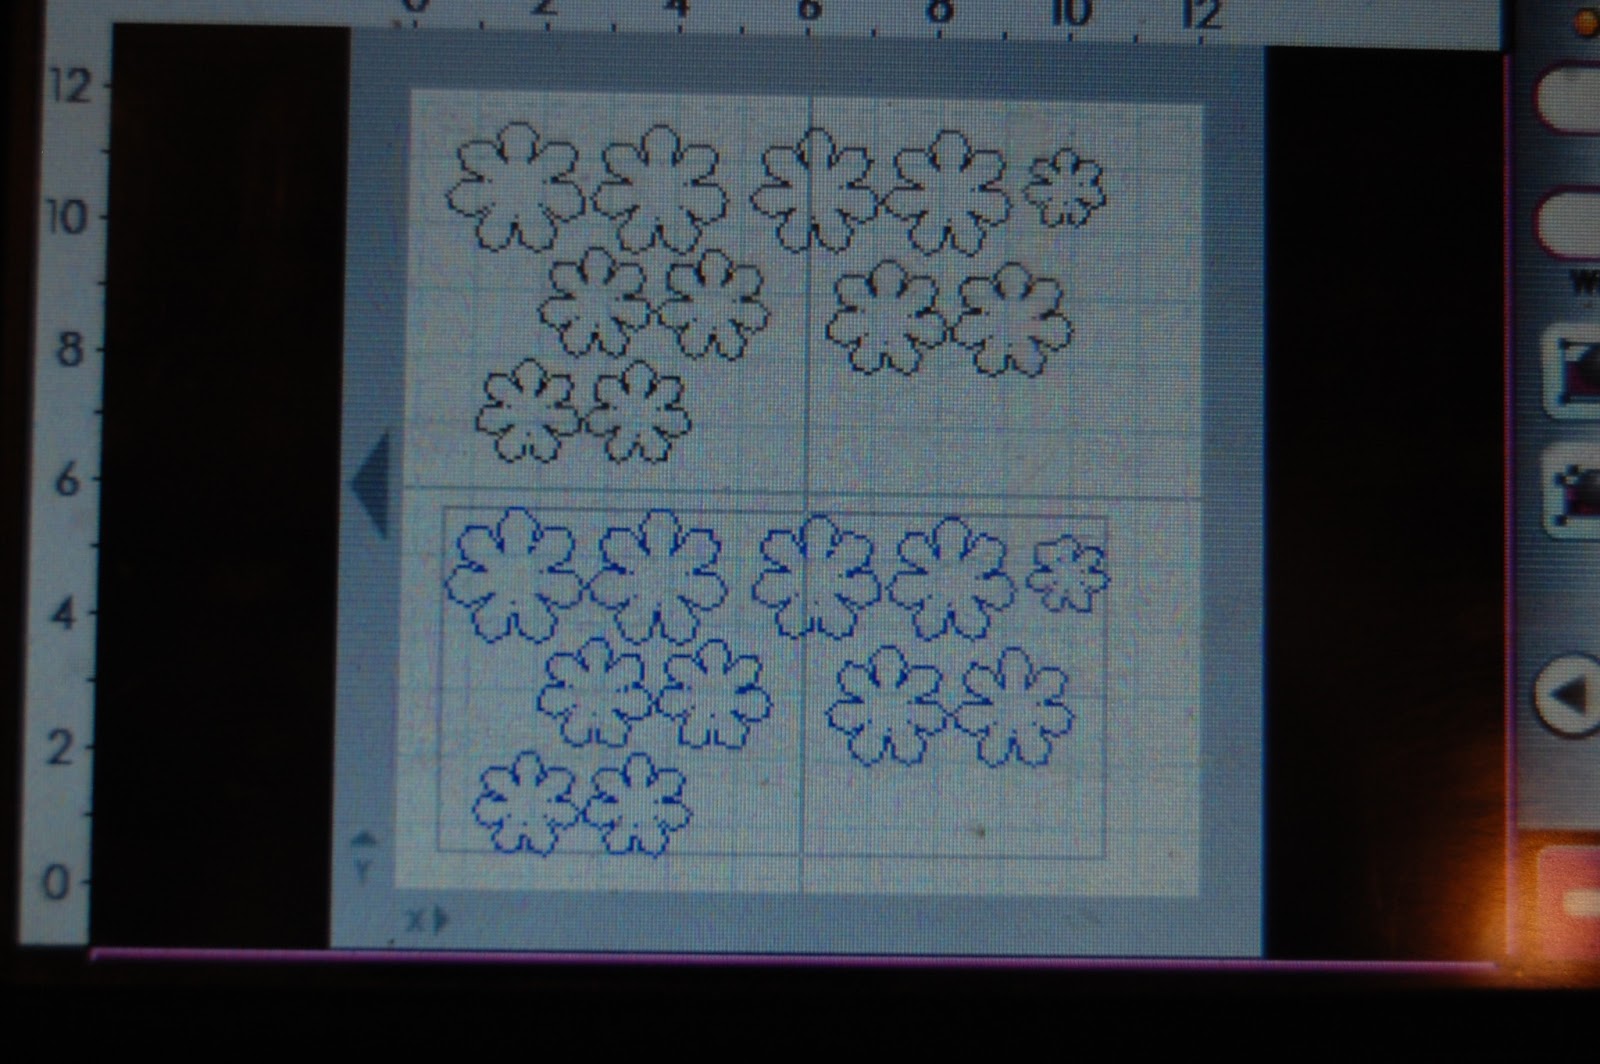
I cut these 3D flower shapes from CTMH Art Philosophy sized to 5 inches.  I rolled them up with my McGill tweezers and used liquid glue on the center to hold them together.


I needed something to mount the letters on.  I cut this image from Teresa Collin's Chic and Scary sized to 3 inches.  I used Hide Contour to hide the inside cuts (oval and witch hat).

I used papers from my Halloween stash for all of my cuts.


I cut the triangles out of chipboard.  I traced and cut the paper to fit.  It was later (after I cut the paper) that I thought to cut everything out on the cricut.... at least I only had 3 banner flags!!

After I adhered the green paper to the banner flags, I used black acrylic paint to paint the edges.


Here is a close up of the 3D flower that I rolled up.  You can also see that I pop-dotted the letters onto the orange paper.


I finished the banner off with some orange ribbon.

I hope you have as much fun decorating for Halloween (or fall) as I do!!!


Monday, August 19, 2013

Cricut DIVA Decorated Metal


I am a DIVA today - a Cricut DIVA!!  I have a fun project to share with you using my Cricut Imagine and Square 1 Masterpiece Repositionable Fabric.


For information about this awesome product, or to order some for yourself just go HERE.


I used my Cricut Imagine and Imagine More Cards cartridge to print and cut out this heart image.  It is sized to 7.5 inches.


I put the 8 1/2 x 11 sheet landscape on my mat to fit the images.


I found these 8x8 metal wall decor pieces at Michaels in the Dollar Bins.  They are normally $2.00, but were 40% off - score!!!  I thought the image was permanent and I was prepared to sand and paint the metal, but these are stickers that peeled off pretty easily!


I peeled the heart off the paper backing and stuck it down.

The image is cute, but pretty flat so I grabbed some flowers and ribbon!!


I layered three flowers.  These are Recollections flowers from Michaels and come in two sizes.  I layered two large flowers on the bottom (one upside down) and a smaller one on top.  I fastened them together with a brad and put a rhinestone gem on top.

I tied some 3 Girl Jam crinkle ribbon around the metal piece.


Here is a great wall decor piece.  I tied the ribbon on and used a glue dot to adhere the flower to the ribbon.  This piece is totally temporary as you can remove the Square 1 fabric and change the look!!

Thanks for stopping by!


Monday, July 22, 2013

Froggie Gift Bag (Cricut DIVA)


Cricut DIVA Lori here with a fun gift bag.  I used my Cricut Imagine and Nursery Tail cartridge to make this cute gift bag for my friend's baby boy!

I print and cut out the image at 5.5 inches and 2.5 inches.  I inked the edges with Vintage Photo distress ink.


I cut a brown mat and used some washi tape to make a side border.  I put two pieces of tape side by side.

I adhered the brown paper to a kraft gift bag.  I then adhered the frog image to the brown paper.


I cut a piece of kraft cardstock to 3x6 inches and folded it in half to make a gift tag.  I trimmed the brown paper to 2.75x2.75 inches and put one piece of washi tape on the side.  I adhered the paper to the front of the card, and the frog image on the paper.  

I punched a hole at the top corner of the card (by the fold) and tied the gift card to the handle with some hemp cord.


Here is a super cute gift bag with matching gift tag!

Come over to CricutDIVA to see my and my DT Sister's cricut creations!!


Monday, July 15, 2013

Bunny Love LO (Cricut DIVA)


I have some Bunny Love to share with you today!!!

This is my beautiful niece and her bunny on Easter this year.  I have all boys so I don't get to create a girly layout very often, but I make sure to go girly for Easter each year!!


I am excited to share my layout at Cricut DIVA today too!!


I started out putting two 4x6 rectangles on my gypsy (to represent my photos) overlapping them the way I planned to do on the page.  

I opened another Layer and grabbed this scallop shape from Artiste.  I sized it to 11.07 inches.


I wanted a border punch look but honestly don't have the patience for the actual punches!!!  Luckily, MS Elegant Cake Art cartridge has several borders that are just like her punches.

I welded three of these together sized to 1.10 inches.

You will notice on my layout that the cuts inside the scallops did not cut out.  I was having trouble with this paper as the back side has a glittery flower pattern on it.  The paper kept slipping, so I just hid the inner cuts after ruining two cuts!!


I added this doily on another layer.  This is also from Elegant Cake Art and is sized to 7.82 inches.


I opened up another Layer and positioned my title where I thought it would go.  The font is Elegant Cake Art and the letters are sized to .77 inches.


I used the negative piece of paper as a template and adhered the letters down on my page.

I ended up moving my title to the top because I wanted ribbon to go right where I put the title!!  No problem, just used my cricut spatula to carefully peel the letters up!!


I inked the white photo mats, scallop background piece and doily with hot pink ink.


I needed some flowers!!  I used Mother's Day Bouquet for my flower shape.

I cut the flower out five different sizes ranging from 1.18 - 2 inches.


I used two shades of pink cardstock, as well as the paper I used for the scallop and the border.


I inked the edges with the same hot pink ink I used for the background pieces.  I used my stylus to curl up the petals.  I adhered the layers together with glue dots and put a clear gem in the center.

I put in three butterflies.  These were used with Square 1 Masterpiece adhesive back fabric and you can see how I made them HERE.


Here is my title at the top and a butterfly in the corner of the photo.


Beautiful layout of a beautiful girl!!!