Happy
Saturday
and
Welcome to this months Blog
Hop
with
The Creating Blog Hops
Cafe'
This month we have made some wonderful Fall projects
to share with you. If you have just stopped by to visit with me, thank
you and welcome, but please start at the beginning of the hop with our Hostess,
Robin Lane with
Create-A-Latte. We would not want you to miss any of these wonderful projects.
Create-A-Latte. We would not want you to miss any of these wonderful projects.
So, grab yourself a Latte', sit
back and hop along with us as we share our projects with
you.


I just love printing on burlap right now!! I purchased the 8 1/2 x 11 sheet of laminated burlap from Wal-Mart. It comes in a 3- pack for just under $3.00. I colored in the words of this design from the Silhouette store and printed it out on my computer. I trimmed the burlap down to fit the 8 x 8 piece of wood that I painted black.
I inked the edges of the burlap with Walnut Stain ink. I used the sponge to ink the outer edge with Vintage Photo. I used my ATG gun to adhere the burlap to the wood.
I tied some light brown DMC floss through my brown buttons and glue-dotted them to the four corners.
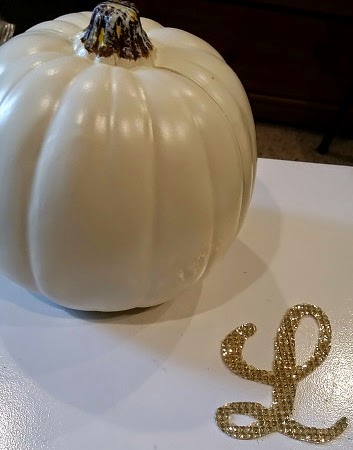
I have a wonderful fall piece for my entryway table. I just love fall and fall colors!!
This month we
have a wonderful Sponsor, Lucy Kelleher with Close To My Heart, and she
has a fantastic giveaway to share with you today. Lucy is giving away a $10 Gift Certificate to her store.

Your next stop will be with...
Jessica
Close To My Heart
Your next stop will be with...
Jessica
If you get lost along the way here is the
entire
line-up of today's hop for
you to get back on track and not miss a single
project.
1- Robin L. with... http://
2- Amy E. with... http://
3- An'Jenic G. with... http://
4- Lucy with... http://love2createitall.com
5- Alicia with... http://
6- Eva Scraps with... http://
7- Miranda Enclade with... www.nanasscrapspot.com
8- Lori with... http://
9- Connie- http://
10- Jessica - http://
2- Amy E. with... http://
3- An'Jenic G. with... http://
4- Lucy with... http://love2createitall.com
5- Alicia with... http://
6- Eva Scraps with... http://
7- Miranda Enclade with... www.nanasscrapspot.com
8- Lori with... http://
9- Connie- http://
10- Jessica - http://
Thank you for hoping along
with us today and I hope that we have inspired you to get your craft
on.