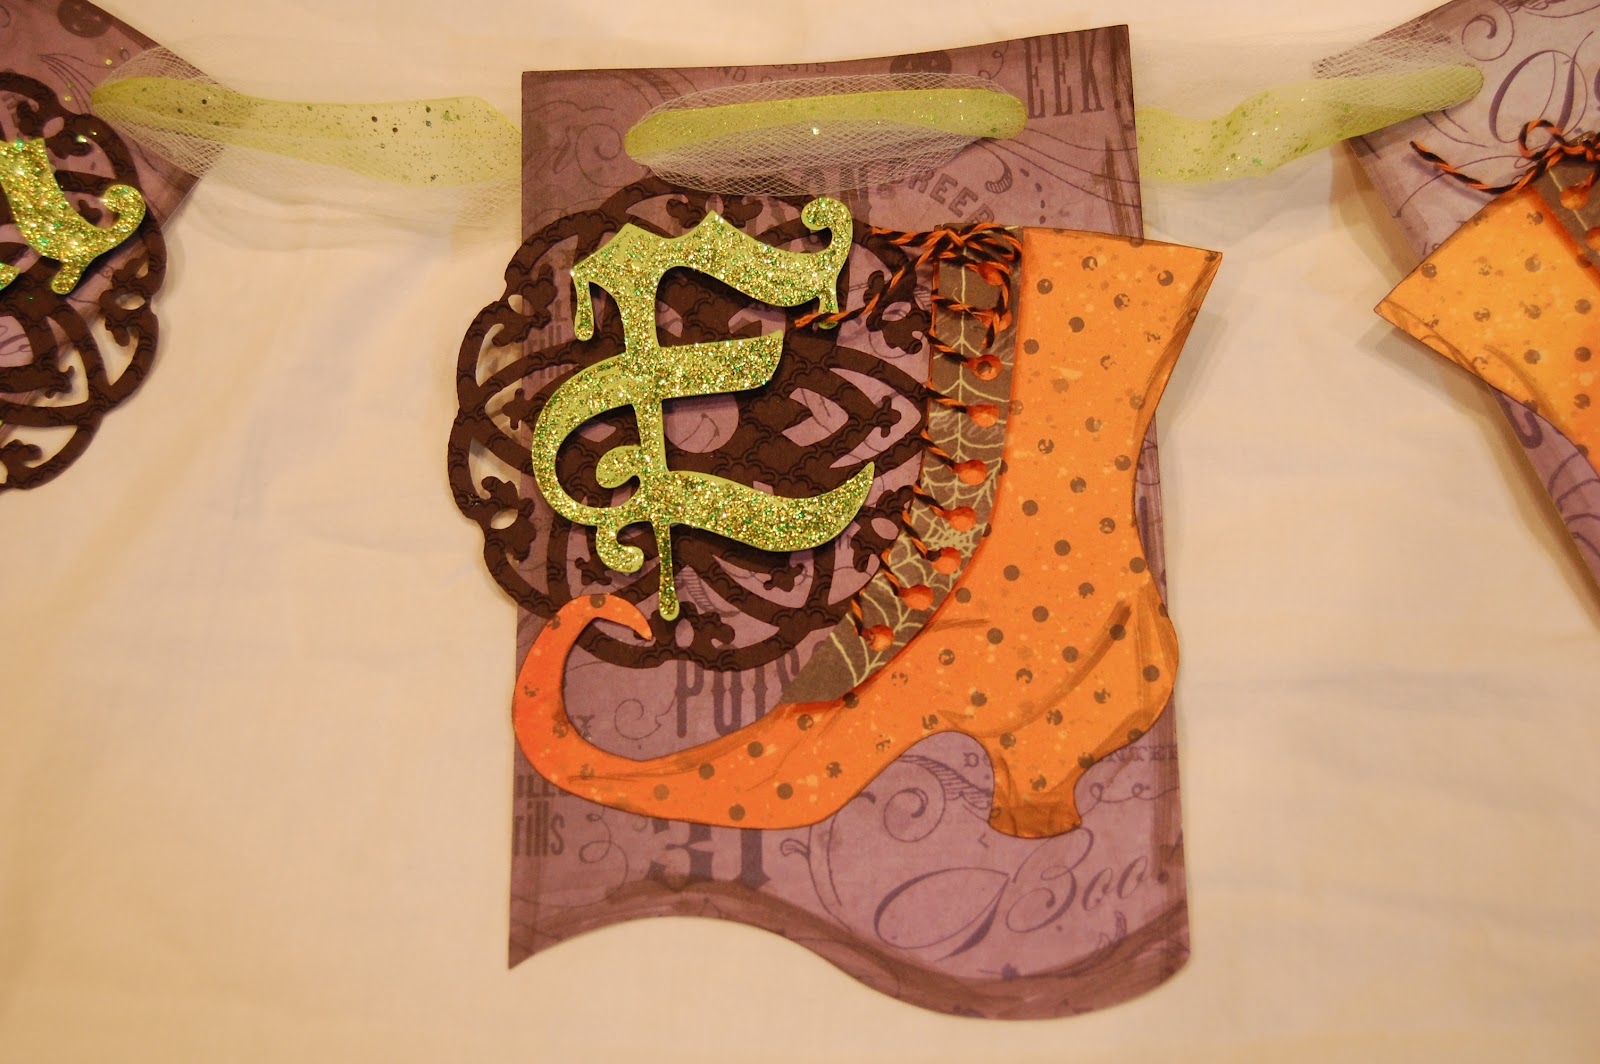
Welcome to Day 1 of Pam's Spooktacular 40th Birthday Hop!
What is more fun than a birthday?
Spooktacular projects made by amazing friends!
We are hopping for 2 days sharing 40 Spooktacular
projects to celebrate Pam of MzLavr2's Creations turning 40!
If you have arrived from (enter person brfore you)'s blog
you are right on track! If you missed the beginning
you will want to head over to the Birthday Girl's blog!
Not only are we sharing fun Halloween projects, we
have a lot of fabulous goodies for our trick or treaters!
Our Sponsors are:
Jen over at Girl Boy Girl designs is giving a full digital kit to one luck winner!
Please go like and comment on her Facebook page
and let her know you stopped by from
Pam's Spooktacular 40th Birthday hop!
You can find her stuff at http://www.thedigichick.com/shop/Girl-Boy-Girl-Designs/
Pam is on her Creative Team
Scrapbook Stamp Society is handing out 3 digi stamps
to one lucky trick or treater! I know we are all so excited!
Best part is you win digi stamps so there is no shipping!

Little Scraps of Heaven Designs is
giving one lucky trick or treater their
Ghouls Night Out paper piecing pattern set

Erica's Room is giving one trick or treater a Cricut Cartridge!

There is an overall grand prize sponsored by
Lisa from Scrapping with Lisa Designs.
It is $20 in free Halloween files!
Lisa is asking that you become a follower of each blog along the
hop as well as her design team blog

In order to qualify for the goodies we have listed, please
Comment “Trick or Treat” and let each of us know
what you love the most about our projects on every
blog while trick or treating!
Here is my SpOOkTacUlaR project:

I made this Halloween/Birthday card to celebrate Pam's Spooktacular 40th Birthday!

I started out with my Gypsy and Chic and Scary. I used this image and hid the witch hat. I sized the images to 4 inches.
The image on the left was cut out of the striped paper (see below). The image on the right was cut in black cardstock and had the inner oval cut. This gave me a black frame for the striped layer.


I sized three witch's boots from Happy Hauntings to 2.33 inches. I cut them out in green, orange and purple. I ended up only using the purple and green patterned cardstock.

I cut out these 3D flowers from Art Philosophy in the same three patterned cardstock papers. I sized the flowers to 4 inches and 5 inches. I used my tweezers and rolled the flowers from the inside in and glued them together.

I added some stickles on the edges. I used black, purple and lime green.

I trimmed off the shoe part of the boot in green and adhered it on top of the purple layer. I pop-dotted the shoe to the card.

I inked the edges of the stocking and shoe with black ink. I tucked some purple crinkle ribbon behind the frame.

I used a KinderStampo stamp for my sentiment.

I used glue dots to adhere the flowers and added pearls to the centers. I also added two pearls to the shoe.

I have a little blog candy for you today!

In order to qualify for my blog candy, #1 be or become a follower or email subscriber and #2 leave me a comment with your favorite Birthday or Halloween memory.
Your next (and final) stop in the hop is JESSI. I included a complete list of blogs in the hop in case you missed any!!
- Pam Lavertu - http://mzlavr2.blogspot.com/
- Jennifer F. - http://wunderscreations.blogspot.com
- CallyAnn - http://callyanncraftycreations.blogspot.com/
- Lisa P - http://handmadewithlove-lisa.blogspot.com/
- Pam Lash - http://lovebugcreations3.blogspot.com/
- Sandy S. - http://simplycraftycreationsbysandys.blogspot.com
- Robin - http://scrapandchat.blogspot.com/
- Susanne A.- http://handmade-tear.blogspot.com/
- Ashley - http://thebloghopprincess.blogspot.com
- Kris Parsons - http://scrappinbykris.blogspot.com
- Miranda - http://www.nanasscrapspot.com/
- Wanda (Deezy) - http://www.deezydoesiteezy.blogspot.com/
- Tammy B - http://anonymouscricuter.blogspot.ca/
- Vanessa T - http://wwwpaperkraftsunlimiteddesings.blogspot.com
- jennifer w. http://cluelesscrafter-jennifer.blogspot.com/
- Amber http://pixiperfectcreations.blogspot.com/
- Nicole Elliott - http://teachdanz.blogspot.com/
- Amy T - http://thebestofme-amy.blogspot.ca/
- Lori - http://scrappinmystressaway.blogspot.com/****HERE
- Jessi http://mylifeinartsncrafts.blogspot.com****NEXT
Please come by tomorrow for Day 2 and all new projects!!! The hop starts HERE!