Copyright Information

Thank you for stopping by my blog! I hope you enjoy the things that I create and share! I do have a copyright on my original creations (see logo on my sidebar below).
If you create and post a creations based off of mine, please refer (with a link) back to my blog. Please do not use my ideas for files, profit or for contests. Thank you!


My Craft Goals for 2015

My Goals for 2015:

1. Update my goals for 2016 in January of 2016 :)
2. Maximize my crafting time!
3. Keep plugging away at scrapbooking photos!!
4. Learn how to Heat Press!!
5. Have fun!


Showing posts with label Pumpkin Carving. Show all posts

Thursday, November 1, 2012

Halloween Treats (SweetSassyDiva)


It is Halloween week ~ time to pass out some treats!!!  Today I am the Guest Designer at SweetSassyDiva's Blog and our theme is Halloween Treats or Party Decor - be sure to stop by and see some great ideas and projects!!


I created two different treat containers using a Starbucks glass container and.......


a Crystal Lite drink plastic container.


I used this two sided paper from K and Company.  I cut the paper into strips to go around each container.


I put this square pumpkin face on my Gypsy mat from Pumpkin Carving at 1.5 inches.  One set of two were cut as is, and the other set of two I hid the eye and mouth cuts.  I cut out the jack-o-lanterns in orange cardstock and the squares in yellow cardstock.


I originally planned on mounting the pumpkin squares on this scallop circle shape from Easter 2010 sized at 2.5 inches.


 I cut one set of scallops out of the black side of the double sided paper.  I also cut out a scallop out of orange and yellow cardstock to put on the back.


I adhered the strips of paper around my containers.  The scallop circles covered too much if the strips of paper, so I modified my design.  I trimmed some squares to back the pumpkins and used some washi tape for the stems.


I used my Creative Memories circle punch to punch out an eyeball and spider for my lids.


I used added some washi tape to my containers too!


Thank you for stopping by today ~ I hope you have a wonderful Halloween!!

Monday, October 1, 2012

3D Halloween Card

Happy October!!!  I am super excited to be the Guest Designer at She's A Sassy Lady today!!  I made this fun 3D Halloween card to share with you.  I saw a birthday card that was similar to this and just had to figure out how to create it!!  Since Halloween is my favorite holiday (not to mention today is October 1st) I just had to Halloween-ify it!

I started with a rectangle with a rectangle window from Gypsy Wandering.  I put two on my mat sized to 5.5 inches.  I welded them together.

  I copied and pasted another set on my mat because I needed three of these pieces to make my card.

I used some K and Company Halloween paper to cut the cards out.

I scored each card at 3.5 inches and creased the fold.

This is a view from the top of the three card pieces scored and folded.

I cut out these phrases from Happy Hauntings in black cardstock.  


I adhered one phrase on each side of the card at the bottom.


From the Pumpkin Carving cartridge, I cut out two each of the witch, bats and haunted house out of lime green, purple and black cardstock.

I adhered the pieces together with twine in between.  I used stickles to create eyes for the bats and to color the moon.

I adhered the cards together one side at a time.


This card can also be used as a center piece!

I hope you have a wonderfully spooky Halloween month!!

Tuesday, January 24, 2012

Pumpkin Patch Landscape LO

This week at SweetSassyDiva's our theme is a Scene.  I created a Pumpkin Patch Scene 2 page layout.  Every fall, I take my daycare kids to The Bellevue Berry Farm and Pumpkin Patch near my house.  We look forward to it every year!

This layout took me 3 days and (merging) two different ideas to complete!!  I changed my mind so many times I lost count!
I started with this hill from Pop Up Neighborhood (found in the Accessory Function) sized at 5.00h x 11.49w.  I copied a second scene and flipped it.


I opened up a new Layer and took the shift layer of the Accessory Function and put the hills on my mat twice.  I flipped the second one.

I opened another Layer and put the Accessory Layers on it twice.  This was the trees and trunks.  I flipped the second layer.  I positioned the pieces on my mat by color for easier cutting.

Once I cut out the hill layer (without the trees) and set them on my workspace, I thought there was too much sky showing.  I cut another set of hills.

I needed some other pieces for my Pumpkin Patch, so I opened up an old file that I started but did not use.  I tried to cut the wheat from Pop Up Neighborhood, but as you can see below the paper tore.  I liked the barn, pull cart and the tractor.  I thought I might use the pumpkins but changed my mind. 


I went back to my first file and added these pumpkins from Pumpkin Carving.  I welded two sets together (sized at 1.24 inches) to make a large border.  I grabbed the cart and campfire from Old West, but ended up not using them.  I found the Pumpkins from Chic and Scary and sized it to 6.32w x 2.18h so it would fit across the top of my 4x6 photo.

I journaled on the hay in the cart.  I pop dotted the barn and some of the pumpkins.

I added twine across the bottom.  I filled in the pumpkin border with some additional pumpkins.

I used some lime green stickles to color the stems on the pumpkins.

I have been saving this cloud paper for some time ~ glad I finally got to use it!!  Thanks for stopping by!


Thursday, September 1, 2011

Labor of Love Halloween Banner Blog Hop

Welcome to the first half of the Labor of Love Halloween Banner Blog Hop!!  My project will be up September 2 and 3, but you can qualify for my blog candy until the 5th!! 

If you are looking for my Frosted  Designs Flourish Canvas project, go HERE.

If you are looking for my Witchy Banner for Sweet Sassy Diva, go HERE.


If you found me first, please go see ELLEN at the beginning.  If you are here on the 4th or 5th, go HERE to start the second half of the hop!

We made these awesome Halloween banners to hang in the rooms of the medically-fragile children who live at Pediatric Specialty Care, Bucks County, PA. (http://www.pediatricspecialty.com/).

Here is the line up in case you get lost along the way!
Ellen @ http://www.cardmonkey-business.blogspot.com/
Madison @ http://www.funkycards.blogspot.com/
Jess @ http://www.kinderstampo.com/
Nicolette @ http://www.beyondscrapin.blogspot.com/
Jenny @ http://www.crazyaboutcricut.blogspot.com/
Nikki @ http://www.theglamoroussideofscrapping.blogspot.com/
Jennifer @ http://www.craftycardgallery.blogspot.com/
Dee @ http://www.vintageheartfeltdesigns.blogspot.com/
Sue @ http://www.susanascorner.blogspot.com/
Amy @ http://www.belovedscrapbookdesigns.blogspot.com/
Lori @ http://www.scrappinmystressaway.blogspot.com/ ***HERE
Bobbi Jo @ http://www.sweetsassydiva.com/
Jessica @ http://www.thecreativestamperspot.blogspot.com/
Shawnee @ http://www.quiverofangels.blogspot.com/
Jamie @ http://www.craftygirl21.blogspot.com/
Robyn @ http://www.happyhouseofhaas.blogspot.com/
Lisa @ http://bitbythecricutbug.blogspot.com/
Sandra @ http://365daysofcricut.blogspot.com/
Tonya @ http://creativeaddictiontopaper.blogspot.com/
Debbie @ http://debbiescrafttime.blogspot.com/


Blog Hop Sponsors and Blog Candy:
***This blog hop and all the fantastic prizes we are offering would not be possible without our awesome sponsors***


CardMonkey (http://www.cardmonkey-business.blogspot.com)/
KinderStampO (http://www.kinderstampo.com/)
My Pink Stamper (http://www.mypinkstamper.com/)
Pink Cricut
My Creative time (http://www.creativetimeforme.com/)
Karber Design (http://karbers.blogspot.com/2011/07/karber-designers.html)
Scrappy Moms Stamps (http://scrappymoms-stamps.blogspot.com/)

To be eligible for a prize:

**Leave a comment on Day 1 or Day 2. (Fri./Sat.)

**Leave a comment on Day 3 or Day 4. (Sun./Mon.)

**Thank a sponsor/s for sponsoring our hop by clicking on the icons listed above and leaving a message on our sponsor/s blog saying "What a good GHOUL you are for sponsoring the Labor of Love Halloween Hop, happening today."

**Link a Halloween card to Funky Cards at the link provided at the end of the hop and donate it to the children at Pediatric Specialty Care.  You can link your card HERE!

We will be using Random Organizer to match our prizes to our winners. You can enter all of the categories 1-4 and be eligible to win every prize:) There may be more than one winner in some categories and the more comments you leave the better your chances!!

Now on to my banner.....


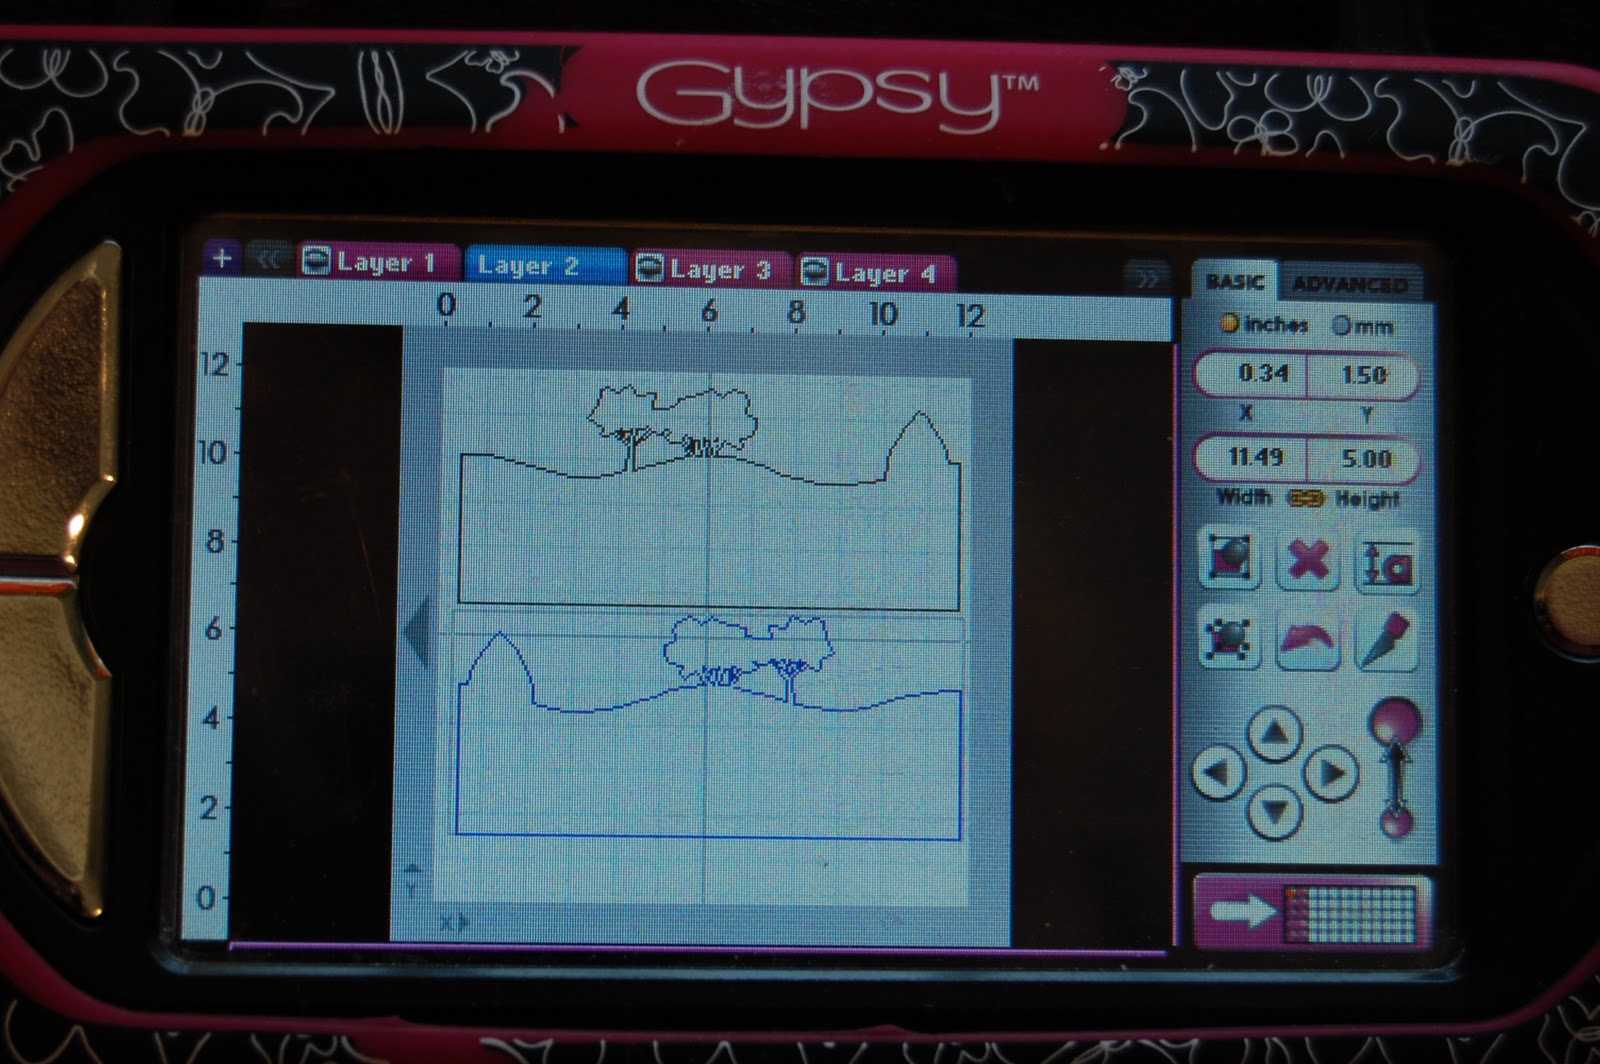
I started with this banner shape from Birthday Bash sized at 3.98w x 5.50h.

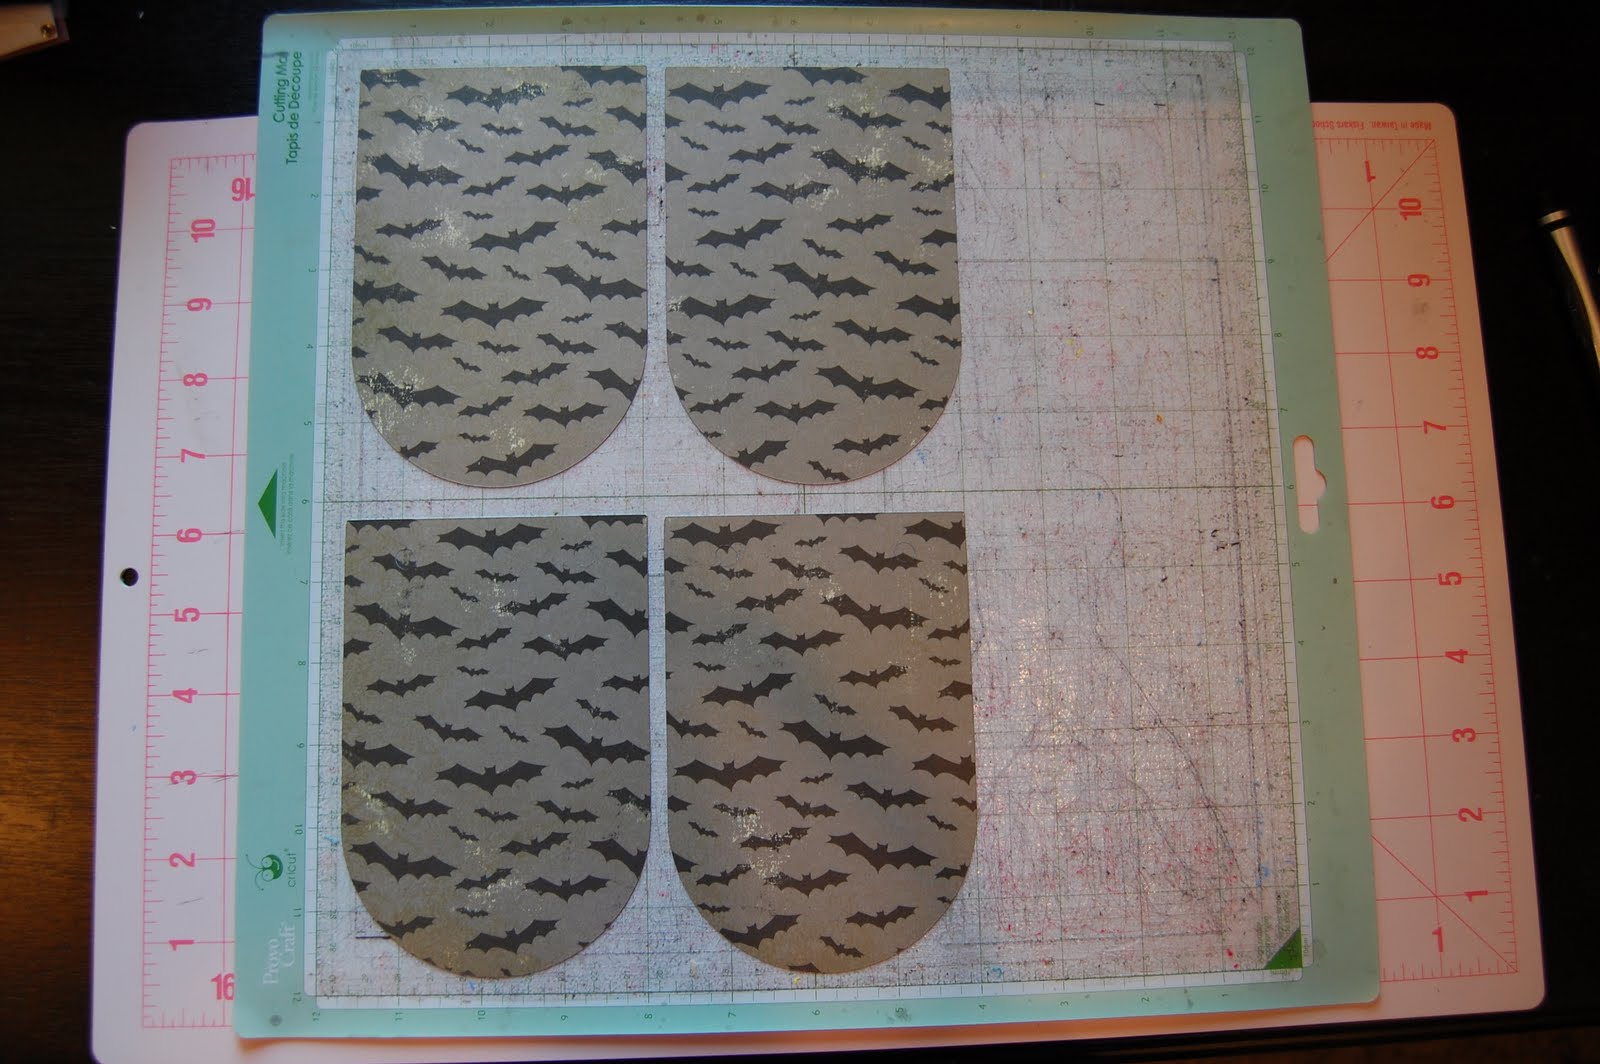
I cut the pieces out with this batty paper.

I cut out some pumpkins at 3.35 inches tall from Pumpkin Carving with this orange checked paper.

 
Then I had some fun!  I cut out some hats from several cartridges so the pumpkins could wear costumes!!  I found them on Everyday Paper Dolls, Paper Doll Dress Up and Happy Hauntings.  I used the pumpkins as my guide to size them.
I put some scraps on my mat to cut out the hats.

Here are my hats!

I snazzed them up with stickles.

I put green stems on my pumpkins with stickles.

I took purple acrylic paint and painted the edges of my banner.
I added these circles from Elegant Edges (cut at 4.79w x 4.57h) behind the pumpkins.  I cut out the letters from Happy Hauntings at 1.5 inches.

Here you can see some of the hats!


I hope the kids and their families like my banner!  I wanted it to be more cute than scary!
I have a little of my own Blog Candy to share with you also!!  In order to be eligible to win, you need to "trick or treat"!  Leave a comment and tell me about a Halloween or Fall  memory.  If you like my work become a follower.  It is helpful if you provide me a way to contact you if you win the treat!!

Thank you for stopping by and supporting a great cause!!!  Your next stop is my good friend Bobbi Jo at SweetSassyDiva!