Copyright Information

Thank you for stopping by my blog! I hope you enjoy the things that I create and share! I do have a copyright on my original creations (see logo on my sidebar below).
If you create and post a creations based off of mine, please refer (with a link) back to my blog. Please do not use my ideas for files, profit or for contests. Thank you!


My Craft Goals for 2015

My Goals for 2015:

1. Update my goals for 2016 in January of 2016 :)
2. Maximize my crafting time!
3. Keep plugging away at scrapbooking photos!!
4. Learn how to Heat Press!!
5. Have fun!


Showing posts with label My Cricut Craft Room. Show all posts

Sunday, November 18, 2012

When You Wish Upon a Star...

Today is Mickey Mouse Day at My Cricut Craft Room!

I made this layout from one of our recent trips to Walt Disney World.
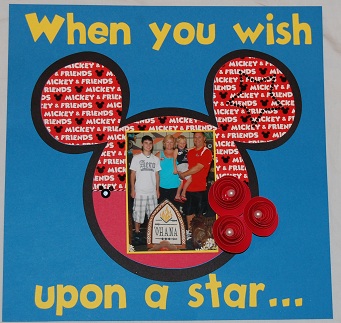

I started out with this Mickey silhouette from Mickey Font sized to 8.76 inches.

I cut out the silhouette in black cardstock.  I hid the outer cut to cut out the Mickey head out of other paper (see below).

I opened another Layer on my Gypsy and put the words When you wish upon a star from Mickey Font sized to 1.24 inches.  I was able to see the Mickey head through the layer to make sure I had room for my words.

I thought I was going to use a star die cut, so I put one on my mat from Mickey and Friends sized to 3.12 inches.

I cut out the words and stars in yellow cardstock.  I wanted the ... not !!!, so I just used the dots.

I cut these swirls from Mickey and Friends (Icon key) sized to 5 inches and 5.35 inches

I cut them out of red cardstock.

I cut out two Mickey heads, one in solid red cardstock and one in Mickey paper.  I trimmed off the bottom half of the Mickey paper and adhered them together.

I used my tweezers to roll the swirls from the outside in to make the flowers.  I glued the flower to a 1/2"  circle (punched out from cardstock).  I used my Scotch glue to adhere the flower to the punch.
I stuck a pearl in the center of each flower.

I put this gem star on one ear.

Thanks for stopping by today!!  

To see more projects like this today please visit http://mycricutcraftroom.blogspot.com

Tuesday, November 13, 2012

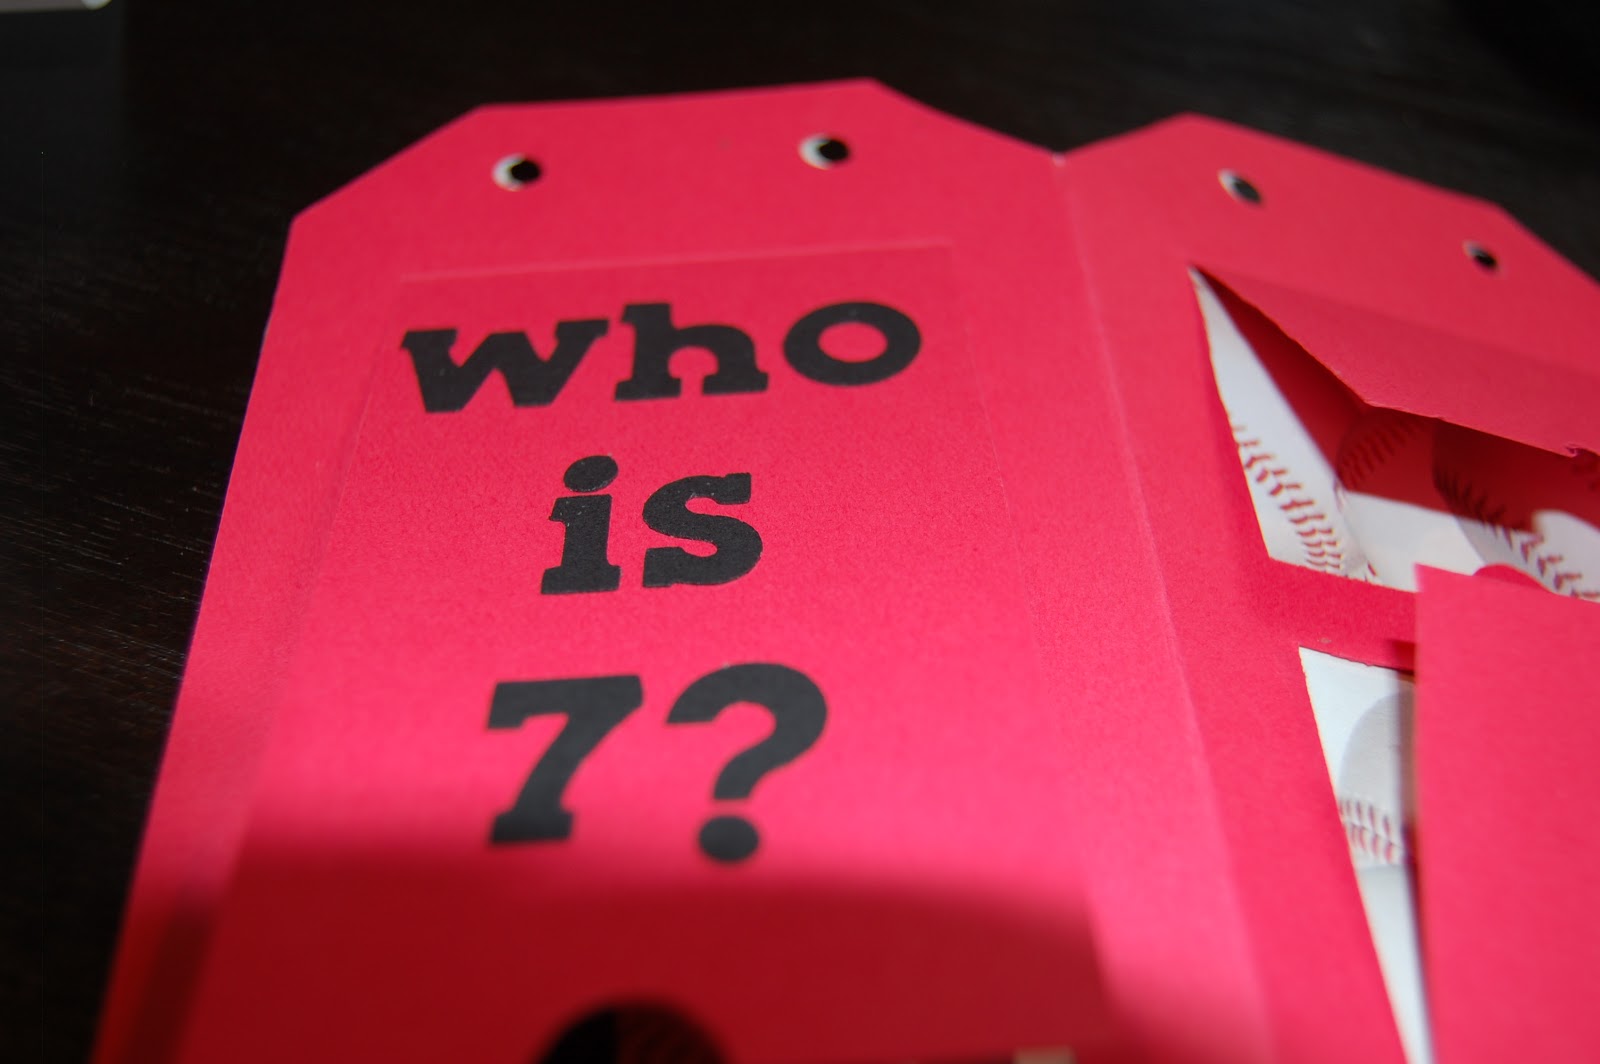
Peek-a-Boo Card


Hello!!!  I am excited to be a Designer today at My Cricut Craft Room!!  Our theme for today is to make a Card to Read With A Child.  I interpreted this to be an interactive (or peek-a-boo) card!

Tanner just celebrated his 7th birthday last week - I can NOT believe that my baby is 7!!!  He was a bit of a surprise and is 11 years younger than our middle son.  I still remember how excited I was (when the shock wore off) that we would get to go back to Disney again!!!!  We have been to Disney with Tanner 4 times and on one Disney Cruise.  We hope to squeek out one more trip next fall before he outgrows it (Mike and I will never outgrow Disney)!!!

I opened the tag card on Fabulous Finds.  I put both layers on my Gypsy mat sized to 5.5 inches.

I cut out the layers in red cardstock and some double-sided baseball paper.

I opened another Layer in my Gpysy to size the words and images for the flaps.

I used Birthday Bash.  I overlapped Tanner and welded it to fit my space.  The letters are .88 each.

The font for the rest of the letters and numbers are sized to .65 inches.

The packages are sized to 1.47 inches.

The baseball is sized to 2.06 inches.

The gecko is sized to 1.47 inches.

The balloon is sized to 3.59 inches.

I assembled the card as my cricut was cutting!  I used my ATG gun to adhere the red layer to the baseball paper.

I moved my images into groups by color.  I cut out the letters in black cardstock, the baseball and bow in white cardstock, the balloon in red (later changed to blue) cardstock, and the gecko and other package in green cardstock.

I used my throw-away piece as a template for my words.  I used painter's tape to hold my template in place.  I ran the letters and 7 through my 1" Xyron.
I stuck the letters all down, and peeled away my template.

Perfect words every time!

Here's Tanner!!

What a fun card for a child to explore!  This card can be personalized for the recipient and for different holidays.

Here are some close ups:


I added some baseball ribbon and it was complete!

Thanks for stopping by today!!  To see additional projects like this one, go to http://mycricutcraftroom.blogspot.com!!