Copyright Information

Thank you for stopping by my blog! I hope you enjoy the things that I create and share! I do have a copyright on my original creations (see logo on my sidebar below).
If you create and post a creations based off of mine, please refer (with a link) back to my blog. Please do not use my ideas for files, profit or for contests. Thank you!


My Craft Goals for 2015

My Goals for 2015:

1. Update my goals for 2016 in January of 2016 :)
2. Maximize my crafting time!
3. Keep plugging away at scrapbooking photos!!
4. Learn how to Heat Press!!
5. Have fun!


Showing posts with label Artiste. Show all posts

Sunday, September 15, 2013

Boo Banner (Cricut DIVA)


Hello Divas!  I am sharing my Halloween Banner today at Cricut DIVA!!  


I know it is a little early, but Halloween is my very favorite holiday and I start early every year with my decorations!!!

Today I made a BOO Banner to share with you.  I used my Gypsy and Cricut Expression to decorate my it.


I used BOO! from CTMH Artiste sized to 2 inches.  I used Hide Contour to hide the inside cuts and the "!".  I cut this out of glitter cardstock.  When I use glitter cardstock, I reverse the image (I am showing the original image here) and place my cardstock glitter side down.  I use multi-cut 2.  When I am done, I wash my mat with dish soap and a scrubbie to get the glitter off.


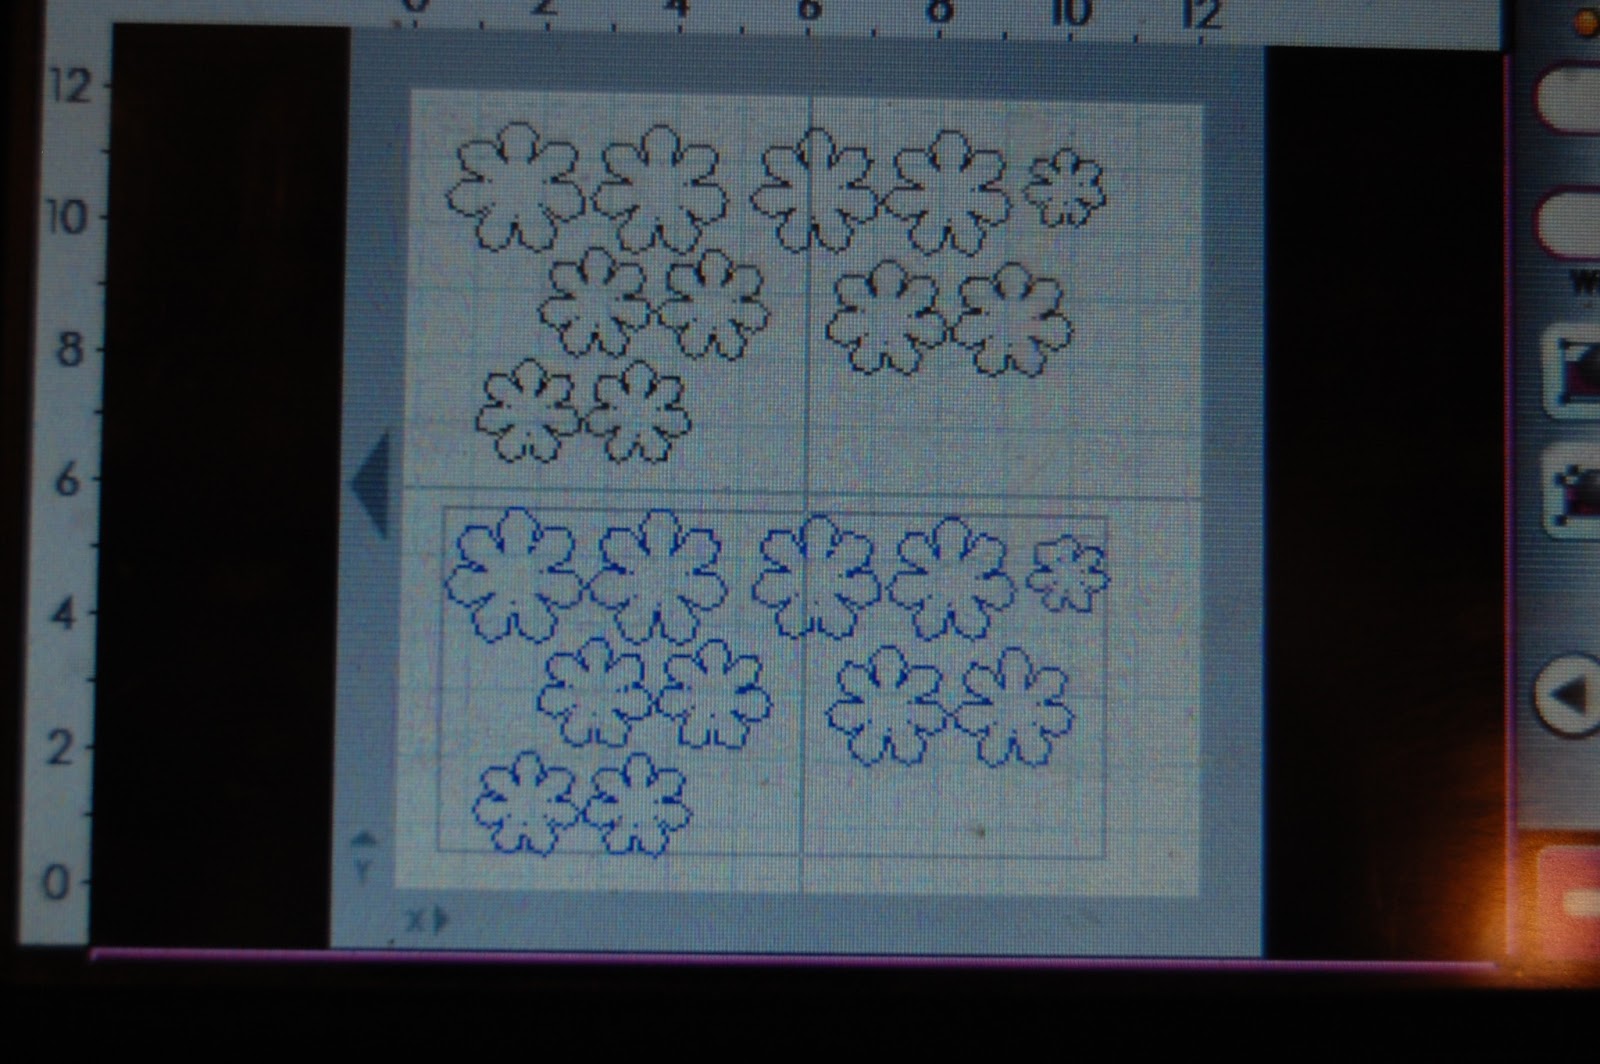
I cut these 3D flower shapes from CTMH Art Philosophy sized to 5 inches.  I rolled them up with my McGill tweezers and used liquid glue on the center to hold them together.


I needed something to mount the letters on.  I cut this image from Teresa Collin's Chic and Scary sized to 3 inches.  I used Hide Contour to hide the inside cuts (oval and witch hat).

I used papers from my Halloween stash for all of my cuts.


I cut the triangles out of chipboard.  I traced and cut the paper to fit.  It was later (after I cut the paper) that I thought to cut everything out on the cricut.... at least I only had 3 banner flags!!

After I adhered the green paper to the banner flags, I used black acrylic paint to paint the edges.


Here is a close up of the 3D flower that I rolled up.  You can also see that I pop-dotted the letters onto the orange paper.


I finished the banner off with some orange ribbon.

I hope you have as much fun decorating for Halloween (or fall) as I do!!!


Monday, July 15, 2013

Bunny Love LO (Cricut DIVA)


I have some Bunny Love to share with you today!!!

This is my beautiful niece and her bunny on Easter this year.  I have all boys so I don't get to create a girly layout very often, but I make sure to go girly for Easter each year!!


I am excited to share my layout at Cricut DIVA today too!!


I started out putting two 4x6 rectangles on my gypsy (to represent my photos) overlapping them the way I planned to do on the page.  

I opened another Layer and grabbed this scallop shape from Artiste.  I sized it to 11.07 inches.


I wanted a border punch look but honestly don't have the patience for the actual punches!!!  Luckily, MS Elegant Cake Art cartridge has several borders that are just like her punches.

I welded three of these together sized to 1.10 inches.

You will notice on my layout that the cuts inside the scallops did not cut out.  I was having trouble with this paper as the back side has a glittery flower pattern on it.  The paper kept slipping, so I just hid the inner cuts after ruining two cuts!!


I added this doily on another layer.  This is also from Elegant Cake Art and is sized to 7.82 inches.


I opened up another Layer and positioned my title where I thought it would go.  The font is Elegant Cake Art and the letters are sized to .77 inches.


I used the negative piece of paper as a template and adhered the letters down on my page.

I ended up moving my title to the top because I wanted ribbon to go right where I put the title!!  No problem, just used my cricut spatula to carefully peel the letters up!!


I inked the white photo mats, scallop background piece and doily with hot pink ink.


I needed some flowers!!  I used Mother's Day Bouquet for my flower shape.

I cut the flower out five different sizes ranging from 1.18 - 2 inches.


I used two shades of pink cardstock, as well as the paper I used for the scallop and the border.


I inked the edges with the same hot pink ink I used for the background pieces.  I used my stylus to curl up the petals.  I adhered the layers together with glue dots and put a clear gem in the center.

I put in three butterflies.  These were used with Square 1 Masterpiece adhesive back fabric and you can see how I made them HERE.


Here is my title at the top and a butterfly in the corner of the photo.


Beautiful layout of a beautiful girl!!!


Thursday, June 27, 2013

Baseball Photo Decor with Square 1


I have been playing with Square 1 Masterpiece Repositionable Adhesive Fabric and I have to say - this is by far my favorite project I have made!!!!

I bought these canvases LAST summer to make something for my cousin's wedding.  She never got me the photos I asked for so it just sat and sat and waited for a different opportunity.

I don't have the exact project so show you but here are two similar ones I found on Pinterest:
 

Take the wedding photos from the left and put them on the canvas and add wedding words - that was my original project.

Being a baseball mom, it just hit me to create a baseball canvas.  I did not want to mod podge photos onto the 4x4 canvases, so I just copied them onto the repositionable fabric on my copy machine/printer!!


This stuff is amazing and the best part is - as Tanner grows I can replace the photos!!!

If you want to find out more information on this product, just go HERE.  It is on sale through Sunday, June 30 2013!!!


I trimmed three of the photos to 4x4.  The last photo I kept 4x6 because it was going in a scrapbook page.

I trimmed the photos and put them on the canvas pieces.


You just peel them off the backing like a sticker!  If they go on crooked - no worries!!!  You just try again!


You can see I was stuck on the vertical positioning at first.

I came up with my own baseball sayings and they were not fitting in the space, so I turned it horizontal.


I used my gypsy and MyCutSearch.com to find all my fonts!!

I use MyCutSearch all the time to find images on cricut cartridges.  I did not know how to search fonts until I asked.  I wanted to share what I learned with you - so HERE are the directions with photos!!


I used:
 Hannah Montana, Hello Kitty Font, MS Seasonal Art Cake, Base Camp, Artiste, Craft Room Basics, and Nate's ABC's


I cut the words out in vinyl and transferred them to the top half of the canvas.


I adhered black ribbon around the edges of the canvas.


I used washi tape, a ruler and my 12x24 cricut mat to space my small canvases on the bottom half.


I love that washi tape doesn't stick too well for this project!!


I used hot glue to adhere them down and peeled the washi tape off.


Here is a side view so you can see the dimension.  I originally covered the small canvases with ribbon, but did not like the gaps it had - so I took it off.


Tanner played his first season of select baseball this year and we are coming up on our state tournament.  I am very proud of him!!  He is 7 on an 8 year old team.  He has been watching his brothers play baseball his entire life and now is his turn!!!

I purchased frames with special mats for his brothers several years ago and can not find anything similar now.  I have to say, I like this one MUCH better than his brothers frames!!!


Saturday, June 15, 2013

Summer Party Blog Hop


Hello and welcome to the Summer Party Blog Hop!!  We were encouraged to share several projects from our party.  You should have come here from PAT.  If you found me first, please hop on over to the BEGINNING so you don't miss anything!!!

Here is a complete list of blogs in the hop in case you get lost along the way:


Every year we host a 4th of July BBQ and fireworks so it just made sense to share some of my decorations for the party this year!!


I made a fun banner to hang up on the front door.


I made a fun centerpiece for my entryway table.  I saw something similar on Pinterest and LOVED it as we are a baseball family!!!


I made a fun gift bag.


I also made some Photo Booth Props.  I have been having fun with these since Easter.  I am re-using some from Easter and Graduation, but did make a few 4th of July pieces.


The Banner:


I cut out the banner flags from the cricut cartridge Birthday Bash sized to 3.5 inches.  I did not save the file and did not remember to get a photo :(  I cut them out in red and blue cardstock.

The starburst came from the Silhouette store as a stacked set.  I sized them to 2.5 inches and cut them out of white cardstock.  I made several of these banners to share with my friends!


The USA also came from the Silhouette store and I cut them out at 2 inches.  I cut them out in red and blue cardstock.


I alternated red and blue and used some star ribbon to complete them.


This clear container was once filled with cheese balls (to my family's delight).  I bought them ONLY to create this project!!!  I filled them up with baseballs from our garage with minimal grumbling from the boys about wasting "perfectly good" baseballs....


The flags came from Michaels.


I was not sure which would look better, a solid star with 4th of July in blue, or just the 4th of July in red so I cut both!!


The stars came from CTMH Artiste and the big one is sized to 5 inches.  The smaller star is for another project.

4th of July is from Independence Day and sized to 4.41 and 2.29 inches.

I cut them out of red and blue vinyl.


I put the blue 4th of July on a piece of transfer tape....


and stuck it down on the star while it was still on the mat.


I used the transfer tape to put the star on the container.


I liked this as you can see it from a distance.


But, I also like this on the front when you are close up.  I kept one on each side and will probably rotate the container every time I walk by it!!


For this project, I cut out another star (from the baseball container project) in cardstock.  I placed it on a white kraft gift bag that I purchased at Michaels.  I used red spray paint and painted the bag.  I covered the handles with scrap paper.  Once it was dry enough to take the star off, this is what I ended up with.


Here is a close up.  I added blue glitter tulle to one of the handles.  I now have blue glitter EVERYWHERE even after I vacuumed!!!


I used the smaller star as a gift tag.


Here is one of my new props for the photo booth:


I love these word bubbles!!! 


The 4th of July, stars and fireworks came from the Silhouette store.


I cut these out of red cardstock.  I added some blue stars and fireworks (shown below) to create the word bubble.


The actual word bubble came from cricut.  It is from a digital CCR cut called Word Bubbles.  I sized it to 8.53 inches. 

 I cut it out of  white poster board.  I adhered the words, stars and fireworks to the bubble and taped a skinny dowel (mine are from Wilton) to the back.


I also cut these props from the Silhouette store in blue cardstock.


I drape a white sheet in a corner of my room and place the props near by.  I also leave my point and shoot camera and extra batteries near by to encourage the younger ones to have fun!!!


Here are some of my models:


I hope I inspired you to have a creative summer party!!!

Your next stop in the hop is ROBIN.