Copyright Information

Thank you for stopping by my blog! I hope you enjoy the things that I create and share! I do have a copyright on my original creations (see logo on my sidebar below).
If you create and post a creations based off of mine, please refer (with a link) back to my blog. Please do not use my ideas for files, profit or for contests. Thank you!


My Craft Goals for 2015

My Goals for 2015:

1. Update my goals for 2016 in January of 2016 :)
2. Maximize my crafting time!
3. Keep plugging away at scrapbooking photos!!
4. Learn how to Heat Press!!
5. Have fun!


Monday, October 11, 2010

Boo S-Fold Card


I made a Halloween S~Fold card after seeing some cute ones on the Cricut Message board.  I did not search out the instructions (I have a hard time following directions anyway) so I just played around a bit.

I ended up with a 5x12 piece of black cardstock.  I scored the paper at 3 inches and 6 inches.  I folded the card in half and then folded the top flap the opposite way.
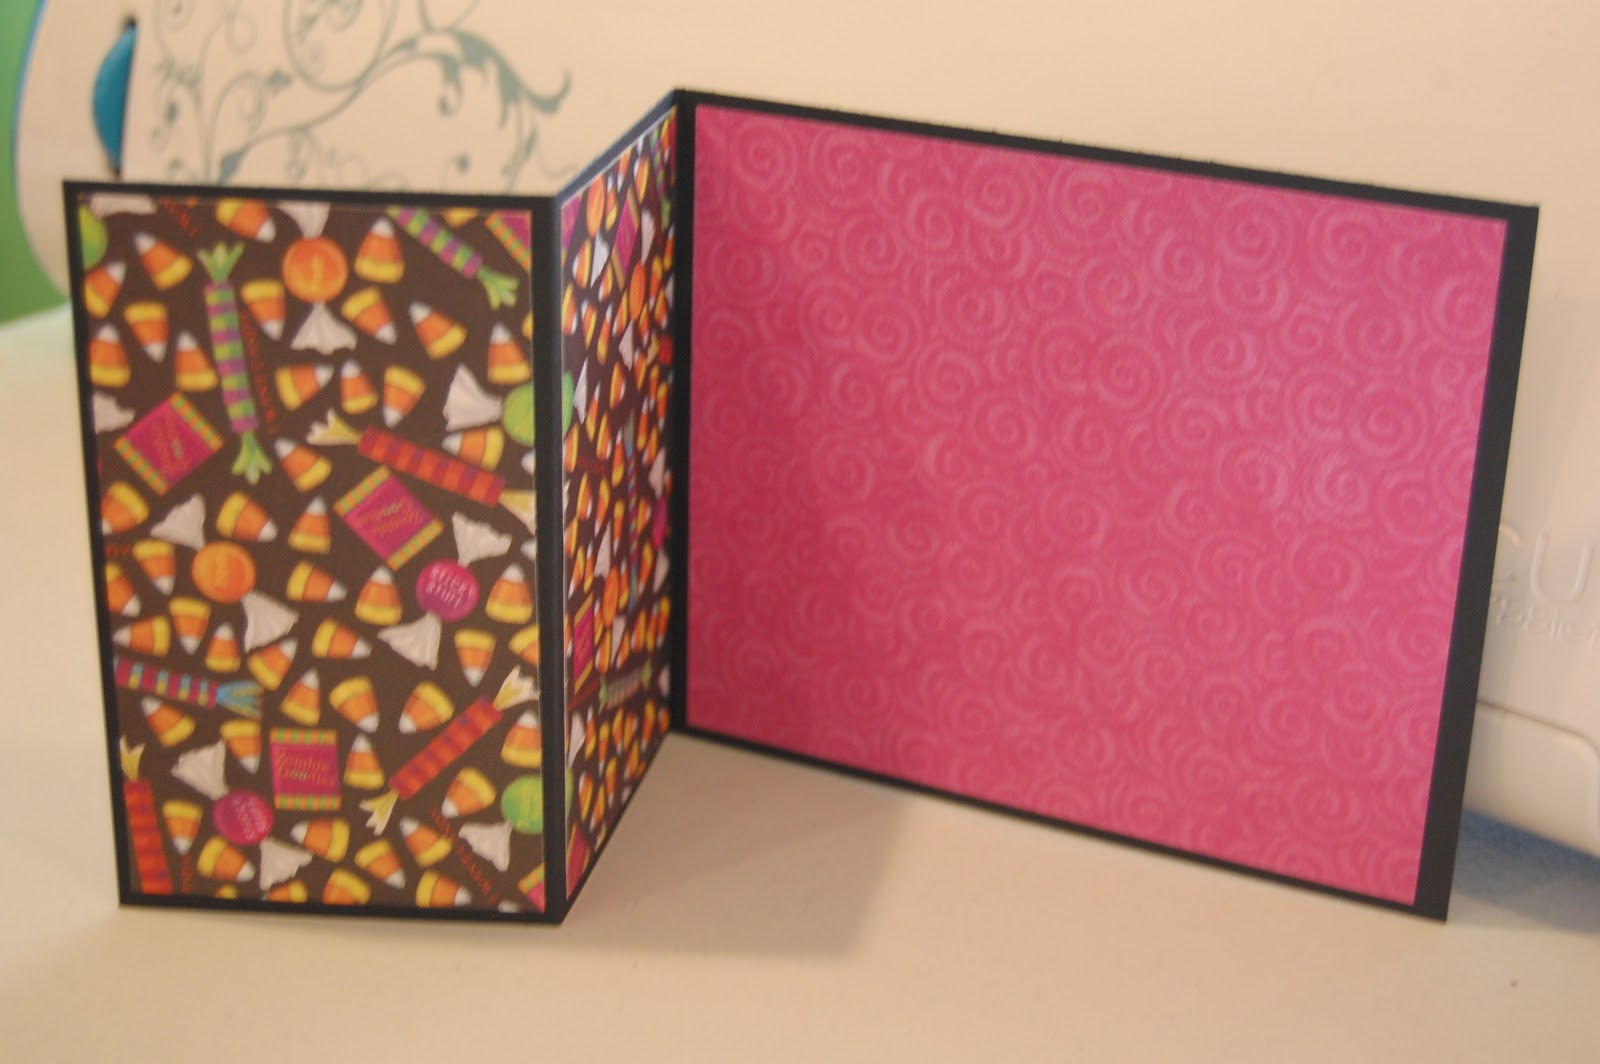

With my Gypsy, I used George & Basic shapes to cut the purple paper 5 5/8 x 4 5/8.  Note:  you can use a paper cutter to make these cuts if you choose.  I cut two pieces of the candy paper 2 3/4 x 4 5/8.  I glued the paper onto the card.

I used papers from this mat stack from K&Co that I bought at Michaels.

I cut a piece of lime green cardstock 5 5/8 x 4 5/8 and tore it to create a hill.  I inked the edges with a green stamp pad.

I found the Haunted House on October 31 and the Ghost on Mini Monsters.  I decided to use stickles for the eyes and mouth on the ghost.

I do not have a huge collection of rubber stamps, but really needed a sentiment on this card.  I decided to make my own with my Cri-Kits gel pen.  I put a green rectangle on the card and then sized a smaller white rectangle on my Gypsy.  I opened another Layer and put the word BOO from Calligraphy Collection right in the center of the rectangle.

I put the black gel pen inside the Cri-Kits holder.  I took the blade housing out of my Cricut and replaced it with the Cri-Kits holder.

I selected the cut option for the Layer with the word Boo on it.  You can see here how the word printed.

When the Cricut is finished with BOO, select Return to Design.

Put a piece of scrap paper on your paper under the gel pen as you remove the Cri-Kits housing and replace the blade housing.  This prevents unwanted pen marks on your paper.

Once the blade is replaced, change the layer to the rectangle and cut.  Here is what it looks like.

I inked the edges with black.

And here is the card all put together.  I glued orange crystals on the Ghost's eyes.  I glued the Ghost half-way on the first fold.  This was my first S~Fold card, the first of many!!!

Friday, October 8, 2010

Lil' Pumpkin Box

Today I am the Guest Designer on thebugbytes.  I made a pumpkin box using George, Pumpkin Carving and my Gypsy.

I started out with a square from George 3.74w x 3.50h in the center of the  mat.


I used the Copy & Paste button to duplicate the square.

I lined up the second square with the same x coordinate to get it exactly on the square.  I then used the arrow key to move the second square above the first, with the sides touching.  I welded them together.

I repeated this by turning the original square blue (tapping it with the stylus twice) and duplicating it.  This time, I put the square just under the center square overlapping the sides.  I welded the third square to the first two.

Repeat again, but use the y axis to line up the square to the sides of the center square and then weld.


Here are the five squares welded together.

Next, I selected a square pumpkin from Pumpkin Carving.  I used the Hide Contour option to hide the square around the pumpkin face.  I put the face on the top square but did NOT weld it.  I want the face to cut out and if I weld it into the center of the shape, it would not cut out.

I duplicated the face and put it on the bottom square.

I flipped it upside down so it would be right side up once the box is assembled.  Note the star eyes are on the same side.

Next I need to add flaps so I can glue the box together.  I used this tab shape from George sized at 0.88w x 3.30h  Originally I put the flaps on the solid box sides, but realized that they would show through the face cut outs ~ so I changed the flaps to the face sides.

Here is the box with the flaps in place.


I made a test cut and found part of a flap that was not lined up properly.  Good thing I did a test cut first!!  I went back and scootched the flap over and re-welded and re-cut.

Here is my box fresh off the Cricut.

I used my Martha Stewart Score Box to score the folds.

I creased the folds.

I used my Pink ATG Gun to adhere the flaps and assemble the box.

Here it is all glued together.

I did not have yellow shread, or any color shread for that matter.  I decided to make my own.

I cut strips of yellow card stock scraps and ran them through my paper crimper.

I scrunched them up a bit and put them inside the box.  I started out with black, but really liked the yellow better.

Here is my Lil' Pumpkin Box all ready for some candy or a small gift to eat!

Wednesday, October 6, 2010

Prince Oliver Card

My friend just had a baby boy and I wanted to make a fun little card for his gift bag.  I really liked the frog from Create a Critter.

I used the shadow image from the frog (3.89 w x 4.15 h) to make the card.  I copied the image and flipped it and welded the two together at the top of the eyes.

In order to size the card pieces real easy, I put them all on the mat at the same time.  They are grouped (all are blue) and I change the size all together.  Then I ungroup and rearrange the images on the mat by paper color.

Here are the pieces all cut out.

I added stickles for eyes, crown jewels and a mouth.  I made the eyes Waterfall to match the beautiful eyes of Oliver's brother and sister.  The jewels and mouth are Xmas red.  I cut a scrap of paper to put behind the crown instead of cutting out a second crown without the holes.

And here is the finished card.  I just adhered it to the front of the gift bag.

Monday, October 4, 2010

Celebrate Card ~ Guest Designer Today

The first Monday of every month I am a Guest Designer on Sassy Lady's BLOG.

I am going to a weekend crop with my Sister-in-law and her mom this weekend.  The mother of our hostess is celebrating her 80th birthday.  She cooks and serves the meals at these crops.  We are giving her a card shower and I made this card for her!

I used Lacy Labels to make the card and Straight From the Nest for the birdcage and sentiment.

Here is the inside of the card.

On Lacy Labels, I used the label from the middle row, the third one from the left.  I put one on the screen 4.79 w x 4.18 h.  I copied it and flipped it so it was a mirror image, then welded the two together.  I copied a second label to use with the patterned paper inside the card.

At first, I wanted to use the patterened paper on the outside but the paper I cut out looked too busy that way so I put it on the inside.

I sized and cut out celebrate from SFTN.  To size it, I opened a second layer and put the word on the card showing through from layer 1.  I increased the size to 3.62 w x 1.31 h.  I wanted it as big as possible because it was a delicate cut.

I used the same sizing process for the birdcage.  When I added the birdcage layers, I added all three at the same time and kept them grouped (all blue on the screen).  I sized the largest piece which is the shadow piece.  Then I ungrouped the pieces and arranged them on the mat by color of paper I was going to use.

Taking care to put the paper on the mat with the arrow on the LEFT (don't ask why I remember this!!!),  I cut out the pieces and the card.

I scored the card using my Martha Stewart Score Board.

I creased the fold with the bone folder to give it a crisp edge.

I inked the edges of the card.  I did not like the look of the front of the card blank, so I found some paper that had some vintage-looking writing on it.  It is subtle and pleasing to the eye!  I inked the edges of that paper too and glued it to the front of the card.

I used a Fantastix tool to help ink the birdcage.  I would have preferred to use the pointed tip, but I did not have one dedicated to brown (or a blank one), so I had to use a  bullet tip.

I wanted to add a little color and texure so I glued a ribbon to the outside of the card.  I will just tie the card shut and not use an envelope since I am not mailing it.

Here is the birdcage assembled.  I used a small pearl for the bird's eye and a decoration on the top of the birdcage.

I lightly inked the word Celebrate.

And here is another look at the front of the card. 

It is always an honor to Guest Design on Sassy's blog, she has been such an inspiration to me!!!