Copyright Information

Thank you for stopping by my blog! I hope you enjoy the things that I create and share! I do have a copyright on my original creations (see logo on my sidebar below).
If you create and post a creations based off of mine, please refer (with a link) back to my blog. Please do not use my ideas for files, profit or for contests. Thank you!


My Craft Goals for 2015

My Goals for 2015:

1. Update my goals for 2016 in January of 2016 :)
2. Maximize my crafting time!
3. Keep plugging away at scrapbooking photos!!
4. Learn how to Heat Press!!
5. Have fun!


Monday, December 5, 2011

Snowflake Etched Ornaments


Happy December!!!  Just 20 more days until Christmas!!  I am the Guest Designer today at She's A Sassy Lady and I have some snowflake ornaments.  I FINALLY tried to etch ~ how fitting that I shared this project on Sheila's blog as she inspired me a long time ago when she etched a glass baking dish!
I bought these mirror ornaments at Michaels.
I used these snowflakes from the Christmas cartridge and sized it at 1 1/2 inches.  I cut out the snowflakes in vinyl.  I set my cricut to Pressure 3, Speed 3 and Blade 3 to cut through the vinyl layer only (not the backing).
I peeled back the extra vinyl using my dental tool.  It is helpful to roll the vinyl as you pull it away to prevent it from sticking to your project.
I weed out the inner cuts next.  I use clear Contact paper for my transfer tape.  You need to dirty it up a bit on your jeans to de-stick it a bit.  I placed the contact paper over my snowflakes and burnished it with my scraper. 
I placed the snowflake in the center of the mirror and burnished it again.  I slowly peeled off the contact paper.
I got out my Armour Etch that I bought at Michaels about a year ago!
I put some newspaper down and put a thick coat of etching cream on my mirrors.


After 5 minutes, I rinsed one off and it looked done.


Here are the ornaments after I rinsed them and dried them with a paper towel.
I peeled off the remaining vinyl.
I added some sparkly ribbon and a coordinating gem to each snowflake.  These would make a nice gift! 

Thanks Sheila for having me on your blog today!!!  I hope everyone over here has a wonderful Christmas!!

Saturday, December 3, 2011

Christmas Home Decor Blog Hop Day 2

Welcome to Day 2 of the Christmas Home Decor Blog Hop!!  You made it to the end!!!  If you found me first, please go to see Shannon!  It is a short hop filled with a ton of Home Decor!!


Day 1 can be found HERE.

Jen's Birthday Blog Hop can be found HERE.

All About Winter Blog Hop can be found HERE.

Here is the lineup for today's hop:


I have a gold tinsel tree that was my maternal grandparents.  It has a rotating base and red and green spotlights that shine on the tree.  The tree also plays music.  My grandfather bought it in 1959.  I saved this tree from the dumpster when my grandparents passed away ten years ago.  It has great sentimental value to me because my mom passed away 22 years ago.

My grandparents used green ball ornaments and one gold bell to decorate the tree.  I decided it looks better with purple :)

This year, I wanted to make a matching wreath using deco mesh.
I started with this wire wreath frame from Michaels and some pipe cleaners.

I bought this deco mesh from http://www.trendytree.com/ and received it within days of my order!
I started out with the lavendar mesh - bunching it up and twisting the pipe cleaners around it.  I then added a layer of gold.  I did not like how it looked so I reworked it several times.  I ended up layering the two colors together and then a 1 1/2" dark purple ribbon.  By this time I was getting frustrated and did not take any photos as I wasn't sure this project was going to work out.
I needed some ornaments and found these laser cut wood ornaments at Michaels.
I sprayed them with Krylon purple paint.  I sprayed 2 coats (this was the first coat).
.
I cut out "believe" (sized to 3.25") from Wall Decor and More three times in purple cardstock
I ran two of them through my Xyron and layered all three together.
I added some ball ormanents, gold curly willow and a bow.  I am glad I kept at it because I love it!!!

Thanks for stopping by ~ you made it to the end!!  I hope you found lots of inspiration!

Christmas Home Decor Blog Hop


Welcome to the last stop in the Christmas Home Decor Blog Hop!! 

You should have arrived from Kristy.  If not, please go to the BEGINNING so you don't miss any fabulous Christmas Home Decor projects!!

If you are looking for Jen's Birthday Blog Hop, please go HERE.
If you are looking for the All About Winter Blog Hop, please go HERE.

Here is a complete lineup:

  For my project today, I altered a 5x5 canvas.

I started out playing with my new Santa's Village cartridge and my Imagine.  Looking at the colors of my Santa's compared to the cover of the cartridge box, I am thinking it is time to change the ink!!

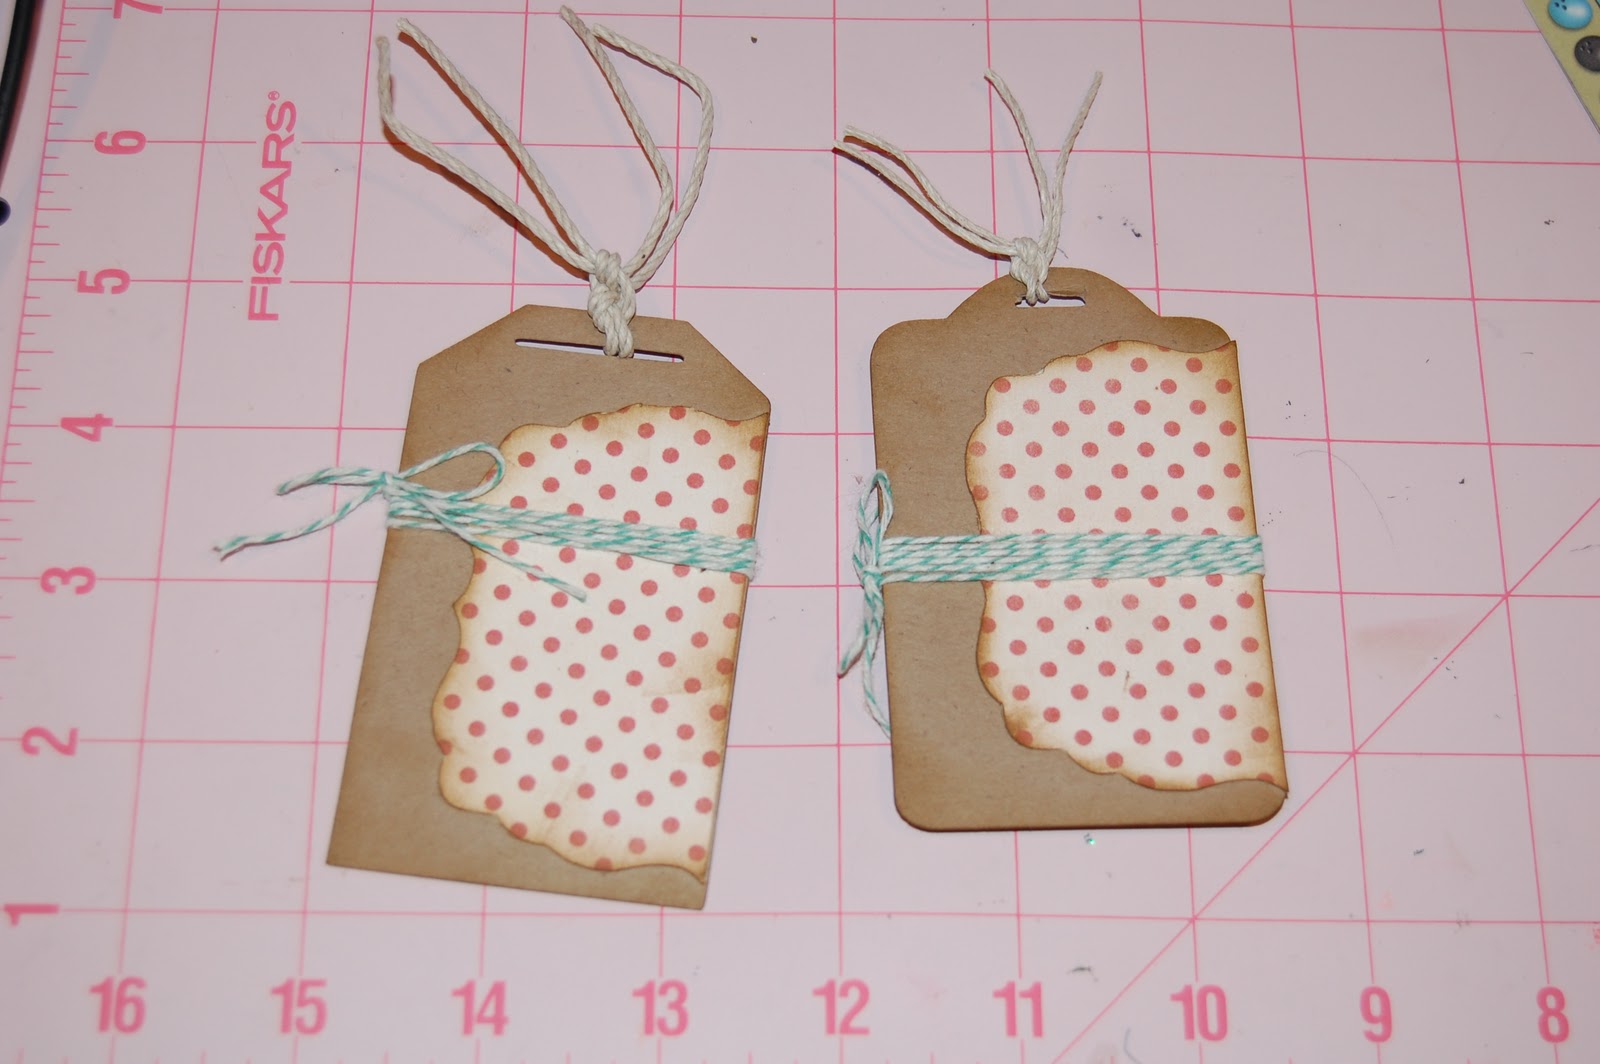
I took a couple of tags from Tags, Bags, Boxes and More and cut this shape (from Santa's Village) in half. 
I added some ink and twine.

I pop-dotted the Santas on the top.  I set them aside and got my Imagine back out.
This time I needed a 5x5 square of patterned paper to cover the canvas.  I try to fill up the page when I use my Imagine ~ the extra pieces are for a different project.

I grabbed some embellies from Making Memories.
I liked this tag the best because it had the most green on it.  I added some tags and buttons.
I added some pom pon ribbon across the bottom and the word Believe.
This makes a fun little decoration perfect for a bookshelf or tabletop (or even a gift)!!

Thank you for hopping with us today!!

Friday, December 2, 2011

Jen's Birthday Blog Hop


Happy Birthday Jen!!!

Welcome to Jen's Birthday Blog Hop!  You should have arrived from MELINDA.  If not, please go back to the BEGINNING so you don't miss a thing!

If you are looking for the All About Winter Blog Hop, please go HERE.
If you are looking for the Christmas Home Decor Blog Hop, please go HERE.

Here is a complete line up!


  For my project today, I made a peek-a-boo card.  I was inspired by a card from Kimberly when she was a Guest Designer at She's A Sassy Lady.


I put a rectangle on my mat by taking a square from George and Basic Shapes and sizing it to 8.5w x 5.5h.  I put the shadow layer of the cupcake from Straight From the Nest (sized to 1.91w x 2.16h) inside the card.  I did not weld, just grouped them together.
I cut it our in cream colored card stock.
I opened up Layer 2 on my Gypsy and put a rectangle sized to 5.25w x 4h (one fourth of an inch smaller than the front of the card) and placed the shadow of the cupcake in the exact same place as the card blank.  You can see Layer 1 and can place the cupcake on top of the Layer 1 cupcake, or you can use your x and y coordinates.
I cut out the card mat with some green paper from K&Co.
On Layer 3, I put the remaining cupcake pieces and cut them out.
I put the cupcake together with my Xyron.
I added some Stickle Bling to the cupcake.
I tied some ribbon around pink cardstock and adhered it to the front.  With the card closed, I placed the cupcake in the cut out and adhered it to the inside.  I used a stamp from the Close To My Heart Celebration set.
Here is my Peek-A-Boo card ~ how fun is that?  Thank you so much for sharing Jen's birthday celebration with us.  Your next stop is Becky.

Thursday, December 1, 2011

All About Winter Blog Hop

Hi and welcome to the All About Winter Blog Hop!  You should have arrived from Rachel's Blog.  If not, please go to the BEGINNING so you don't miss anything!


I created a layout today using Speaking of Winter and George and Basic Shapes.  One of my goals this year was to use all of my cartridges.  I think I have used most of them!

I started out by putting a square with rounded corners on my mat at 9.8 inches.  I scooted it down to the bottom of the cutting range.  I spelled out WINTER from Speaking of Winter at 1.9 inches and the snowflake at 1.36 inches.  I grouped and welded them to the square.  I cut this out of black cardstock.
I put the layers for the letters and snowflake on Layer 2.  I put the white pieces together in one section and the red pieces in the other.  I cut them out of cardstock.


I took the snowflake paper from this paper pad from K&Co. and adhered the black square to it.


I adhered the layers on the letters and snowflake and added some stickles.


Here you can see the sparkle!!

I went back to Speaking of Winter and cut out the "M"  at 2.76 inches and "6" at 3.35 inches and their layers.
I added some stickles, ribbon and two photo mats.
And here is my completed layout.  Now we just need some snow (I am not in a hurry though)!

Thanks so much for stopping by today.  Your next stop is Ashley.