Copyright Information

Thank you for stopping by my blog! I hope you enjoy the things that I create and share! I do have a copyright on my original creations (see logo on my sidebar below).
If you create and post a creations based off of mine, please refer (with a link) back to my blog. Please do not use my ideas for files, profit or for contests. Thank you!


My Craft Goals for 2015

My Goals for 2015:

1. Update my goals for 2016 in January of 2016 :)
2. Maximize my crafting time!
3. Keep plugging away at scrapbooking photos!!
4. Learn how to Heat Press!!
5. Have fun!


Monday, February 6, 2012

All Because Two People Fell In Love LO


Hi! Today is my day to Guest Design over at She's A Sassy Lady!!

I am so happy that my mojo came back!!!  January was a rough month for me.  We made the decision not to go on our annual family vacation with my two brothers and their families.  My brother has a work conflict.  We have been going for 13 years and this year was going to be our last one.  Not meant to be.  

Then my Uncle passed away.  He lives alone and was home by himself when he passed.  His good friends went looking for him a few days later.  Uncle Howie was the black sheep of our family ~ different from us.  He lived by himself on the river.  He had a simple life and as we went through his things it seemed to me that he had a great life.  I never really felt that way when he was alive because I kept comparing him to his siblings.

My mom (his oldest sister) died 23 years ago next month.  I was 20.  It was awful and I was angry for a long time.  She would have been an awesome grandma, but it was not meant to be.....  I grieved for over 5 years before it seemed to get better.  That scab was ripped open a bit when we went through Uncle Howie's photos and momentos.  I put together a board for his memorial which was held Saturday at his favorite watering hole ~ perfect place if you ask me!  

As I went through the photos, I came across one of a young couple and thought the man was my Uncle Mark (mom's other brother).  It was my grandpa and grandma.  They were sitting at a picnic table with a music box (their version of an ipod with speakers) and it looks like my grandma is playfully biting my grandpa's ear.  Not at all how she acted when I was around!!!  This got me thinking that if they had never met at the cafe where she worked as a waitress, I would not be here!!!  And just like that my mojo came back and the scab started to heal once again!

I started with the photo and some paper.


I saw a card on Pinterest that had the word LOVE on a mini banner and liked that idea.  I made a 2 Layer banner from Birthday Bash sized at 1.77 inches.  I got the font for "all because" from Art Philosophy and sized the letters to .85 inches.  I got the font for "two people fell in" from Nursery Rhyme and sized it to 1.15 inches.  I got the font for "Love" from Calligraphy Collection and sized it to 1.35 inches.

I cut out the scalloped flag in burgundy patterned cardstock, the top flag layer and "all because" in gold metallic paper, and the rest in black cardstock.


I used this shape from Lacy Labels at 10.38 inches.  I cut this out with sheet music paper that I found at Michaels.  This shape can also be found on many other cartridges.


I cut out a lacy mat for my photo that I found on Sophie (my grandma's name) at 4 inches.  The lace border is from Sophisticated.  I welded two together and sized them to .88 inches.  The swirls are from Heritage sized at .88.

Here is one of the mats with the cuts on it.

In order to make my title look straight and evenly spaced, I use the negative piece from my cuts as a template.

I adhere the letters and then slowly peel back the template ~ perfect every time!

Here is a close up of the burgundy patterned cardstock.  I punched out three circles, crinkled and inked them up and created a flower.  

I stuck a pearl to the center and used some black glittered chipboard flowers to accent it.

Here is my Love Banner all put together.

I curved the "all because" around the burgundy circle I added to the background.

Here is my completed layout of my Grandparents when they were young and first in love.  I am grateful they were!!  I am also grateful they jump started my mojo!!


Friday, February 3, 2012

Twine or Ribbon Challenge

This week the Fabulous Friday Challenge at Frosted Designs is to use Twine or Ribbon on your project.  I saw a digital layout on Pinterest that gave me this idea.  I prefer actual paper and texture on my layouts.  Here is the page I was inspired by:
Here is a LINK to this project.  As you can see, my style is a bit different but the sketch is the same.

I started with some Christmas paper from my stash and gold cardstock.  I designed my layout on my Gypsy.  On the first Layer, I put a triangle from George on my mat.  I unlinked chain below the width and height and stretched my triangle to fit the page.  I sized it 5.00w x 11.50h.  I found the phrase Oh Christmas Tree from Winter Frolic and cut out both layers at 2.53 inches.  I intended on putting 2012 on my layout until I remembered that Christmas 2012 hasn't happened yet.....  I found the numbers from Designer Calendar.

On the next Layer, I put some jingle bells on the mat sized to 1.12 inches.  I used stars and hearts from George sized to 1.35 inches.  I cut out a sign post from Christmas at 2.88 inches, but did not use it.

I added our annual Christmas Tree Hunt photo of my boys.  One great sketch ~ two different looks.  Be sure to join us at Frosted Designs for our Twine or Ribbon Challenge this week!!

Monday, January 30, 2012

Christmas Hidden Journaling Layout

Lori here from ScrappinMyStressAway!  This week's theme at Sweet Sassy Diva's is Hidden Journaling.  I love hiding journaling on my page so I can fit more pictures!!

I received this Christmas card from my Aunt Chris and just LOVED it!  My first thought was this could be a title for a layout!

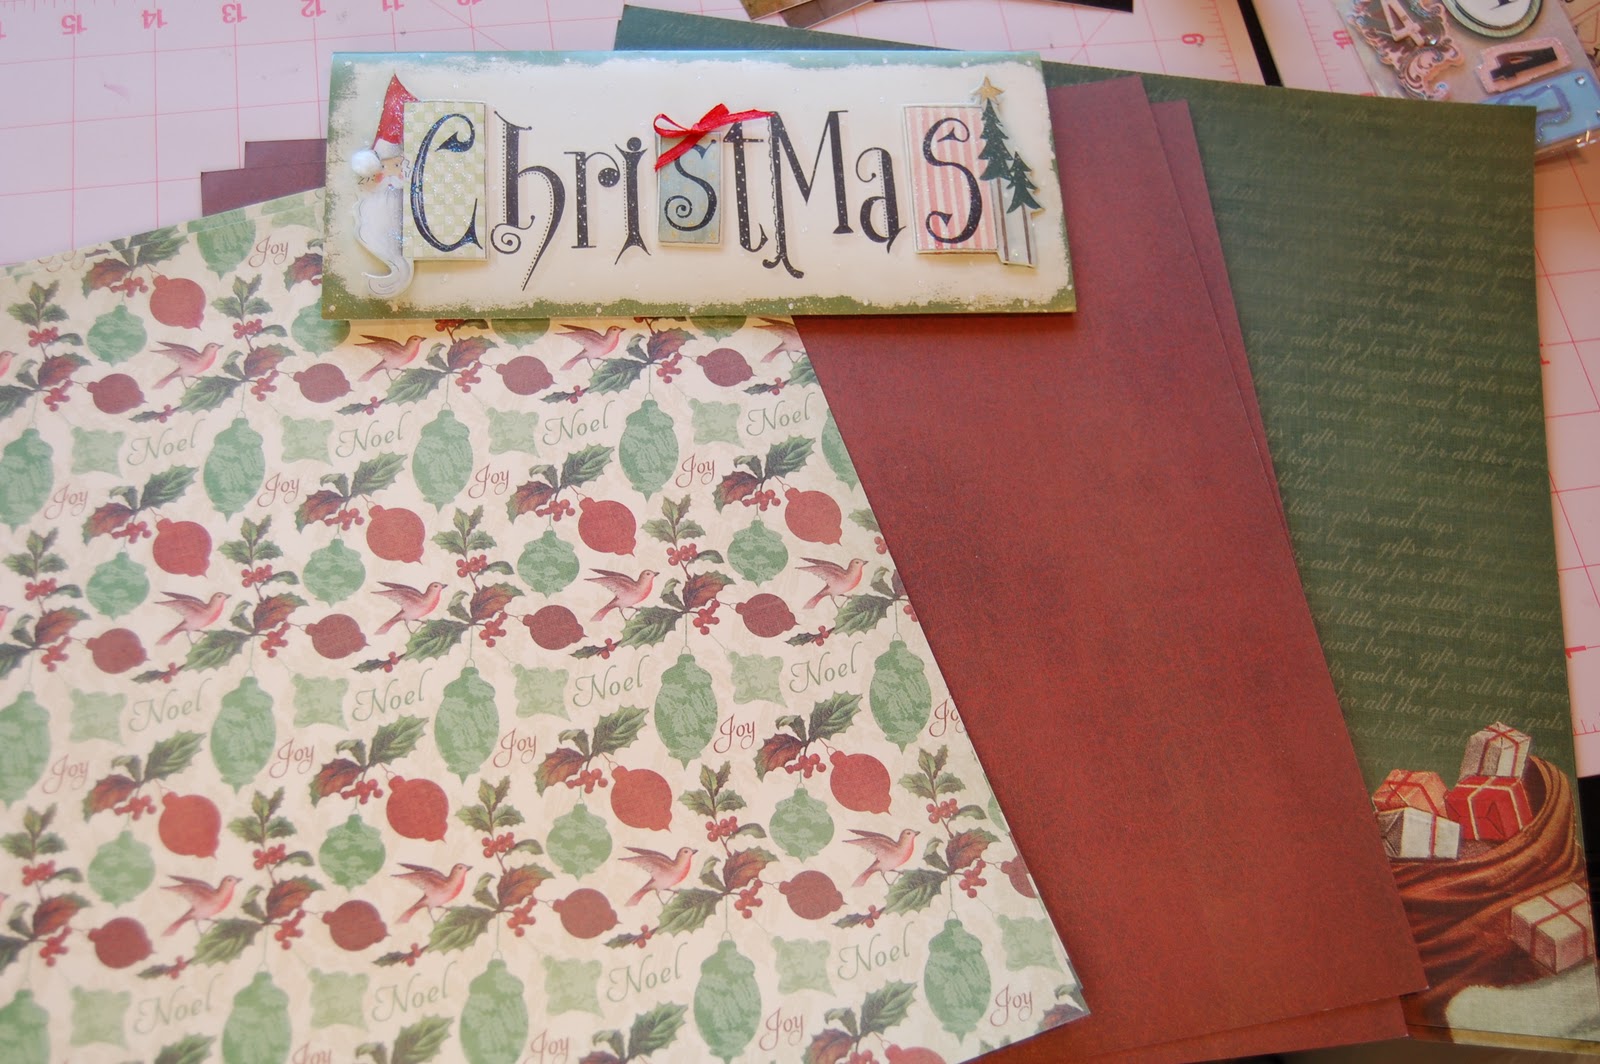
I grabbed some papers from this paper pad.

These papers were my favorite for this project.

I lined the card with the green paper and then white cardstock to give me space for my journaling. 

I used Winter Frolic and gold cardstock for my embellishments.  I welded 3 ornament borders (top) sized to 2.14 inches and (bottom) 1.80 inches.  I cut out the Phrase Making Spirits Bright at 2.24 inches.  I cut out the tag at 3 inches and the ornament balls at 2.88 and 3.12 inches.

Here are my cuts.

I needed another picture here and really liked this photo of me, but not the red bow on my head!

So I covered it up with this ornament border!

I trimmed the bottom of the green page (Santa sack and toys) and adhered it to the bottom of this page.  This page was a fun collection of photos of us being techy on Christmas Eve.  My niece is playing on my tablet.  My son is teaching my Sister-In-Law how to play Hangman with Friends on facebook with her friend (and my other niece joining in on her ipod touch).  My SIL is also teaching my youngest how to play games on their tv.

I added some sheer gold ribbon for some texture.


Here is my hidden journaling with an ornament border.


Friday, January 27, 2012

Cricut Craftin Friends Blog Hop Day 2


Welcome to Day 2 of the Cricut Friends Blog Hop!  

If you are looking for Scrapbooking SOS 1st Blogaversary Hop, please go HERE.

If you are looking for my project from Day 1 of Cricut Friends Blog Hop, please go HERE.

Here is the entire line up in case you found me first or get lost along the way.

Suzanne
Also posting for Cindy who does not have a blog

Fantabulous Cricut Challenge
Blog  Friends
Lasting Memories
Message Board Friends
Sweet Sassy Diva Blog Friends


Don't forget to comment on every post in the hop in order to qualify for the Blog Candy!!

I wanted to make a special layout about Tanner rollerskating.  This is his kindergarten year and his first time going to skating parties.  The first party was very difficult for him and I.  Those roller skates are not easy to use!!!  We went out and bought our own rollerblades.  I moved some furniture in the basement kitchen (my day care kitchen) and we practiced quite a bit.  He is now skating without me at the parties and I am so proud of him.  I love skating, but it can be dangerous with all of those kids!!!

For this layout, I used Nifty Fifties for the roller skate title.  I sized it to 2.61 inches.  I also cut out the roller skates but decided not to use them.  I used Elegant Edges for my circle photo mat sized at 5.59 inches.  I rotated it on my mat to conserve my paper.  I welded three circle borders together and then sized them to be 11.60 inches WIDE (1 inch tall) to use as a page border.

I cut these out of black cardstock.

I put the layers to my rollerskate cuts on another Layer and cut them out in White, silver and black cardstock.

I trimmed the photo down to fit the mat and adhered the title together.

I wanted to keep this layout simple to showcase Tanner's art.  The most important piece is the picture Tanner drew at school of his rollerblades.  Part of scrapbooking is recording some of his pictures that he draws me!  What is your favorite non-photo item to scrapbook?

Thanks for stopping by today!

Your next stop in the hop is Mindy.

Scrapbooking SOS 1st Anniversary Blog Hop


Welcome to Scrapbooking SOS's 1st Anniversary Blog Hop!  

If you are looking for the Cricut Craftin Friends Blog Hop, please go HERE.

You should have arrived from MARY.  If you stopped here first, please go to the BEGINNING so you don't miss anything!!


1. Michelle O'Driscoll  - ScrapbookingSOS.blogspot.com
4. Lori Apgar - http://www.scrappinmystressaway.blogspot.com ***HERE***
5. Pattie Beach - http://paperplates-pjbeach.blogspot.com/  ***NEXT***
8. Cindy deRosier - http://www.cindyderosier.com
9. Jean - http://pagesintime.blogspot.com
10. Marianne - http://mylifeincraft.blogspot.com/
11. Joyce (with a great sketch and challenge) - 1ashjoy.blogspot.com
12. Emily Kincke - http://emily.kincke.com/
13. Back to Michelle - ScrapbookingSOS.blogspot.com    

On to my project.....

I made a Magic of Winter 8x8 shadow box for my project today.  I used vinyl for the the phrase and cardstock for the snowman and banner.  I found my shadow box at Michaels.

When I use vinyl, I like to make the most of my cuts.  I have vinyl for a total of 5 projects on my Gypsy Mat.  

When I cut vinyl, I set my Expression to 3-3-3 (blade depth, speed and pressure) for a kiss cut.  This means I don't cut through the paper backing.  I use clear contact paper as my transfer tape.  Just make sure to de-stick it a bit on your pants first!

Here are my cuts.  For this project, I used "the Magic of Winter" phrase from Winter Woodland sized at 5.27w x 3.47h.

If you want to see some of the other projects with these vinyl cuts, you can go HERE.

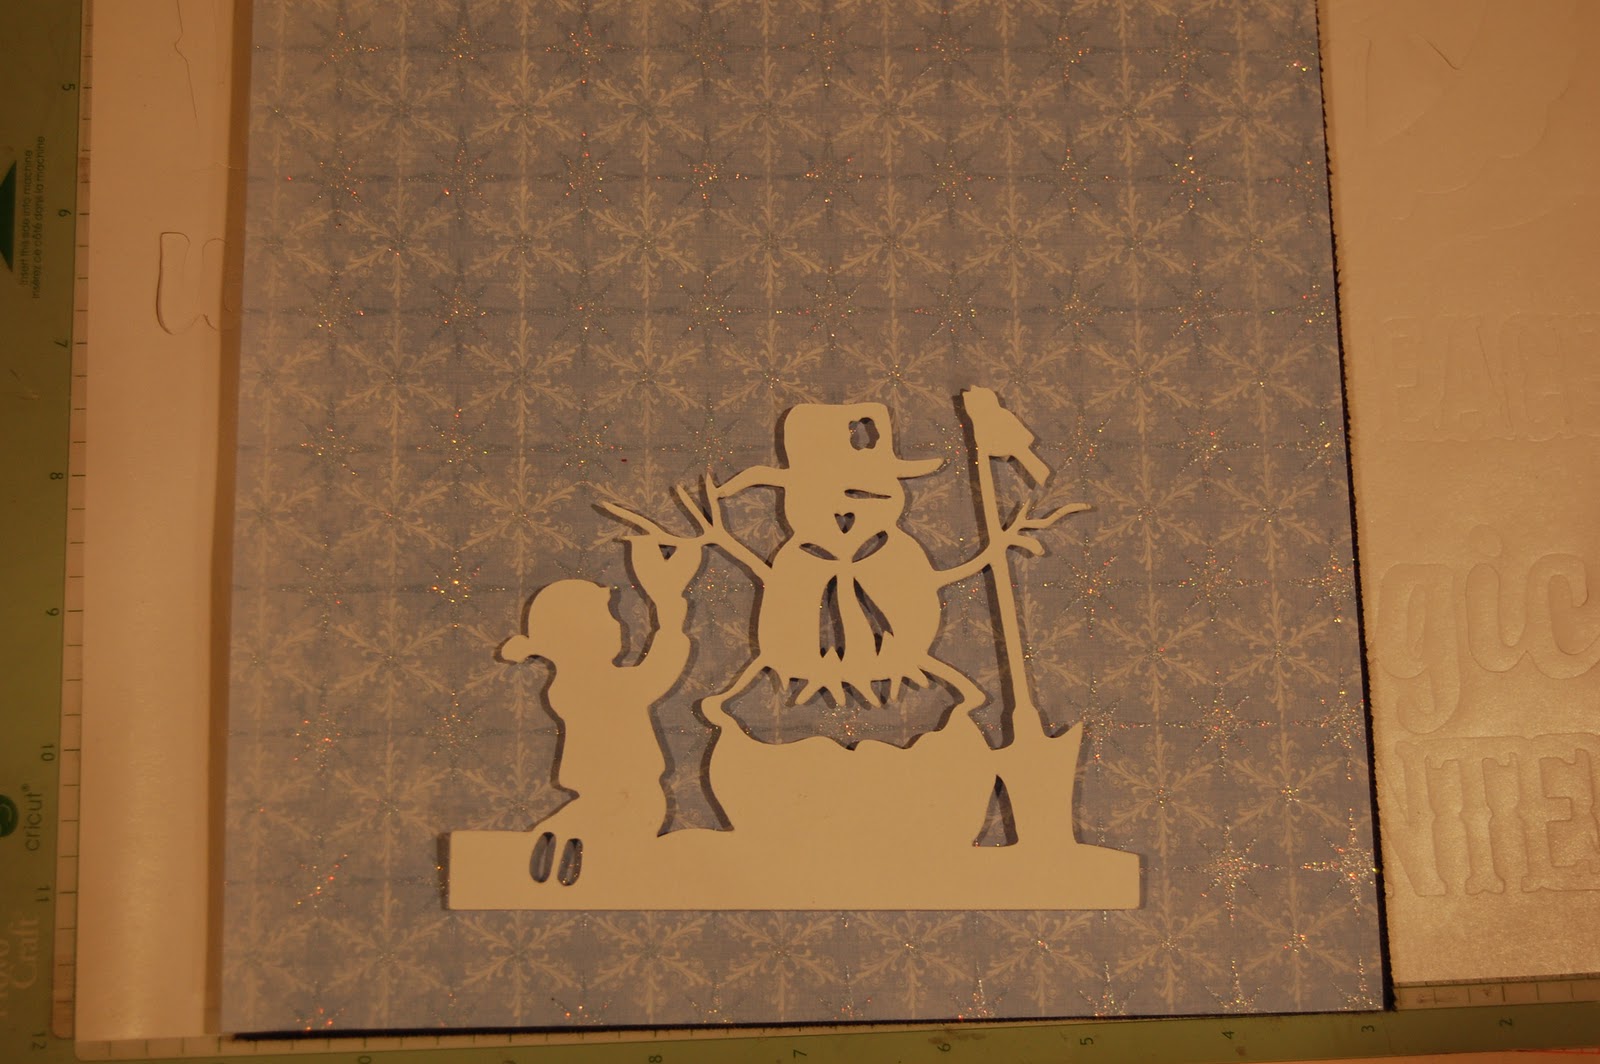
I placed the phrase up high so the snowman would be seen.  I used a piece of glittery snowflake paper as my background.
I cut out this snowman from A Child's Year in white cardstock.  I cut it out at 4.88w x 3.71h and pop dotted it on my cardstock.

I wanted a little something in the corner and decided to hang a mini banner.  I used Birthday Bash for my banner pieces and cut out the pieces at 1.35 inches.  I used Calligraphy Collection for the font and cut the letters at .92 inches.


I adhered the twine on the shadow banner flags and sandwiched them in between the layers.

I adhered the top banner flags on and my banner was complete. 

 I added some stickles on the bottom of the paper to make the snow sparkle.  I also added some red stickles to the snowman and little boy.

I pinned the banner in the corner and added some gems to the flags. 

I added some white tulle inside the shadow box to mimic snow.  I tied a sheer white bow on the top and used glue dots to hold it in place.

Thanks for stopping by today!!  Your next stop is Pattie!


Cricut Craftin Friends Blog Hop


Welcome to Cricut Craftin Friends Blog Hop!  I am a Sweet Sassy Diva Friend to Suzanne!!!  You should have arrived from Shawnee!

Here is a complete line up of wonderful blogs to visit:

Suzanne
Also posting for Cindy who does not have a blog

Fantabulous Cricut Challenge
Blog  Friends
Lasting Memories
Message Board Friends
Sweet Sassy Diva Blog Friends


I recently went to an all day crop and got my son's album caught up. It was great to get caught up, but I did not have my camera to take pictures step by step.  

He is a high school junior and I have a hard time with his pages at times.  I do a lot of baseball, bowling and tennis pages (aka boring) and try to keep them plain (also boring).  This photo was taken this year of my three boys and I just loved the colors.

I grabbed my Gypsy Girl and created my title by welding the word Brothers from the shadow font from Batman.  I sized the letters (shadow and regular letters) to 1.71inches.  The word three is from Graphically Speaking and is sized to 1.47 inches.  

I needed a little more fluff, so I added 3 amigos sized at 2.53 inches and Certified at 2.18 inches, both from Graphically Speaking.

I cut everything out of black cardstock except the regular letters.  I used a lavendar cardstock for those.  I added a purple border behind my photo and adhered it all together.

This is my end result.  A little plain and not fancy ~ perfect for a 17 year old boy!  I am surprised I got away with the purple paper (he he)!!

Thanks so much for stopping by today!!!

Your next stop is Mindy!!