Copyright Information

Thank you for stopping by my blog! I hope you enjoy the things that I create and share! I do have a copyright on my original creations (see logo on my sidebar below).
If you create and post a creations based off of mine, please refer (with a link) back to my blog. Please do not use my ideas for files, profit or for contests. Thank you!


My Craft Goals for 2015

My Goals for 2015:

1. Update my goals for 2016 in January of 2016 :)
2. Maximize my crafting time!
3. Keep plugging away at scrapbooking photos!!
4. Learn how to Heat Press!!
5. Have fun!


Saturday, September 8, 2012

Mimi and Papa Coupon Book

This week at Sweet Sassy Diva's BLOG we are celebrating All About Grandparents in honor of Grandparent's Day Sunday September 9th.

I used one of the free Cricut Digital Images that was loaded on my Gypsy when I updated in August.  The Digi is called Mother's Day Coupon Book.  There is a similar cut on the Mother's Day 2010 Cartridge that would work too.


I sized the coupon book cover to 3 inches.  I wanted to add Mimi and Papa to the cover and used Doodletype for the font.  I sized the letters to 0.69 inches.

I opened Layer 2 and placed 6 coupon pages on my mat sized to 3 inches.

I opened Layer 3 and kept Layer 2 visible.  I used Doodletype to place my words in the center of each coupon.  The letters are sized at 0.61 inches.
After trying both of my gel pen holders and failing, I used a mini Crayola marker with a pencil gripper to draw on my paper.


Bottom right coupon did not print very well, so I left it out of the book.  Had I not just spent a half an hour trying the other pens, I probably would have had the patience to re-do that coupon.
Who am I kidding....Tanner would not help "bake" the cookies, he would "eat" them anyway!!

I cut the cover out of patterned cardstock.  I cut the title out of dark blue cardstock.  I kept the template from my title and ran the letters through my 1" Xyron.

I used the template to line up my letters.

Perfect titles every time!!

I scored the cover and assembled the coupons inside.

I used a dark blue ribbon to bind the coupon book.  Here you can see the inside pages.


Tanner will love giving this book to his Mimi and Papa for Grandparent's Day!

What do you do to celebrate Grandparent's Day?


Friday, September 7, 2012

Cell Phone Cover Design Gypsy Style

This week at Frosted Designs, our challenge is "Cell Phone" which means either creating with the pictures from your cell phone, creating a layout about your cell phone or any other project involving your cell phone.

I finally got my new cell phone!!  I got the Samsung LG3.  I am having so much fun with it, but the white cover was a little boring.....


Don't you agree??  I spent a week trying to decide on a design.

I love butterflies and the color purple so I started with some purple vinyl and my Gypsy.

The butterflies come from Paper Lace 2.  I copied and welded the butterflies together around the monogram from Creative Memories Reminisce Accents.  I was inspired by some cell phone covers I saw on Pinterest.

In order to trim the edges of the butterflies, I added a rectangle the same size as my phone.  I did not group or weld the rectangle as I wanted the blade to cut through the design.

My test cut with purple cardstock showed me the size was good.

I loaded my mat with my purple vinyl.  I set my Expression to 3-3-3 (Depth, Speed and Pressure) for a kiss cut.

I weeded the extra cuts with my Cricut Dental Tool.

I used transfer tape to place the vinyl on my phone.  I burnish the vinyl with my scraper and carefully peel off the transfer tape.

Here is my finished design!  I love it and the best part is I can change the design without buying a new cover!!

Thursday, September 6, 2012

1st Grade Layout

I finished Tanner's First Day of School layouts.  I love the picture of him walking ahead of me to school!!  I found this great paper at Archivers and could not resist.

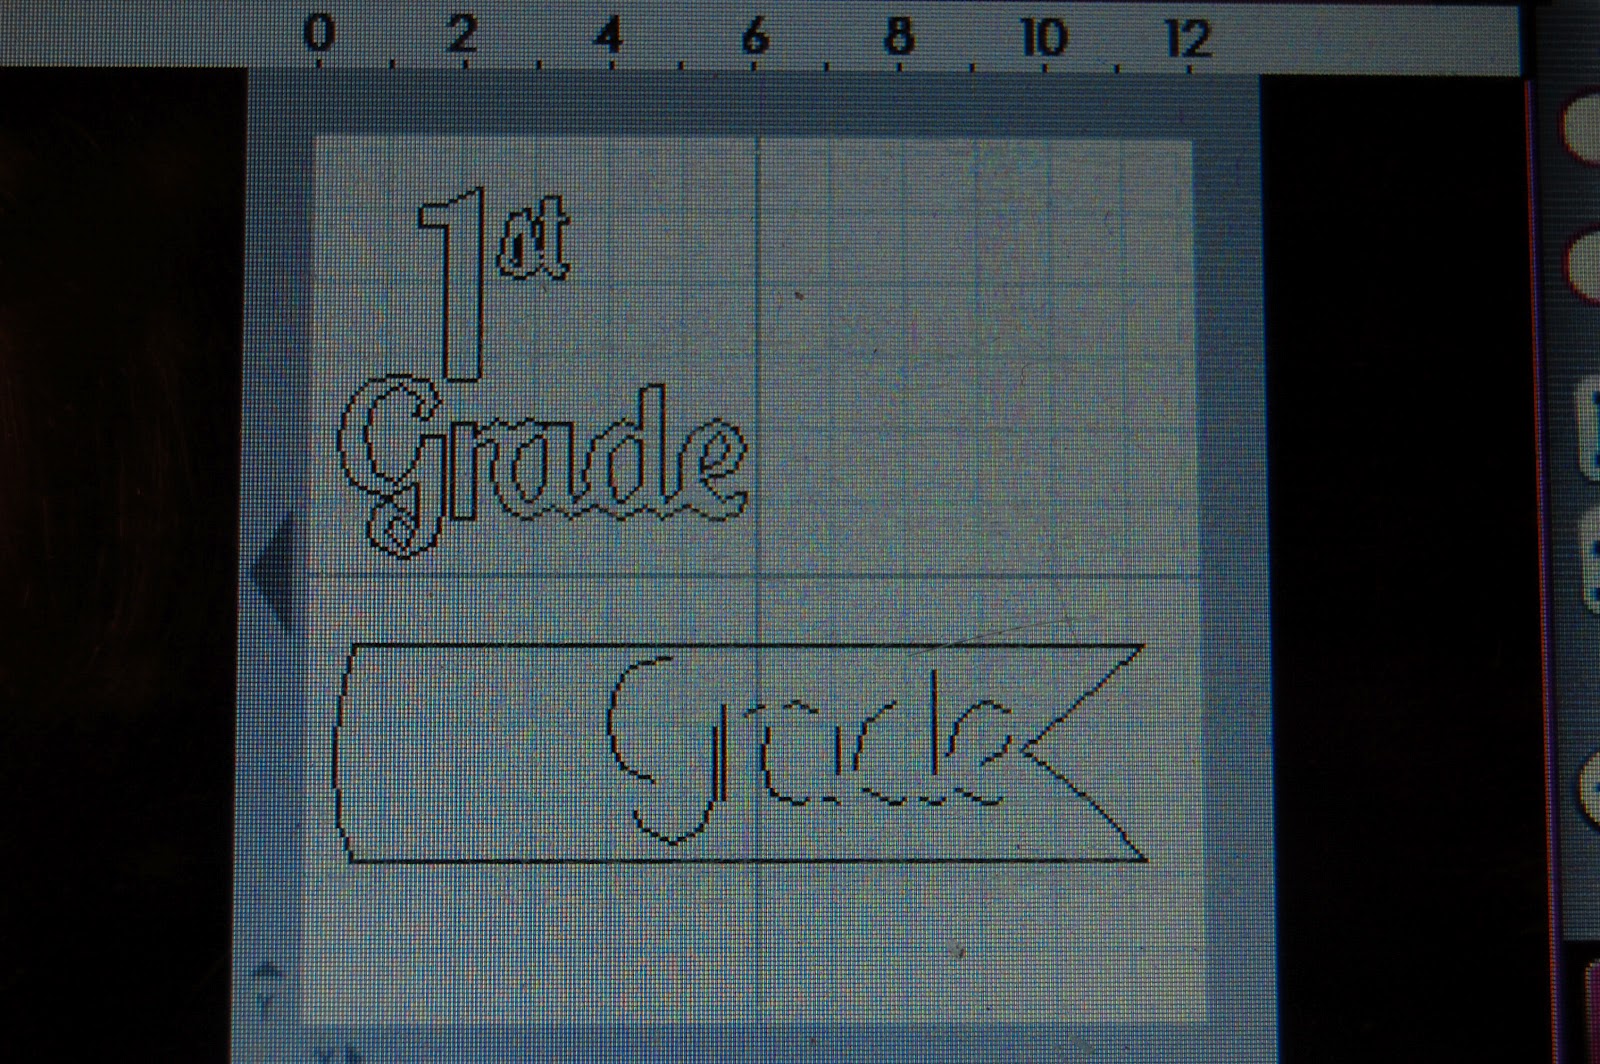
I took advantage of the free Cricut Digital Iimages K-12 to create my title.  I sized the pieces to 2.94 inches and cut it out of black and lime green cardstock.

I offset the star from George and sized it to 10.76 inches.  I offset the star so the pattern on the paper would be the right way (straight) after I cut it out.

I cut out a little tag and created this clipboard journaling tag.

I added a little twine and tape to complete this layout.

Of course, I had to create another layout to go with it!!
A group of high school band members greeted the children on the first day of school.  They played music for about 15 minutes before school started.  It was a great ice breaker!

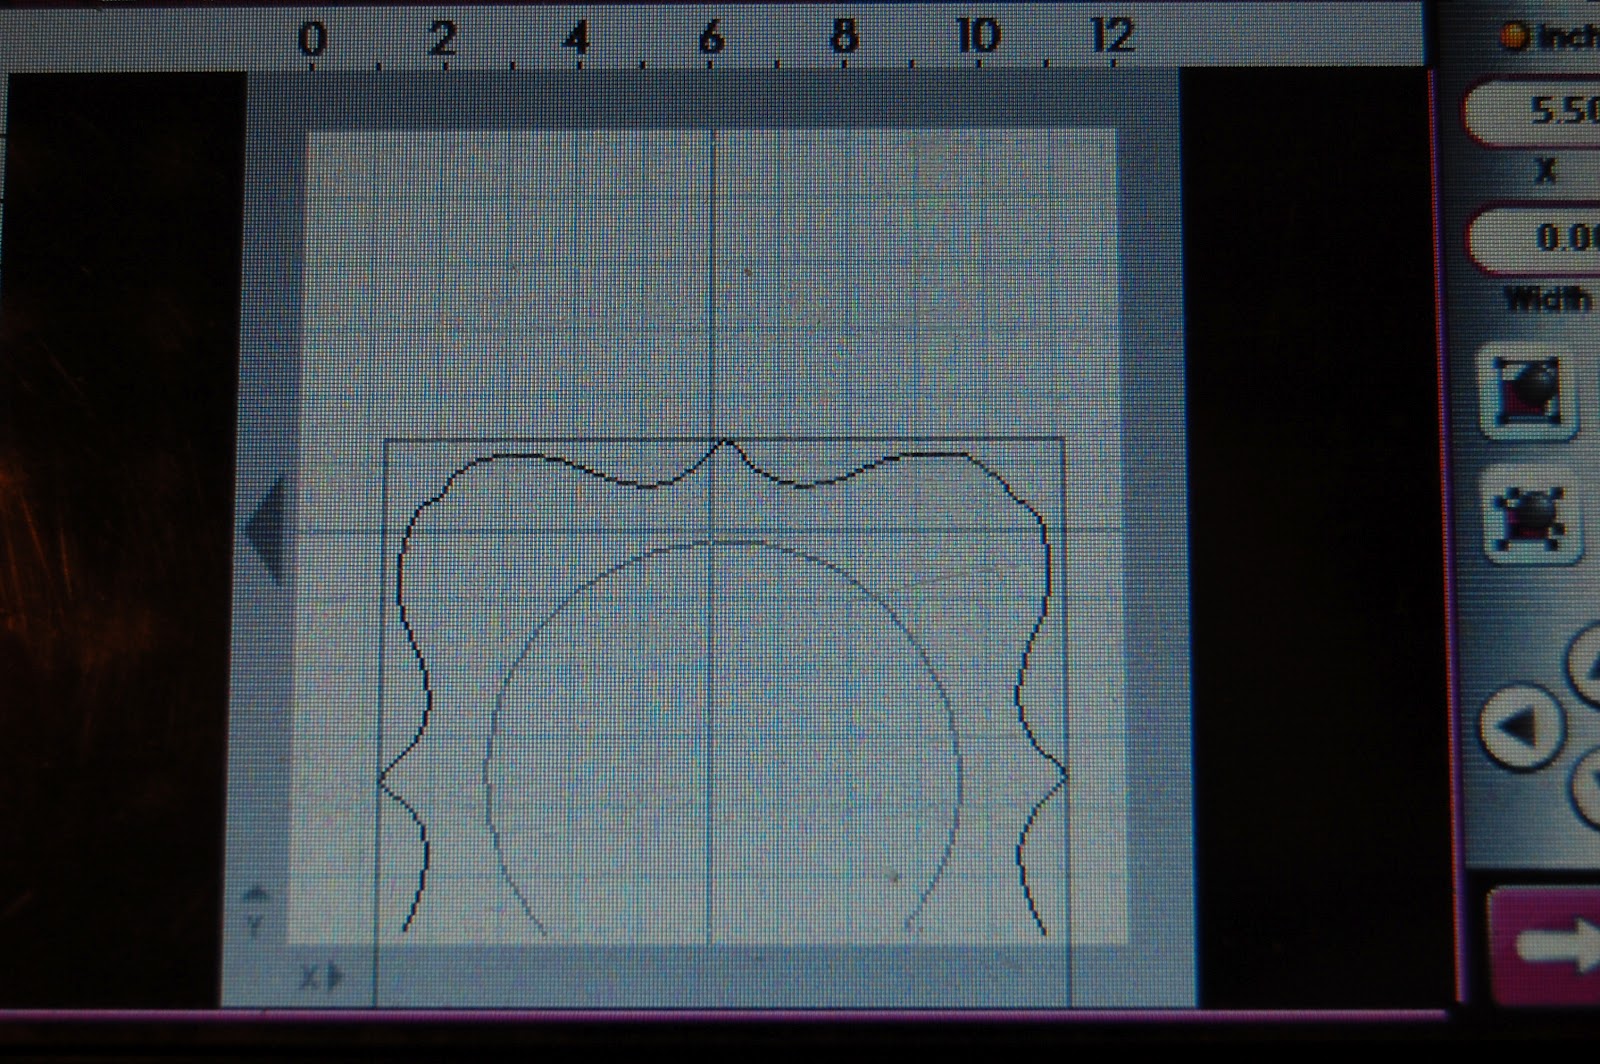
I cut this background shape from Ashlyn's Alphabet at 9.59 inches and hid the center.  I wanted to use this paper for a future project, so I dropped the image off my mat to only cut out the size I was going to use.

I put some banner flags on my mat from Birthday Bash at 1 inch to make a little banner.

I cut out some tags (used one on each page) from Tags, Bags, Boxes and More at 3 and 4 inches.

I cut out Fight Song from Quarter Note at 2.18 inches and some notes (also from Quarter Note) at 1.35 inches.

Here is my journaling and the notes.

I created some banner flags from tape and added them to my banner.

Here is where I tucked the title.

The first day of school was a great day.  Half day for the kids!  No more kindergarten door - these two buddies are all grown up now!!


Tuesday, September 4, 2012

What is your vote...card 1 or 2?

Tomorrow is our 20th Anniversary.  I created two different cards and used our wedding colors.  I can't decide which one I like better.  The first card I welded numbers from Varsity Letter for the year we got married and the current year.  The second card I welded the shadow layer from You and Me from Phrases.

I welded the numbers from Varsity Letter.  The numbers are 2 inches tall.  I started out welding the numbers together (like the bottom left part of my mat) and then I copied the weld.  I flipped it and welded it to the top of my first set of numbers.

I used Hide Contour to hide the inside of the 9s and 0.

I put the skinny layer on my mat as well.  I realized that I used the wrong skinny layer AFTER I ran them through my Xyron!!!

Here is how my welds cut out!  I have been having trouble on and off with welding on my Gypsy.  When I separate my welded cuts onto different layers, it seems to cut just fine.

Much better!
Here is the correct skinny numbers!


#1 all put together.


Not onto the second card:

I used the cartridge Phrases to create this card.  

I put all of the pieces on my mat at 4 inches.  I copied, flipped and welded the shadow layer to create my card base.

I used the same cream, green and orange (peach) cardstock to cut out the pieces.
 

#2

The first card was more challenging to create (thanks to Gypsy) but it really reminded me of the challenges of being in a marriage.  Sometimes it takes a couple of tries to get it just right!  The second card reminds me of Lady Gaa Gaa's song You and I.  Love her voice!!  Plus we live in Nebraska, so Mike is my Nebraska Guy!!

Now I need your help as to which one to give my husband!!  I appreciate your input!!


Monday, September 3, 2012

Nieces Are Nice Layout

Happy Labor Day!!  Today I am the Guest Designer over at She's A Sassy Lady with a spunky layout of my nieces.

****If you are looking for the Halloween Spooktacular Banner Blog Hop, please go HERE!

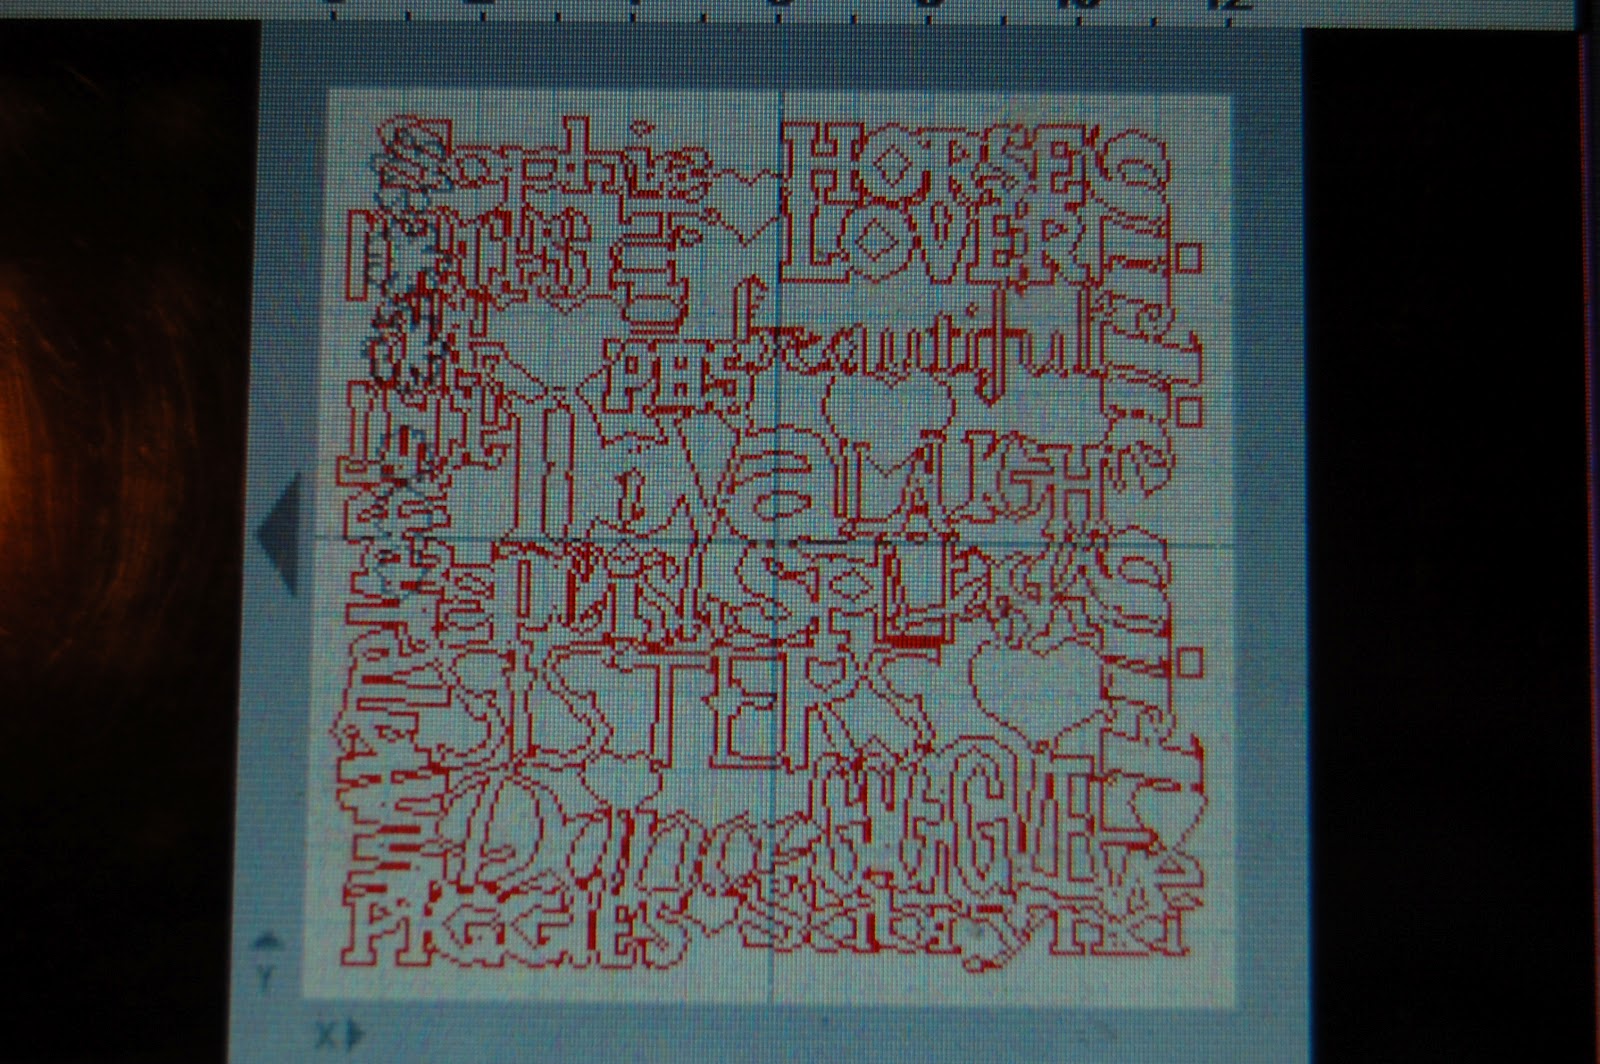
I love welding with my Gypsy and really wanted to make a unique background for this picture of Sophie and Sabryna.  I took random words that describe these two sisters and used a variety of fonts and cartridges to create my background.

I am not sure if this is subway art or not, but I have fun making backgrounds like this.  I added some hearts (George) and ready made words (Giggle, Whatever, Splish Splash, Dance and Diva) and created the rest.  Sophie shows horses and Sabryna has always loved piggies.  I think they are beautiful and made sure the picture was just under that word!

Here are the carts I used:  A Child's Year, Birthday Bash, George, Graphically Speaking, Hannah Montana, Home Accent, Home Decor, Mother's Day Bouquet, Rock Princess, Shall We Dance, Varsity Letter and Wall Decor and More.

I usually open a 12x24 mat and put all of my words on the right side initially.  I size them and place them on the left side until all the spaces are filled.  Then I re-size my mat (from the main menu) back to 12x12.  I weld everything together and cut.  I used blue cardstock and carefully mounted it to a light blue cardstock trimmed to 11.75" square.  I mounted the light blue cardstock to the same color blue cardstock I used for the word mesh.


I used Mother's Day Bouquet to make these flowers.  I sized the small ones at 0.73 inches and the bigger ones at 1.12 inches.  I cut them out of pink cardstock and added a pearl to the center.

My sister-in-law took this photo of the girls on picture day last year.  I used mostly blue to match their clothes, but if you look closely you can see the pink flowers in the bush behind them.  That was all I needed for my accent color.

What a fun layout of my nieces.  This one just might be going in a frame for a while!!

Thank you for stopping by today!!


Saturday, September 1, 2012

Halloween Spooktacular Banners for Special Needs Kids Day 2

Welcome to Day 2 of the Halloween Spooktacular Banners for Special Needs Kids Blog Hop.  If you missed Day 1, you can still see the beautiful banners HERE.

I am delighted to join with more than 3 dozen other women who have each made at least one Halloween-themed banner that will be donated to hang in the room of a medically-fragile child at Pediatric Specialty Care in Pennsylvania.

Our Amazing Hostess (Ellen CardMonkey Jarvis) works at PSC's Bucks County site as an Admissions Coordinator.  The Banner Hop starts with Ellen, so please go back to the beginning if you found me first!!

Ellen shared this information with us about Pediatric Speciality Care:  "PSC is a very special place where children stay either long- or short-term, typically after hospitalization.  Most are dependent on ventilators and other technology to survive.  Some have been born too early or with genetic diseases or birth injuries.  Other children suffer injuries later in life that require constant care later, including brain injuries from trauma or loss of oxygen (from choking, suffocation or drowning) and spinal cord injuries.

These children and their families - and PCS's staff - will be thrilled to receive the Halloween banners, to help brighten the season when their friends and siblings will be out trick-or-treating."


It is always an honor to participate in these hops and I especially love that we mail all of these banners (and more) to be displayed in the doorways of these precious children!

Here is a complete line up of participants in case you get lost along the way (or found me first):

  1. Ellen ♥ CardMonkey - http://cardmonkey-business.blogspot.com/
  2. Sandie Dunne - http://sandieshores.blogspot.ie/search/label/banner%20hop
  3. Ashley - http://theglamoroussideofscrapping.blogspot.com/
  4. Lucy ~ http://love2createitall.blogspot.com/
  5. Dena ~ http://missdjones.blogspot.com/
  6. Yvette ~ http://gammascreativecorner.blogspot.com/
  7. Jamie ~ http://craftygirl21.blogspot.com/
  8. Nancie ~ http://alittlepieceofmebynancie.blogspot.com/
  9. Beth ~ http://motherandaughterdesigns.blogspot.com/
  10. Erica ~ http://mycricutcraftroom.blogspot.com/
  11. Jearise ~ http://lorbyworld.blogspot.com
  12. Jenny - http://crazyaboutcricut.blogspot.com/
  13. Lisa T.- http://bitbythecricutbug.blogspot.com
  14. Robin ~ http://scrapandchat.blogspot.com/
  15. Jessica S ~ http://jessicascraftshaque.blogspot.com
  16. Lori A ~ http://scrappinmystressaway.blogspot.com/****HERE
  17. Jenny D. ~ http://www.yogimemories.blogspot.com/****NEXT
  18. Linda Simpson - http://lindasimpsoncraftypieceofheaven.blogspot.com
  19. Beckie ~ http://justbcreativecrazy.blogspot.com
  20. Scrappin Madge: http://www.thescrappinlounge.com
  21. Jennifer R ~ http://craftycardgallery.blogspot.com
  22. Debbie T ~ http://debbiescrafttime.blogspot.co.uk/
  23. Tami McD ~ http://tamboscreations.blgspot.com
  24.  Susan ~ http://susanascorner.blogspot.com/


Now, on to my banner!!

I won some Blog Candy from Lisa Peters' Digital Store Scrapping With Lisa Designs.  I used the adorable Halloween Banner set to create my special banner.

As usual, I designed my banner on my Gypsy.

I used this frame from Fancy Frames to place behind the Digi Banner pieces.  I sized the frame to 3.20" (Real Size).  I cut this out in black cardstock.

I also cut the shadow frame at 3.20" (Real Size).  I cut this layer out in purple cardstock.

I cut the banner flags from Birthday Bash sized at 5.20".  I used double sided K and Company Halloween paper.  I cut a rectangle out of lime green cardstock to break up the busy background paper.
Here are a couple of close up shots.  I wrapped some lime green ribbon inside some white tulle to string the banner pieces together.


I made two banners of each character.

Halloween is my favorite holiday!  I love that we are challenged to create "Child-Friendly" Halloween banners for the children and their families to enjoy!

I was very honored to not only participate in this blog hop last year, but a young man toured the facility and voted MY banner the best!  If you want to see my banner for last year, you can go HERE.

This Hop is two days (Saturday, September 1 and Sunday, September 2), and on each day you will see different banners. Be sure to visit on both days to see the truly inspirational work of these generous bloggers, and leave some love (comments) on as many sites as you can – because if you do, you can up your chances to win some Spooktacular blog candy, including from these sponsors:
Madge's Scrappin' Lounge is donating a $25 gift certificate to her store at http://madgesscrappinlounge.storenvy.com/!
Lisa Peters - $15 shopping spree to her adorable paper piecing store at Scrapping With Lisa Designs at www.scrappingwithlisadesigns.com

Lucy Kelleher - Independent Consultant for Close to My Heart is donating a $10 Gift Certificate which you can use towards any Close to My Heart products! ( http://lucyk.ctmh.com/). To enter to win, you will need to leave a comment on her blog (http://love2createitall.com/) and become a follower of her blog. For an additional entry, "Like" her Facebook page at: https://www.facebook.com/LucyK.CTMH.
Debi Weidleman - Independent Consultant for Stampin' Up is also donating a $10 Gift Certificate which you can use towards any Stampin' Up products - http://www.stampinup.net/esuite/home/debiweid/.
Erica's Craft Room is donating two Cricut cartridges (!!!) -- Pretty Pennants and Mini Books.  Please visit and say thank you to Erica at http://www.shop.ericascraftroom.com/.


To qualify, all you have to do is leave at least one comment on our Hostess’s site (www.cardmonkeyspaperjungle) to name which banner spoke to you – ghostly or not!  What made it appealing to you?  Leave additional comments on as many banner makers’ sites as you’d like for extra chances to win!  Prize winners will be announced on Monday, September 3 on the CardMonkey site, where there will be a round-up of all of the Spooktacular banners for 2012.


I would love to hear your favorite Halloween memory.  One of my more recent memories is a couple of years ago we went to Mickey's Not-So-Scary Halloween Party at the Magic Kingdom.  I was the only one who wanted to go but the entire family liked it so much that the next Disney trip was planned around fall so we could go again!!

Thank you for stopping by!!!  You next stop in the hop is my good friend JENNY.