
Please go HERE for the Labor of Love Halloween Banner Hop. The blog candy is still good through the 5th!!
If you are hopping late for Susan's Birthday Bash Blog Hop, you still have time to enter for my blog candy HERE.
Today I am the Guest Designer at She'sASassyLady. My kitchen has red walls and black appliances so I made this Sassy A to display on top of my cupboards.

I started out with this wooden "A" from JoAnns. I liked it because it is a little sassy. (I am not sure why my photos are squished ~ sorry).

I took this paper from Creative Memories because I liked the pattern.

I turned the paper and the "A" over and traced the letter on the paper. I lined it up so the "A" would be covered in the floral (black) part of the paper.

Here is what it looks like cut out. I used my ATG gun to adhere the paper to the letter.

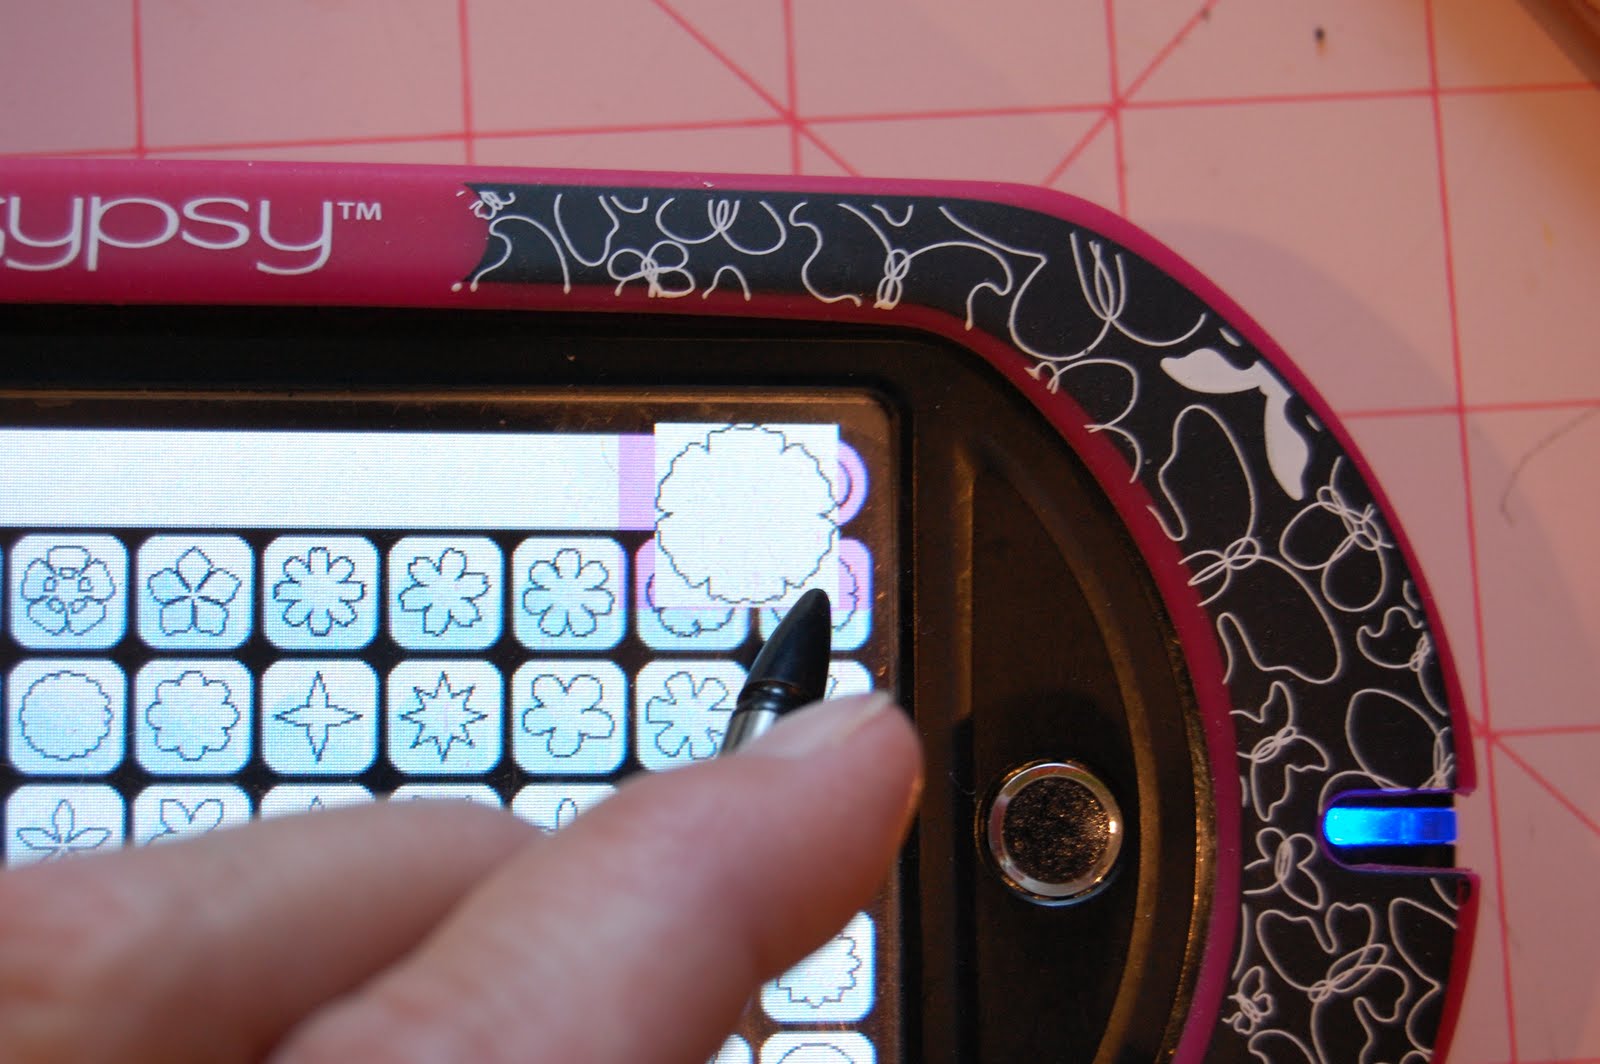
I put some flowers from Mother's Day Bouquet on my mat. I cut three out at 2.67w x 2.50h.
I cut out three of these at 2.04w x 1.94h.

I cut out three of these at 1.05w x 1h.

I cut out five of these at 1.05w x 1h. I ended up not using them though.

Here is my Gypsy screen shot.

I cut the flowers out in red card stock.

I used black StazOn ink to ink the edges of my letter and flowers.


This is the fun part! I crinkle the flowers and bend the tips up.

I use my Cricut Dental Tool to poke the flowers in the center.

I layered the flowers together and curled up the ends.

I used a black brad to secure the flower.

I used a couple of glue dots to secure the flower to my A.
Thanks for having me over to play Sheila!!!


4 comments:
Lori, your "Sassy A" is cute and sassy!!! Love those flowers you made!!!
LOL... Took me a moment to realize why you used the letter "A" and not "L"!
Hugs, my friend!
What a great idea Lori. I love the A and great flower. The contrast with the CM paper and the flower is awesome.
Oooooh, so pretty, Lori! You know, whenever I think I (bwwwaaa-haha-ha) know it all, I learn something new in this crafty world, which seems to be every hour or so (bwwwahhh-haha-ha!!). On your hop it was the idea of using the Fantastico tool to ink your edges. You know, I've only used that to dip into my alcohol to blend my colored pencils and Copic markers -- never thought of putting a color to it! Duhhhhhhh!!!! GREAT idea!! Why didn't I think of this!!?????
Oh, I wish I had more time all day to craft in my Paper Jungle!
Thank you for sharing.
Fondly,
Ellen ♥ CardMonkey
Lori this is just BEAUTIFUL! What a lovely addition to the house. Sorry I missed coming by yesterday but I was out of town. Thanks for sharing this wonderful project and the great tutorial on She's A Sassy Lady.
Post a Comment