Copyright Information

Thank you for stopping by my blog! I hope you enjoy the things that I create and share! I do have a copyright on my original creations (see logo on my sidebar below).
If you create and post a creations based off of mine, please refer (with a link) back to my blog. Please do not use my ideas for files, profit or for contests. Thank you!


My Craft Goals for 2015

My Goals for 2015:

1. Update my goals for 2016 in January of 2016 :)
2. Maximize my crafting time!
3. Keep plugging away at scrapbooking photos!!
4. Learn how to Heat Press!!
5. Have fun!


Showing posts with label Carousel. Show all posts

Saturday, April 14, 2012

My Inspiration LO ~ BugBytes Blog Hop!

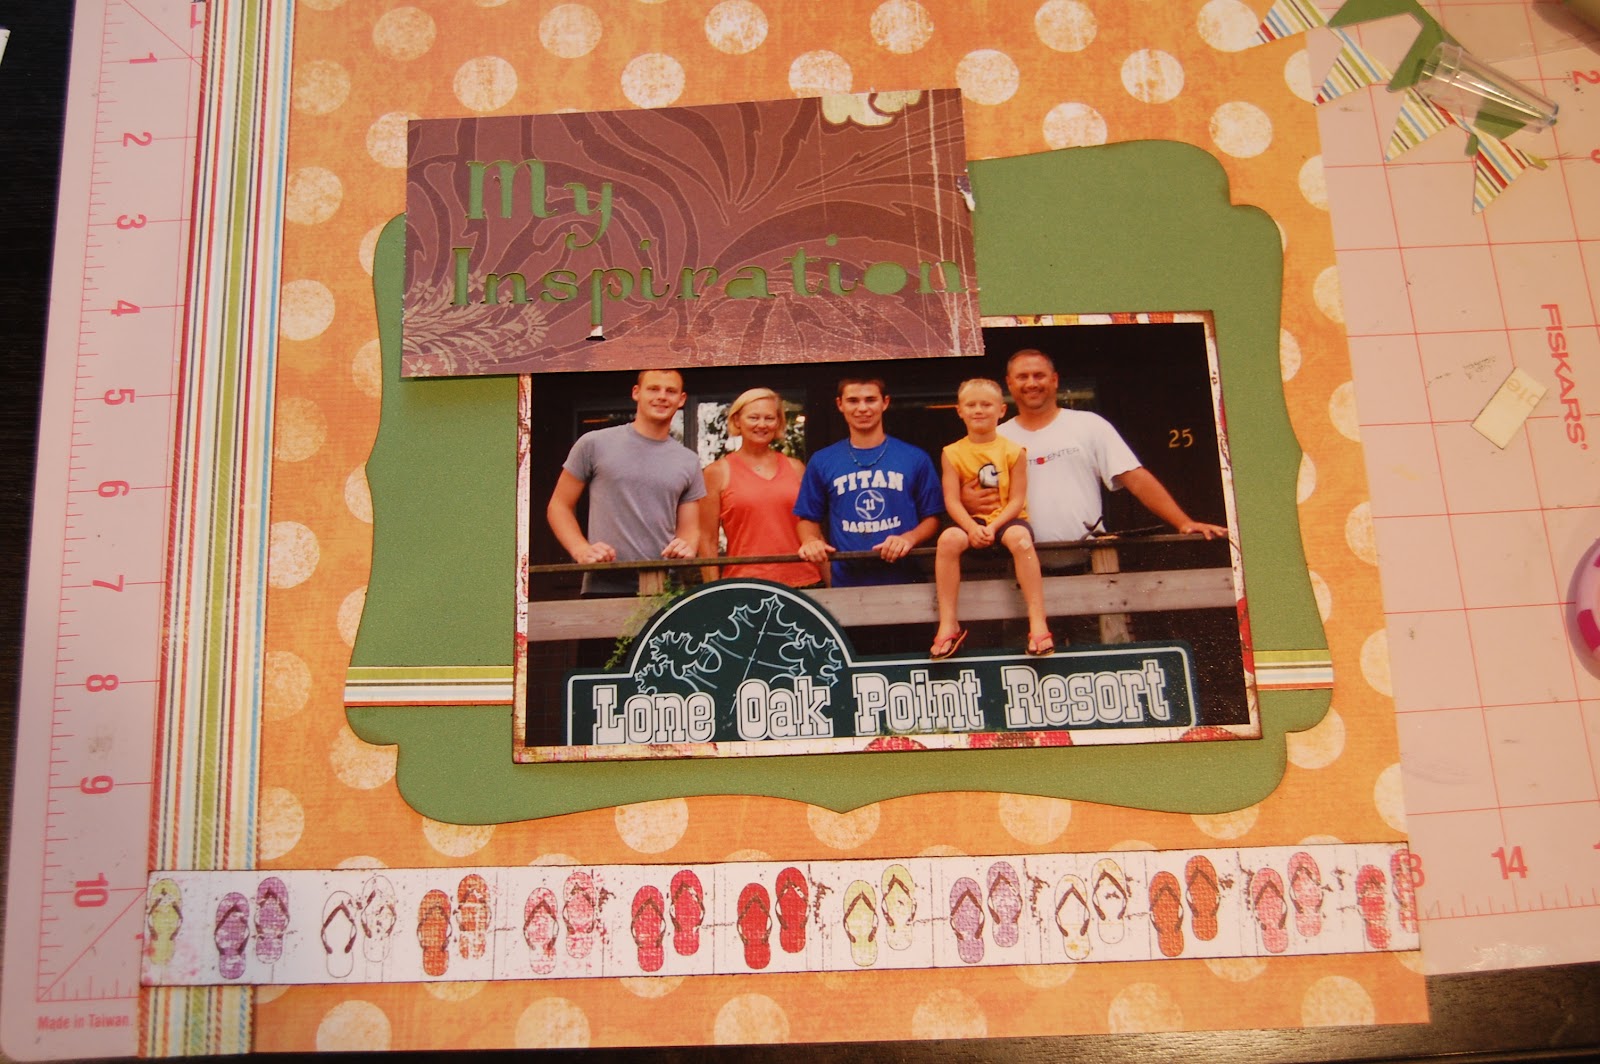
Welcome to the Bug Bytes Blog Hop!!  We were asked to create a project around the sketch below.  When I think of my "Crafty Me" I always start with photographs when creating a layout.  So, instead of a photo of me crafting, I thought I would share a photo of what inspires me most ~ my family!  I also loved this orange paper and since I was wearing orange in the picture it just made sense to combine the two!!

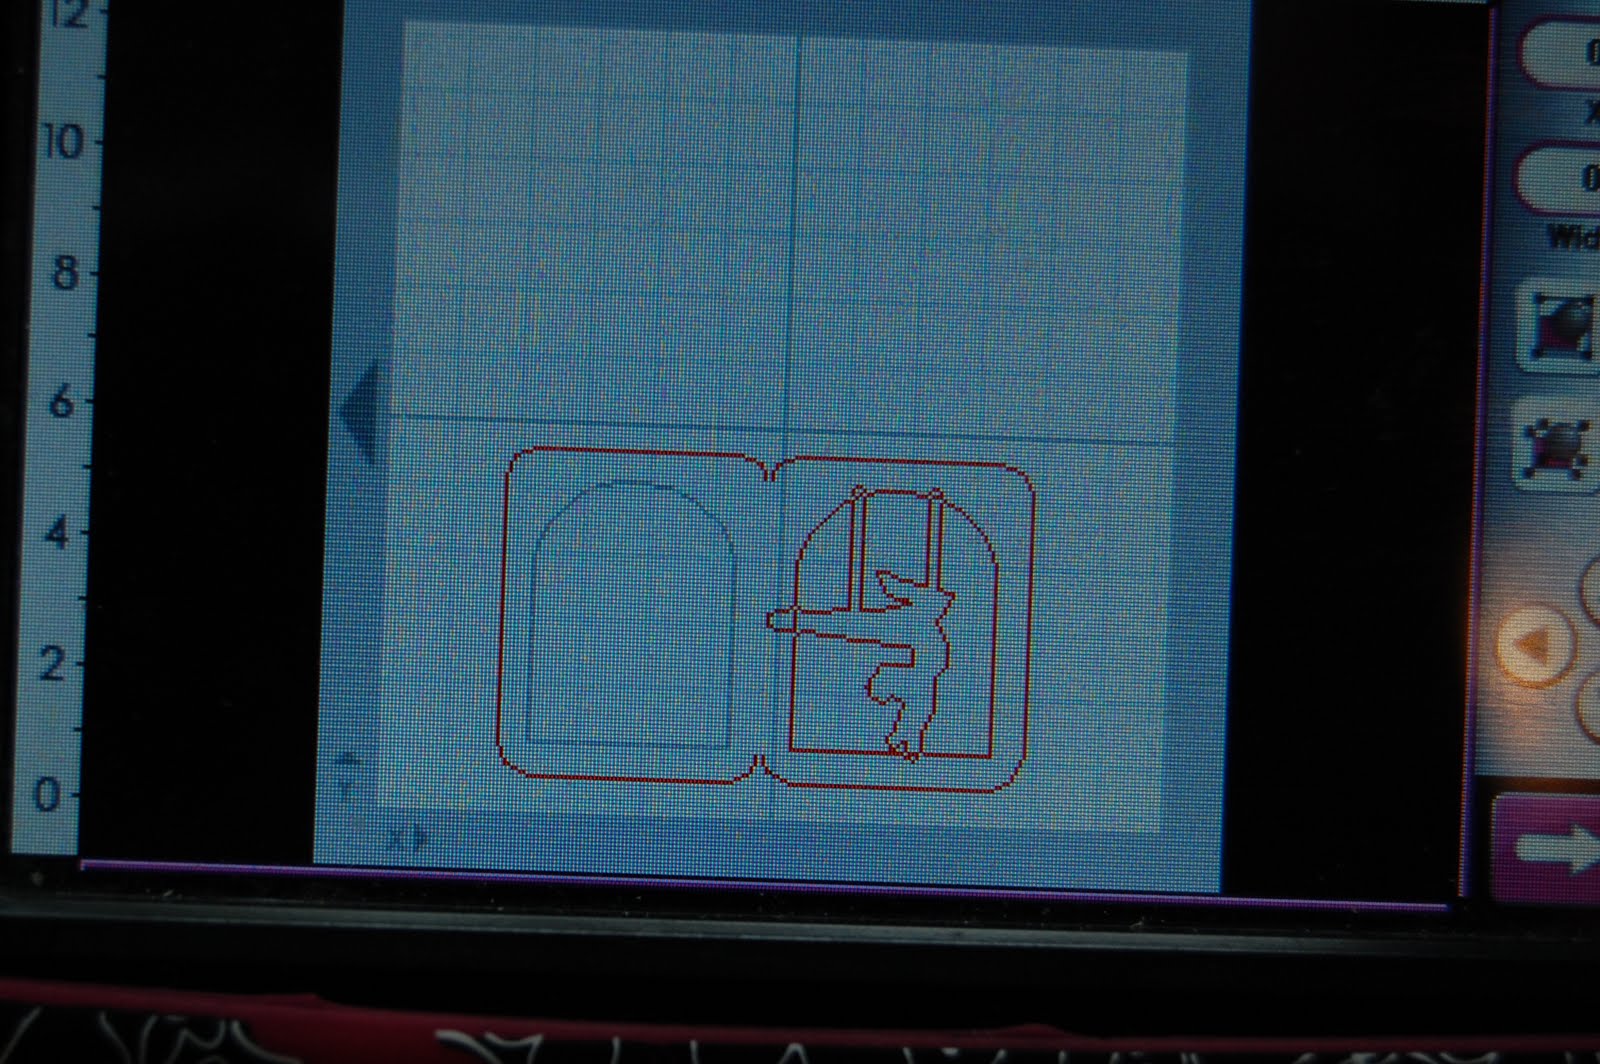
Here is the sketch our wonderful Pam created!  I liked it so much that I used it for a layout of my nieces too! 


Here is the complete Blog line up in case you get lost along the way:


And now on to my layout!!


Look at all of that patterned paper!  This is the most patterned paper I have ever used in one layout!!

I put my piece of "negative" paper down to use as a template to line my letters up.

Stuck them down and carefully peeled away the template.  Perfect placement every time!

I added some twine and hemp cording to the banners.

I added some journaling to my layout.  I used one of my edge punches to detail the side.  This paper is the reverse side of the striped paper.

I LOVE flip flops!  I just had to include these because you can see Tanner's flip flops in the picture.  I put a piece of hemp cord right above the flip flop paper with five knots tied in it ~ one for each of us.  I used mini glue dots to keep it in place and taped the back of the paper.


Thanks for stopping by and checking out my inspiration for scrapbooking!!!  Your next stop in the hop is the fabulous Cricut Couple!


Tuesday, December 27, 2011

Crafting With Natasha 1st Blogiversary


Welcome to the celebration. If you've arrived here from Janet then you are in the right place. If you just happened upon this post, please start at the beginning over at Crafting with Natasha to join in. Each stop along the way has a "secret word" that you will need for a chance to win the prize. After you've hop to each stop, you will need to email Natasha (natashacrafts@gmail.com) the answer to the "secret phrase". You have until 11:59PM EST on January 6th to enter to win. Winner will be announced on January 7th.


Lorraine: http://www.glittergluepaperart.com  ***NEXT***

For my "NEW" project, I created a 2-page layout showcasing our New Year's Eve Family Game Night Tradition.
In order to lay out my 2 page design, I opened a 12x24 mat on my Gypsy.  This is one feature that I wish worked with Cricut Craft Room!!  I typically scrap 2 pages at a time and this helps me size my cuts.  I put GAME ON on the left side from Hello Kitty Font sized at 2.08 inches.  I put a circle from George sized at 4 inches for my spinner base.  From Hannah Montana I put New Year's Eve at 1 inch and the shadow Tradition also at 1 inch.


In order to make the spinner, I wanted 6 sections so I needed 6 circles in different colors.  I opened Layer 2 and grabbed a circle from George sized to 3.75 inches and copied it 5 times.
I put the cardstock colors on my mat and cut out the circles.
This part was a little tricky for me, I folded the circle in half and then thirds to get 1/6 of the circle.  I then traced the piece onto the other circles.
I adhered them to the black base and used a Tim Holtz game spinner brad in the center.
I cut out the words of our games that we play (Hannah Montana sized .42 - .54 inches to fit the triangles) out of dark blue cardstock.
I adhered the words to the triangles using the negative paper piece as a stencil.
I needed some additional embellishments, so I went back to my Gypsy and found some tickets, the banner and star borders from Carousel, and I found the dice from Indie Art.
I cut everything out of cardstock using colors that matched the colors in the spinner.
I wanted some game controllers and found these from Wrap It Up and Boys Will Be Boys.

I cut these out of cardstock also.  Instead of traditional colors, I used colors to match the layout.
I found some papers from this paper pack for my background papers.  I bought this at Michaels.
I added some twine cord and on the side of my layout.
I tucked the tickets behind one of the photo mats.
I picked this background paper because it resembled a game board and I glued button "game pieces" around the board.
On the banner I put the date for this upcoming New Year's Eve.  I used twine to attach the banner to my title.
I trimmed the ends of the paper and put them together to create the game board look.  I trimmed 2 inches of the orange paper to make up for the part I trimmed off and also provided a background for Game On!  I adhered the background papers to white 12x12 cardstock.

Now for the Blog Candy ~ you could win this Smash Book!!
In order to be eligible to win this prize, you need to add the word "CELEBRATING" to the list of words you are collecting.

Please leave me a comment with your favorite game to play on Game Night for a chance to win some Mystery Blog Candy from me as well!

Your next stop in the hop is the Lovely Lorraine!!

Wednesday, July 13, 2011

Hang In There Window Card (Circus)

Hi ~ I made a Circus project for SweetSassyDiva's Mix-It-Up theme this week.  I have a good friend who is having a tough time right now and this card will be perfect to send to her.  The message is to "Hang in There" and I hope she does!!

I love making window cards.  I started out with this card shape from Fabulous Finds.  I put one on my Gypsy at 4.31w x 5.00h and made a second copy.  I found the trapeze artist from Carousel and put her and the layer on my mat at 3.04w x 4.01h (the shadow layer).  I added a second image so I could make a layer for the swing.

I used Hide Contour to hide the inner cut of one of the card sides.  I welded the card sides together, then welded the shadow of the trapeze artist inside the window.

I opened a new layer and copied the trapeze artists on and cut them out.

I was able to scoot the card over to the right and use this scrap (minus superman) to cut out my card.

Here is the card cut out.

Then I realized I needed another layer:  the swing, the girl, and the outfit.

I did go back and cut out one more girl in skin color after I realized I needed a solid girl, not the outfit cut outs!!  I snipped off the pieces I did not need and glued them together.  I used scraps for this entire card!!
I added some stickles to her hair, leotard and shoes.  I do not have many sentiment stamps, so I will hand write a message to my friend.

I am honored to be here at Sweet Sassy Diva's blog today!!

Saturday, June 25, 2011

4th of July Stripes (no stars)

I am posting manually tonight as blogger keeps switching my status from "scheduled" to "draft" so this will be on SweetSassyDiva's blog in the morning!

Hi!  Lori here from ScrappinMyStressAway!  My challenge for SweetSassyDiva was to create a 4th of July project using stripes but no stars.  This was not as easy as I thought it would be!!  I started out thinking about making a card and was thinking about the flag without using stars.  I thought it was too plain for a card, so I merged this idea with another one I started a while back ~ a layout about shopping for fireworks!

I found this flag on Independence Day and cut it out at 5.96w x 3.50h.  I cut out the flag in white and stripes in red.

I cut out 4th of July from Stand and Salute to fit in the square where the stars would go.  I wasn't sure if I was going to put white on blue or blue on white, so I cut out both.

I ran the stripes through my Xyron.

I used the negative piece as a template to adhere the stripes to the flag.

I pulled off the negative piece.  As you can see, I leave the pieces on the mat until I am ready for them.  This way I don't lose anything!!

Nope....did not like this look!

Much better!  But the blue looked too long, so I looked it up online and realized the first long stripe is white.  I trimmed the blue and resized and recut the 4th of July.

Then I cut out the tent and banners from Carousel.  The tent is sized at 6.58w x 5.75h..  I cut out the banner at 5.67w x 2.23h.

I cut out the base of the tent and more banners on the next layer.

I used the font on Batman for the word FIREWORKS at 1.31h.  I cut an extra I in red and welded a fuse (a lower case L from Lyrical Letters) to the first L.  I welded the fuse to the L and welded the word together.  I welded and cut out the words shopping for (at 1"h) from Lyrical Letters

I cut apart the blue and white banners and glued them to the red one.


I took these circles (3 different sizes) that I punched out from a thesaurus.

I crinkled them up.

I painted them red with acrylic paint.  I used a little black paint to ink the edges.

I layered them into flowers with a blue crystal in the center.
I took my flag and made it into a secret journaling flap.  Or maybe I will have an extra picture to stick inside...

I like hidden photos and journaling!!

Here is my little firework.  I used stickles to stripe it and to cover the fuse.

I inked the edges of the paper with red paint.  I added stickles to the 4th of July.  I added stickle stripes to the banner.  I also added a stripe of ribbon (or two) to the photo mats.

Here is the other page.

In our family, shopping for fireworks is a big tradition!  My husband (biggest kid in the family) goes as often as I allow him to!!  We have a big party every 4th!

Now, what to do with my discards and scraps.....well make a card of course!!

  
I kept with the stripe theme and glued down some stripes.

I took this scrap and just cut out three circles.  I crinkled them and inked the edges with black paint.

I added some gems and the white 4th of July (the one that was too big for the flag)!

Thanks so much Bobbi Jo for having me on your blog for the 4th of July Stripes Challenge!!!
,