Copyright Information

Thank you for stopping by my blog! I hope you enjoy the things that I create and share! I do have a copyright on my original creations (see logo on my sidebar below).
If you create and post a creations based off of mine, please refer (with a link) back to my blog. Please do not use my ideas for files, profit or for contests. Thank you!


My Craft Goals for 2015

My Goals for 2015:

1. Update my goals for 2016 in January of 2016 :)
2. Maximize my crafting time!
3. Keep plugging away at scrapbooking photos!!
4. Learn how to Heat Press!!
5. Have fun!


Showing posts with label Speaking of Winter. Show all posts

Friday, February 1, 2013

Let It Snow Blog Hop


Hello and welcome to the Let It Snow Blog Hop!!

If you are looking for the One Word Challenge (Frosted Designs) please go HERE!

You should have arrived from HERE.  If you found me first, please go to the BEGINNING so you don't miss anything!!

Here is a complete list of blogs in the hop in case you get lost along the way!


I live in Nebraska and as I write this post (Tuesday evening) we are expecting 2-4 inches of snow overnight.  I really love snow.....on Christmas Eve!!!  After that I am ready for spring!  The kids are hoping for a snow day but we shall see......

For my project today, I chose a fun snowman card.

I opened up my Gypsy and use the snowman card for #6 from Speaking of Winter.  Each letter and number is made with snowmen, scarves or mittens - it is very cute!!

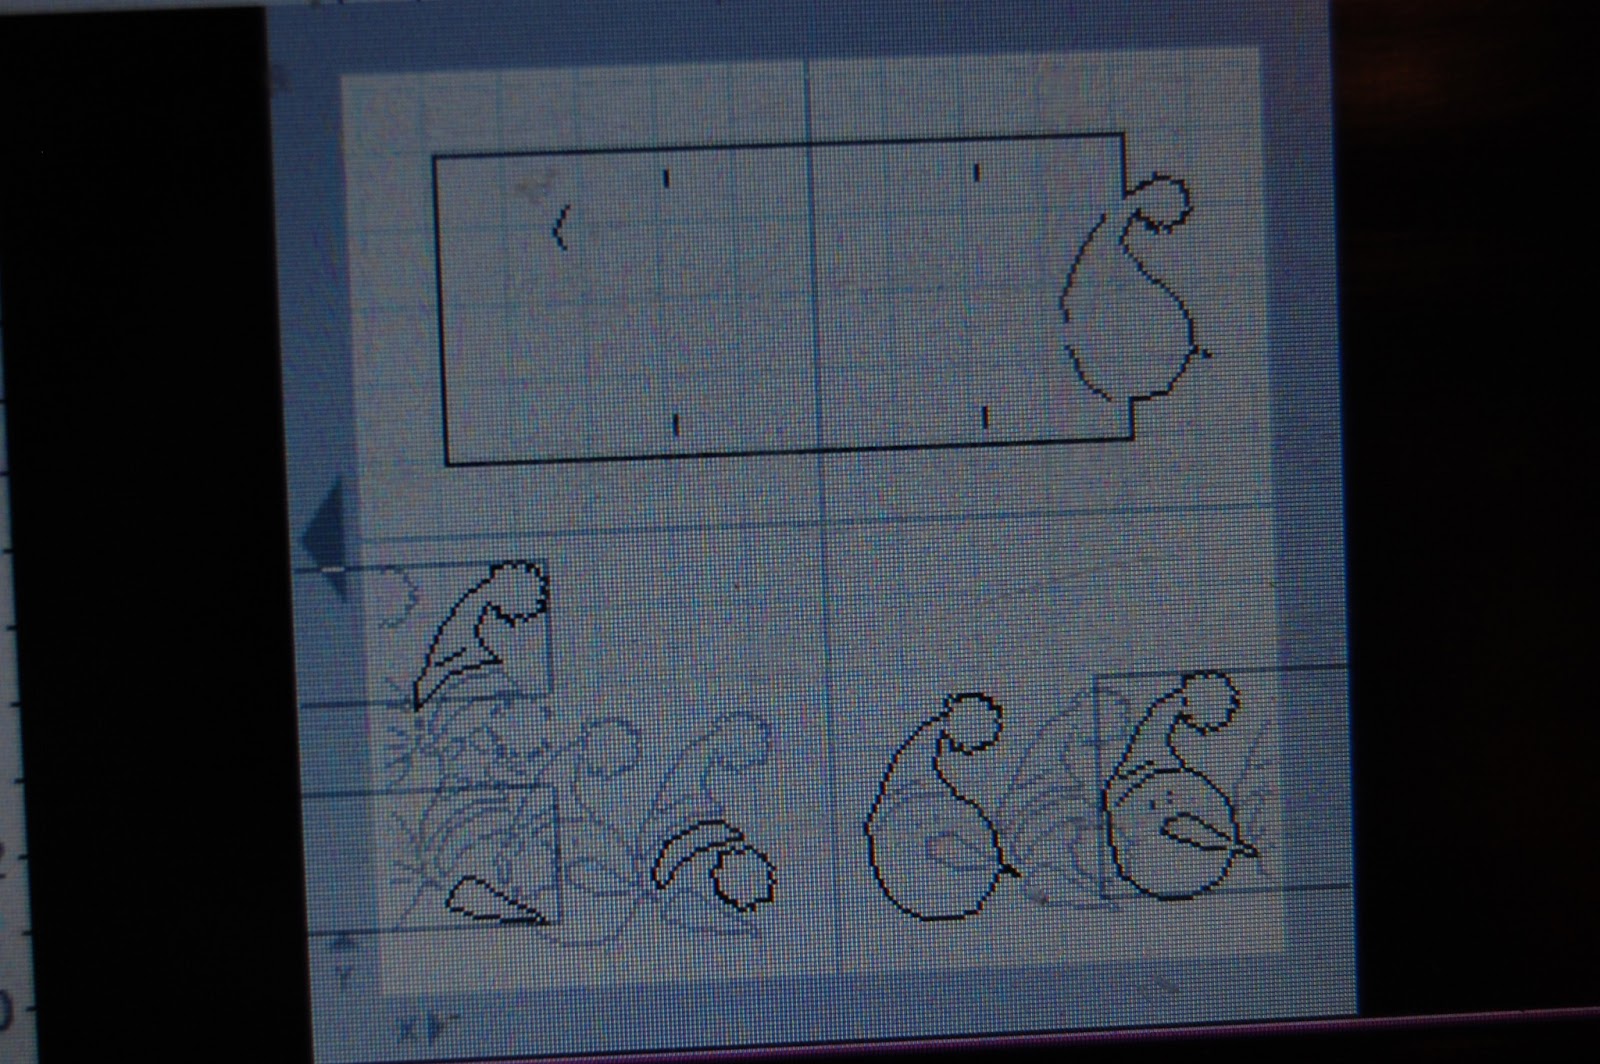
I sized the card and layer to 4 inches.  For the older cricut carts, the layers pretty much have every piece all together on one layer.  I copied the layer 5 times and used Hide Contour to hide the extra pieces.  

Next I spread out the layer pieces on the lower half of my mat so I could cut them in different colored cardstock.

Here is the Hide Contour button on the Advanced Menu page.


Here is a close up of the Hide Contour screen.  I hid the hat (now in faded red).


I cut out the pieces in cardstock.  The card base is a blue (with white snowflakes) piece of cardstock with a white back.  The hat is a piece of patterned Christmas cardstock.  The rest are cut out of black, orange and white cardstock.

I ran the pieces through my 5" Xyron.

I layered the pieces together.  I inked the edges of the snowman with black ink.

I added some stickles to the hat, nose, eyes and mouth.
Thank you for stopping over - I would offer you some cocoa if you were here!!!

Your next stop in the hop is the Marvelous Melisa!!


Thursday, December 1, 2011

All About Winter Blog Hop

Hi and welcome to the All About Winter Blog Hop!  You should have arrived from Rachel's Blog.  If not, please go to the BEGINNING so you don't miss anything!


I created a layout today using Speaking of Winter and George and Basic Shapes.  One of my goals this year was to use all of my cartridges.  I think I have used most of them!

I started out by putting a square with rounded corners on my mat at 9.8 inches.  I scooted it down to the bottom of the cutting range.  I spelled out WINTER from Speaking of Winter at 1.9 inches and the snowflake at 1.36 inches.  I grouped and welded them to the square.  I cut this out of black cardstock.
I put the layers for the letters and snowflake on Layer 2.  I put the white pieces together in one section and the red pieces in the other.  I cut them out of cardstock.


I took the snowflake paper from this paper pad from K&Co. and adhered the black square to it.


I adhered the layers on the letters and snowflake and added some stickles.


Here you can see the sparkle!!

I went back to Speaking of Winter and cut out the "M"  at 2.76 inches and "6" at 3.35 inches and their layers.
I added some stickles, ribbon and two photo mats.
And here is my completed layout.  Now we just need some snow (I am not in a hurry though)!

Thanks so much for stopping by today.  Your next stop is Ashley.


Saturday, November 13, 2010

Christmas With A Mickey Twist (Blog Hop)


Welcome to the Christmas With A Twist Blog Hop!  Here are my Mickey Snowflake Ornaments!  We have one tree that is all Disney ornaments and these will look great on it!

You should have arrived from CraftyScentiments, if not, please go to JennBcraftin to start at the beginning of the hop.  Your next stop is Scrappin NanaPuddin!

I used my Gypsy to weld Mickey heads onto the ornaments on the left.  These snowflakes were from DonJuan and Going Places.  I placed Mickey heads inside the ornaments on the right and grouped them together.  These snowflakes are from Speaking of Winter and Wrap It Up.

I cut them out of white paper with glitter dots.  I then opened up a second Layer on my Gypsy and copied all four snowflakes.  One at a time, I flipped the images over.  This way I could sandwich two together.


I glued the ribbon to the back of one ornament...

ran the second piece through the Xyron....

and stuck them together with the ribbon inside.

I inked the inside Mickey Head cuts with a red stamp pad and added silver gems all over.  You can't have enough sparkle on a snowflake!!

Once again, here they are.  Now the fun part.....I will be giving this set of Mickey ornaments away.  All you need to do is be or become a follower or subscriber and leave me a comment with your favorite Christmas memory and a way to contact you!  I will draw a winner using Random Number and post by Monday!

Thank you so much for your comments ~ that really keeps me going!!!



