Copyright Information

Thank you for stopping by my blog! I hope you enjoy the things that I create and share! I do have a copyright on my original creations (see logo on my sidebar below).
If you create and post a creations based off of mine, please refer (with a link) back to my blog. Please do not use my ideas for files, profit or for contests. Thank you!


My Craft Goals for 2015

My Goals for 2015:

1. Update my goals for 2016 in January of 2016 :)
2. Maximize my crafting time!
3. Keep plugging away at scrapbooking photos!!
4. Learn how to Heat Press!!
5. Have fun!


Showing posts with label tutorial. Show all posts

Tuesday, August 6, 2013

Rolled Flower Tutorial (Frosted Designs)


Hello - Today I am sharing my rolled flower tutorial at Frosted Deisgns!

I am not a girly-girl so I don't stock pile flowers.  When I need them, I typically make them myself and today was no different!!

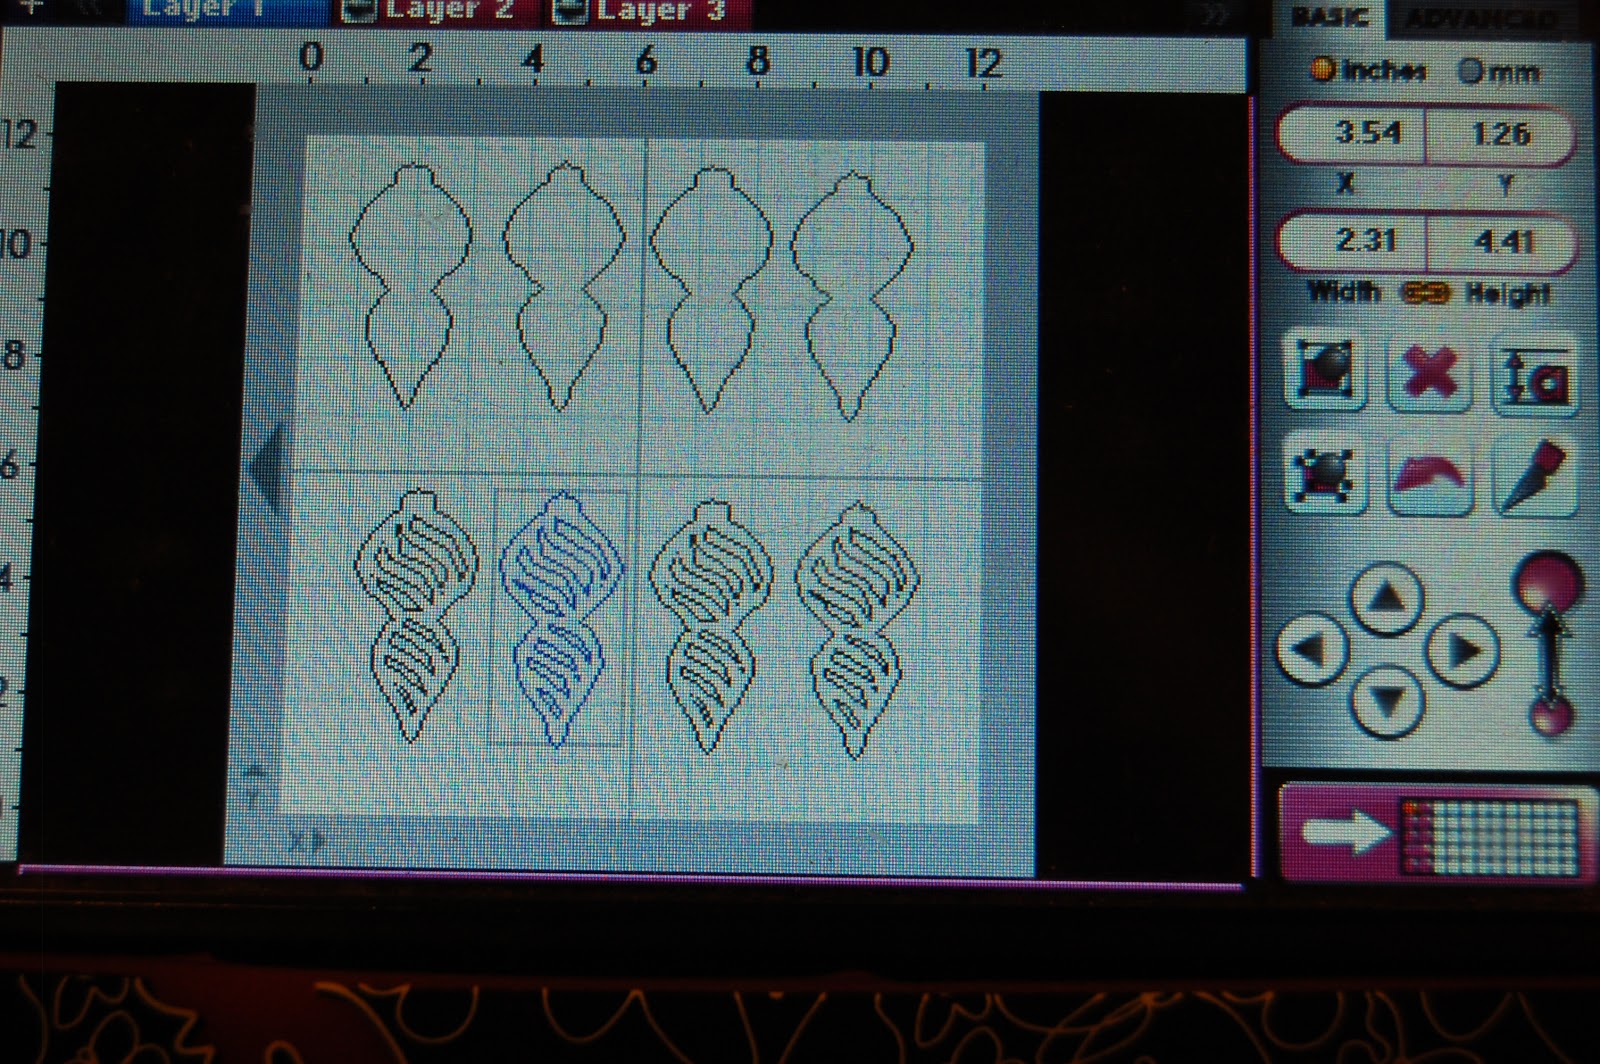
I typically use my cricut or cameo to cut out the rolled flower shape, but I know not everyone has a cricut or cameo so I hand cut the shape instead.  This way anyone can make some!!!


I picked up some sheet music at the thrift store.  I love using music sheets for flowers!  You can use any paper (cardstock, scrapbook, origami, a newspaper) but double sided papers look the best rolled up in my opinion.

I drew a circle in pencil in the center of the page.  My circle is not perfect, and yours doesn't have to be either.  

Past experience has taught me what size circle will make the size flower I prefer.  The bigger circle is about 6 inches.  The smaller two are 4-5 inches.


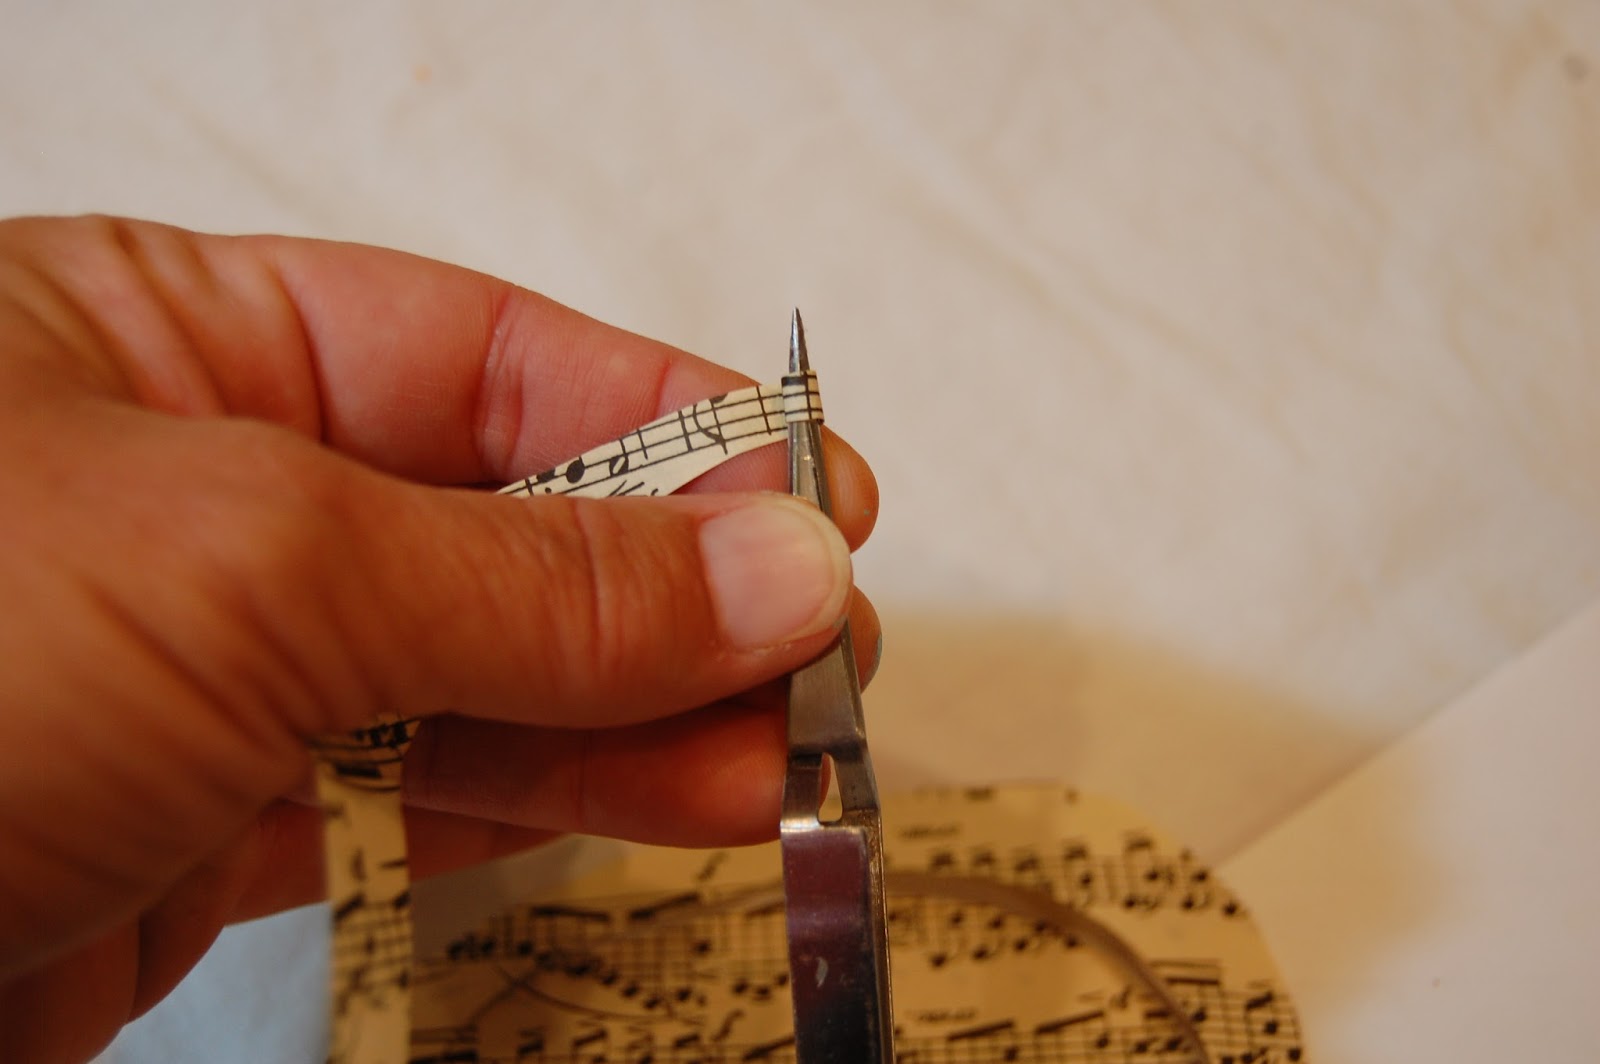
You can see how big my biggest circle is in relation to my scissors.


I started cutting in a spiral from the outside in.  I left a small circle in the center.  After the flower is rolled up, you will put the glue on the center circle.


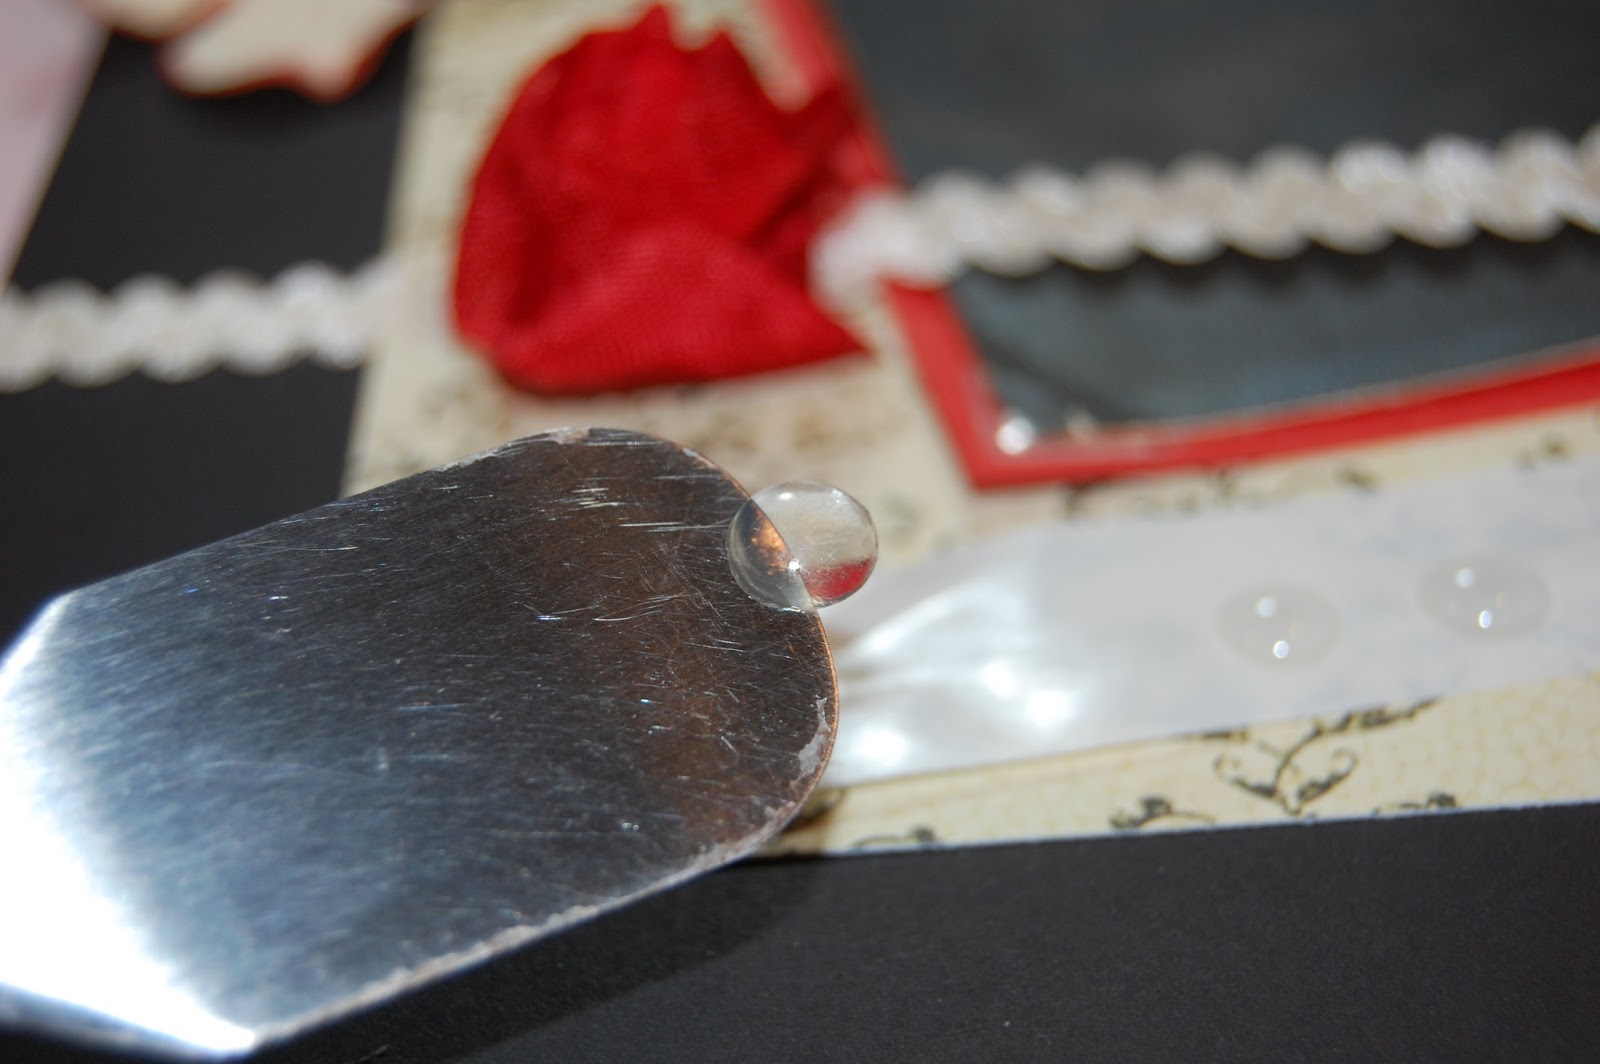
I use my McGill tweezers and Scotch liquid glue with 2-Way Applicator.  I use the bottom (larger) applicator.


I grab the very end of the spiral and twist the paper towards my left hand.  As long as you don't squeeze the tweezers handle, your paper will stay tight.


You can see how compact the paper gets as you roll it up!


Once you get to the center circle, gently squeeze the tweezers and slide them out.


Then let go of the rolled flower.  Don't worry - it will only unwind a bit!!


Put some liquid glue on the center and firmly hold the flower in place for a minute or two until the glue holds.

I repeated this step with the other two spirals.  When using flowers it is pleasing to the eye to use an odd number of them.


I hand cut some leaf shapes and inked them green.  I folded them in the center and inked the fold (shown below). 


I had previously covered this composition notebook with this fun glittery bird paper.  I added a bit of washi tape down the seam and a vinyl title on the front.  

I added the flowers to the side.  I like the sheet music paper as birds sing...a lot...especially the cardinal in my front yard recently :)


I set my flowers down above the title to place the leaves.  I used the same glue to adhere the leaves first (you can see the inked center fold here).  Next I adhered the flowers on top of the edges of the leaves.


I wanted to mimic the glitter in the paper, so I used stickles and a foam brush.


In the past, I painted the flowers with acrylic paint (before I rolled them) but this time I wanted to leave the flowers unpainted with a red glitter edge.


These rolled flowers are fun to make any size and add a nice 3-Dimensional touch to a project!!

I am also linking this up at PinkCricut.com!!!

Tuesday, March 12, 2013

Make Your Own Glue Dot Tutorial (Frosted Designs)


Hello Crafters!!!  Lori here from Scrappin'MyStressAway with a tutorial I have been wanting to do for a while.  My husband's grandma recently passed away at the age of 97.  When I met her, she was 75.  My mother-in-law is not a picture person (gasp!!) and I just recently saw some of grandma's photos from her youth when I was putting the picture boards together.  

She was a beautiful lady!!

I knew that this was a great opportunity for me to honor Grandma Kelly along with my tutorial!

Many of us use Glue Dots a lot for various projects.  A friend of mine shared her Glue Dot secret with me and I thought I would share it with you!! This will save you money (something Grandma Kelly loved to do) as well as give you more options than the store-bought dots do. 


You need 2 things: 

Aleene's Tack-It over and over glue.  I found mine at Michael's and used a 40% off coupon.

Wax paper or leftover sticker sheets.


I am using a leftover Glue Dots sheet.  I probably should have used something wider, but this worked!!

Simply squeeze the glue into the size dot you need.  You can also make lines of glue.

Let it dry.  

The smaller dots dry within an hour.  My large dots dried in about 24 hours.  The key is to plan ahead if you need a large dot.  

I knew I was making a flower out of ribbon, so I made my dot the size I wanted the flower to be.


The biggest dot was made on a sticker cellophane wrapper.  It is still a little white in the center a couple of days later, but dry enough to use.

These glue dots are much stickier than the Glue Dots from the store (which can be good or bad).

For my ribbon flower, I started in the center and wound the 3Girl Jam ribbon around and around.


I used my Cricut spatula to get the glue dot off the cellophane and positioned on my layout.


I like the ribbon flowers better than the 3D paper flowers I make with my cricut if I am putting the layout into an album.  The ribbon is more flexible (aka squishy when you close the page)!!

You can't see here, but I used a small glue dot to glue a pearl in the center.  I did not intend to, but the glue backing came off the pearl (hate when that happens) so it is good to have options!!


I used the medium sized glue dots to adhere the paper flowers on my layout, as well as the pearls in the centers.


I added some ribbon, metal flowers and gem flourishes.


For my smaller flower, I used my tweezers to position the glue dot on my page.  Then I wound the ribbon on it.


The tweezers also helped tuck in the end of the ribbon.


Grandma Kelly wrote on the front of a lot of her pictures!!  Yikes!!  In the corner of the photo you can see "Louise 1934" written in ink.  

I thought that would make the best title for my layout.


I used Quarter Note and my Gypsy to weld Louise.

I cut out Louise sized to 1.48 inches.  I cut out 1934 sized to 1 inch.

I used a label from Lacy Labels sized to 3.12 inches to adhere the title to.


I cut the letters and numbers and shadow tag out of red cardstock and the tag out of the reverse side of the patterned paper.


I slid the tag under the photo mat.


I love this photo of Louise, her eyes follow you!  She was 18 years old in this picture - her whole life was ahead of her.

I love creating glue dots in the perfect size for my projects.  I hope my Make Your Own Glue Dot Tutorial was helpful!

I am also linking up today at Pink Cricut!


Sunday, November 4, 2012

3D Ornaments


I can't believe it is November already!!!  Today is my turn for the Show Me Sunday tutorial at Frosted Designs.  I am sharing how I made some fun 3D ornaments.  We are HUGE Christmas fans at our house and start decorating for Christmas right after Halloween.

I have an AWESOME gold tinsel rotating Christmas tree that belonged to my Grandparents.  It has two spotlights and plays music too.  I decorate the tree with purple - my favorite color.

I wanted to make some purple and gold ornaments and thought this was the perfect time to get started.


I started out with some purple patterned paper from K and Company, purple cardstock and metallic gold cardstock.

I found these awesome ornament shapes on Close to My Heart Artiste Cricut Cartridge and grabbed my Gypsy.  I used three different ornaments, this first one I sized to 4.41 inches (you could use 4.5 inches on a cricut without a Gypsy).  I cut out four of each layer since this is a skinny shaped ornament.

Now, if you don't have a Cricut or Gypsy ~ no worries you can use any shape that is symmetrical ~ below is an example.

The next ornament shape I sized to 4.65 inches (again you could cut it to 4.5 inches without the Gypsy).

The third ornament is a bit wider, so I only cut out three of each layer.  This one is sized to 3.94 inches (you could size to 4 inches without the Gypsy).

I used gold cardstock for the base and one of the purple pages for the top layer and cut them out.  I adhered the purple layer to the gold layer using a liquid adhesive pen.

I used my Martha Stewart Score board to score the ornament in half.

If you notice on the top of this photo, I have a line drawn across my score board.  I forgot I did this with the first piece, but it is helpful if you have a shape to score that is not a square or rectangle.  You can mark the center of each side and line it up with your pencil mark.

I used my bone folder to fold the scored line. 

I repeated this on the two other ornament pieces.  They should look like this when they are all scored.

Next, I ran two pieces through my 5 inch Xyron (or you could use another super sticky adhesive like an AGT gun or red tape).

I pulled one side up from the sticky ornament piece (on the Xyron waxed paper sheet) and adhered one side of the ornament piece that had no adhseive on it.

Next, I peeled the two pieces off of the waxed paper and stuck the third piece on.


Here is the result.  All three sides are stuck together.

I then took my Crop-A-Dile and punched a hold at the top of the ornament and used some purple skinny ribbon to make a loop.

Very pretty and easy to make!!

If you don't have a Cricut or the Artiste cartridge, no worries you can still make 3D ornaments.  You can use any die cut or shape that is symmetrical.

I demonstrated how you can do this with just a circle punch.

I punched three gold circles and folded them in half.  I ran two of them through my 1 inch Xyron and stuck them together to sides at a time.

Here is a top view of the circle ornament.

Here are all of the ornaments that I made.  I can't wait to get them on my gold tree!!!

Thank you for joining us today ~ I hope I inspired you to make some of your own!!