Copyright Information

Thank you for stopping by my blog! I hope you enjoy the things that I create and share! I do have a copyright on my original creations (see logo on my sidebar below).
If you create and post a creations based off of mine, please refer (with a link) back to my blog. Please do not use my ideas for files, profit or for contests. Thank you!


My Craft Goals for 2015

My Goals for 2015:

1. Update my goals for 2016 in January of 2016 :)
2. Maximize my crafting time!
3. Keep plugging away at scrapbooking photos!!
4. Learn how to Heat Press!!
5. Have fun!


Showing posts with label Shall We Dance. Show all posts

Monday, September 3, 2012

Nieces Are Nice Layout

Happy Labor Day!!  Today I am the Guest Designer over at She's A Sassy Lady with a spunky layout of my nieces.

****If you are looking for the Halloween Spooktacular Banner Blog Hop, please go HERE!

I love welding with my Gypsy and really wanted to make a unique background for this picture of Sophie and Sabryna.  I took random words that describe these two sisters and used a variety of fonts and cartridges to create my background.
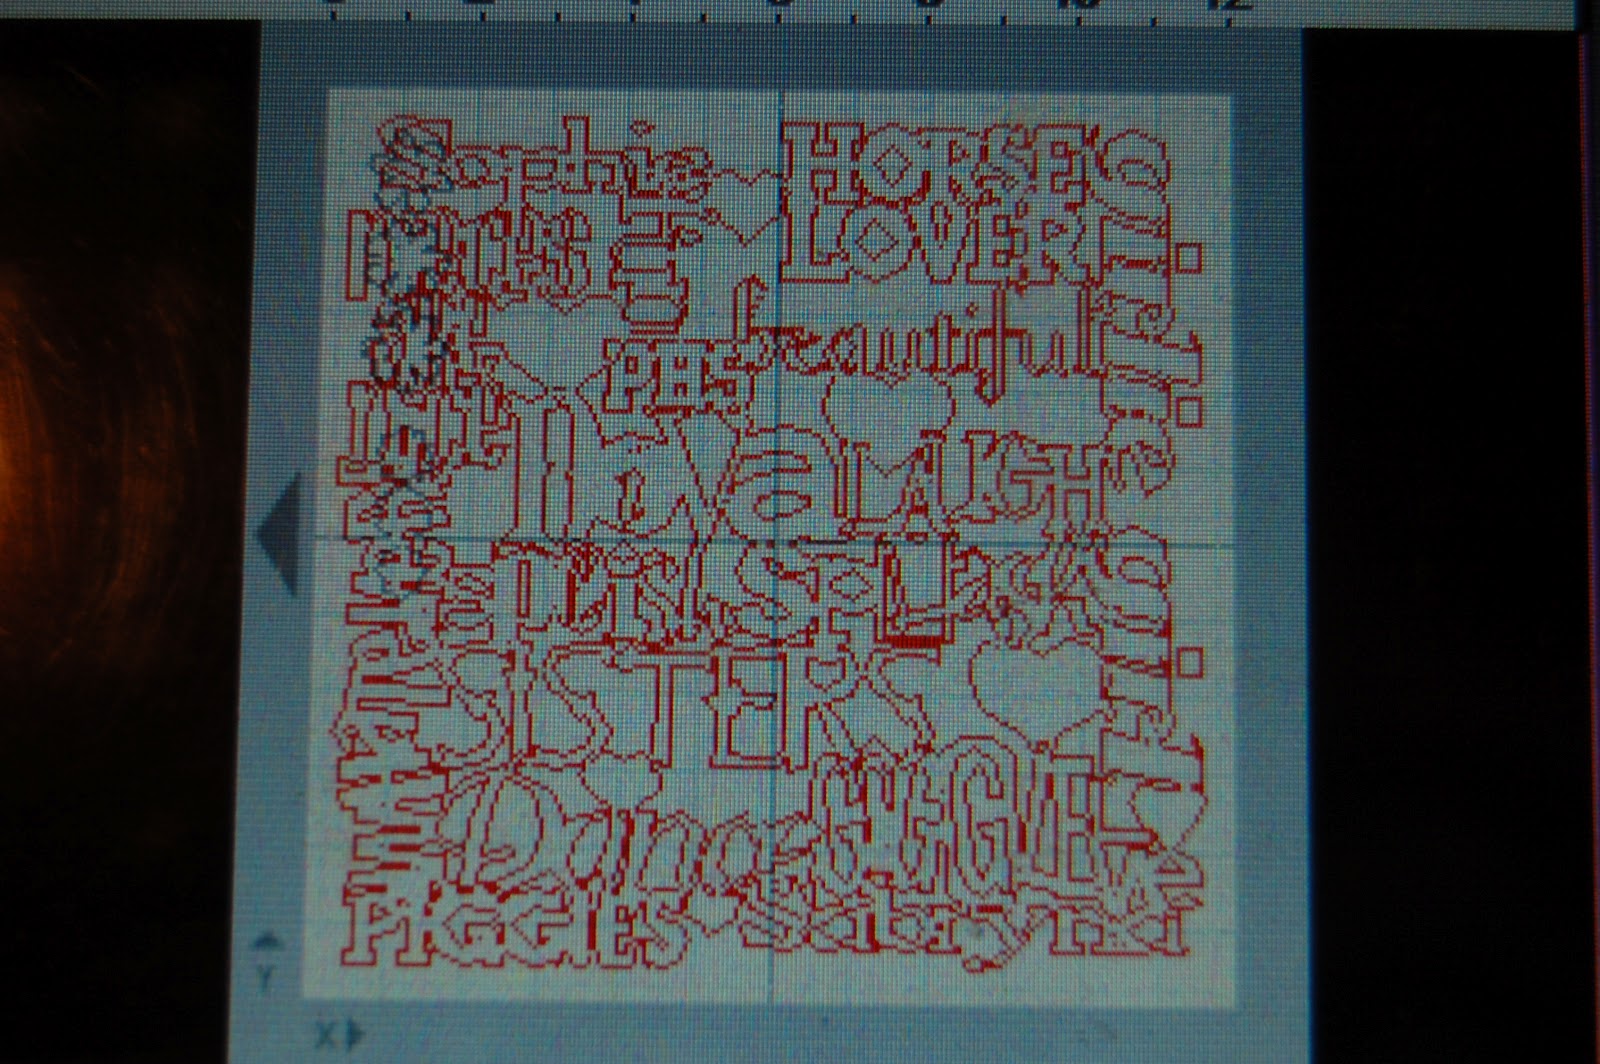
I am not sure if this is subway art or not, but I have fun making backgrounds like this.  I added some hearts (George) and ready made words (Giggle, Whatever, Splish Splash, Dance and Diva) and created the rest.  Sophie shows horses and Sabryna has always loved piggies.  I think they are beautiful and made sure the picture was just under that word!

Here are the carts I used:  A Child's Year, Birthday Bash, George, Graphically Speaking, Hannah Montana, Home Accent, Home Decor, Mother's Day Bouquet, Rock Princess, Shall We Dance, Varsity Letter and Wall Decor and More.

I usually open a 12x24 mat and put all of my words on the right side initially.  I size them and place them on the left side until all the spaces are filled.  Then I re-size my mat (from the main menu) back to 12x12.  I weld everything together and cut.  I used blue cardstock and carefully mounted it to a light blue cardstock trimmed to 11.75" square.  I mounted the light blue cardstock to the same color blue cardstock I used for the word mesh.


I used Mother's Day Bouquet to make these flowers.  I sized the small ones at 0.73 inches and the bigger ones at 1.12 inches.  I cut them out of pink cardstock and added a pearl to the center.

My sister-in-law took this photo of the girls on picture day last year.  I used mostly blue to match their clothes, but if you look closely you can see the pink flowers in the bush behind them.  That was all I needed for my accent color.

What a fun layout of my nieces.  This one just might be going in a frame for a while!!

Thank you for stopping by today!!


Saturday, December 17, 2011

Note Pads for my Kids!

I made personalized note pads for my daycare kids and their siblings who are in school.  I personalized them by using several cricut cartridges and papers.  Ayla loves cats and her sister Abby loves dogs.
 William and Eli love trucks and trains.
 McKenna and Elle love dance.
Luke and Tanner love baseball.
Mallory loves lady bugs and Sierra loves tie dye and soccer.
 Sterling and Alex love football.
 Colton loves soccer and Jadon just started karate.  Jadon also loves orange!
Max loves golf and Stone loves to wrestle.
 Here is a screen shot of some of the cuts and layers.

 I welded the names (using Don Juan) to the Sports Mania images.

 Here is a link to a tutorial on how to make these notepads with a Bind-It-All HERE.

In addition to the note pads, I also gave the kids some "grown up" pens to use in them.  My son has already filled up his note pad with drawings and words.  I need to get busy with some more!!!


Friday, March 4, 2011

Up, Up and Away {Frosted Designs Challenge}

This week's challenge at Frosted Designs is to use 3 pieces of patterned paper, 2 fonts and 1 tag.  I was inspired by a bird cage project I saw in Scrapbook Etc. magazine.

I started by cutting paper into 1" strips.  I punched a hole in one end and hooked them all together with a brad.

I fanned them out.

I took a 1 1/2" strip of paper and made a circle out of it for the bottom of the balloon.

I glued the ends of the balloon to the inside of the circle.  I started with one strip, then did the strip across from it and then the middle of the two sides.  On a clock, I did 12, 3, 6 & 9 o'clock.  Then I worked in the middle sections, overlapping a bit.

I was dying to use this in a project, and this seemed like a good time.  I took off the lid and covered the tin in scrapbook paper.
In order to make the strings to connect the balloon to the basket, I cut four 1/2" strips of white card stock (8 1/2 x 1/2).  Then I scored and folded the strips in half.

I glued them together and glued a light blue ribbon on one side.

I needed skewers on two sides in order to hold up the balloon.  I taped the paper strips to the sides of the basket.  On the smaller sides, I taped the skewers on the inside of the strips.

Here are my strings.  I glued them to the outside of the circle at the bottom of the balloon.  I then covered up the circle with my 3rd patterned paper cut at 1 1/2".

Then I cut out a couple from Shall We Dance? who appear to be giving a grand wave.  I cut off the ballerina's bun.  I used Cherry Lime Aid for "up up and away" and Opposites Attract for "Balloon Rides" which I glued on a tag.   
I made a little stand for the tag.
 
This was a fun little project that took on a life of its own!!  I am usually doing messy boy layouts!

Thursday, November 18, 2010

Shall We Dance at Homecoming

I finally committed to keeping my Shall We Dance cart.  I have all boys and did not think I would use it at all, but I did find the perfect layout for it!!!

I am working on my son's book....this is last year at Homecoming.  His date wore ivory and gold and I had a terrible time finding paper that looked good but not too girly!!

I used Songbird for the font and welded the letters with my Gypsy.  I LOVE how the letters weld!!  I used Shall We Dance and made the border by welding the Medallions together.  I cut them out of gold metallic paper.

I cut circles out of the same gold paper and made flowers ~ not to frilly but it needed some flowers!!

Here is a close up of the Medallion border.  I think maybe for a different layout, I will make a border of the empty medallions and weave ribbon through them...

Here is the layout again.  Thank you for your comments!!
