Copyright Information

Thank you for stopping by my blog! I hope you enjoy the things that I create and share! I do have a copyright on my original creations (see logo on my sidebar below).
If you create and post a creations based off of mine, please refer (with a link) back to my blog. Please do not use my ideas for files, profit or for contests. Thank you!


My Craft Goals for 2015

My Goals for 2015:

1. Update my goals for 2016 in January of 2016 :)
2. Maximize my crafting time!
3. Keep plugging away at scrapbooking photos!!
4. Learn how to Heat Press!!
5. Have fun!


Showing posts with label Easter 2010. Show all posts

Friday, April 5, 2013

Easter Blessings Layout (Spring Blossoms Blog Hop)


Hello and welcome to the Spring Blossoms Blog Hop!

If you are looking for the Going Retro Blog Hop with Paper Wishes Productions, go HERE.

It is finally spring weather here in Nebraska!!   We are celebrating spring by making projects with spring flowers!

I am the first stop in the hop so if you found me first, you are in the right place!!


I have included a complete list of blogs in the hop in case you get lost along the way!!

  1. Lori Apgar - http://www.scrappinmystressaway.blogspot.com/ ****HERE
  2. Teresa Russell~http://freshandrenewed.blogspot.com/
  3. Robin - http://cutonedesignsbyrobin.blogspot.com/
  4. Pat - http://patacakespages.blogspot.com
  5. Cicily - http://pinkdalmationscrapper.blogspot.com
  6. Christine ~ http://hotberrydesigns.blogspot.com/

For my project today, I created an Easter layout.


I am a gypsy girl and naturally I grabbed my G and started looking for Easter and flowers!

I started out with my title Easter Blessings from CCR Exclusive Easter Blessings and sized the layers to 2 inches.

I cut out the chick from Easter 2010 sized to 1.35 inches
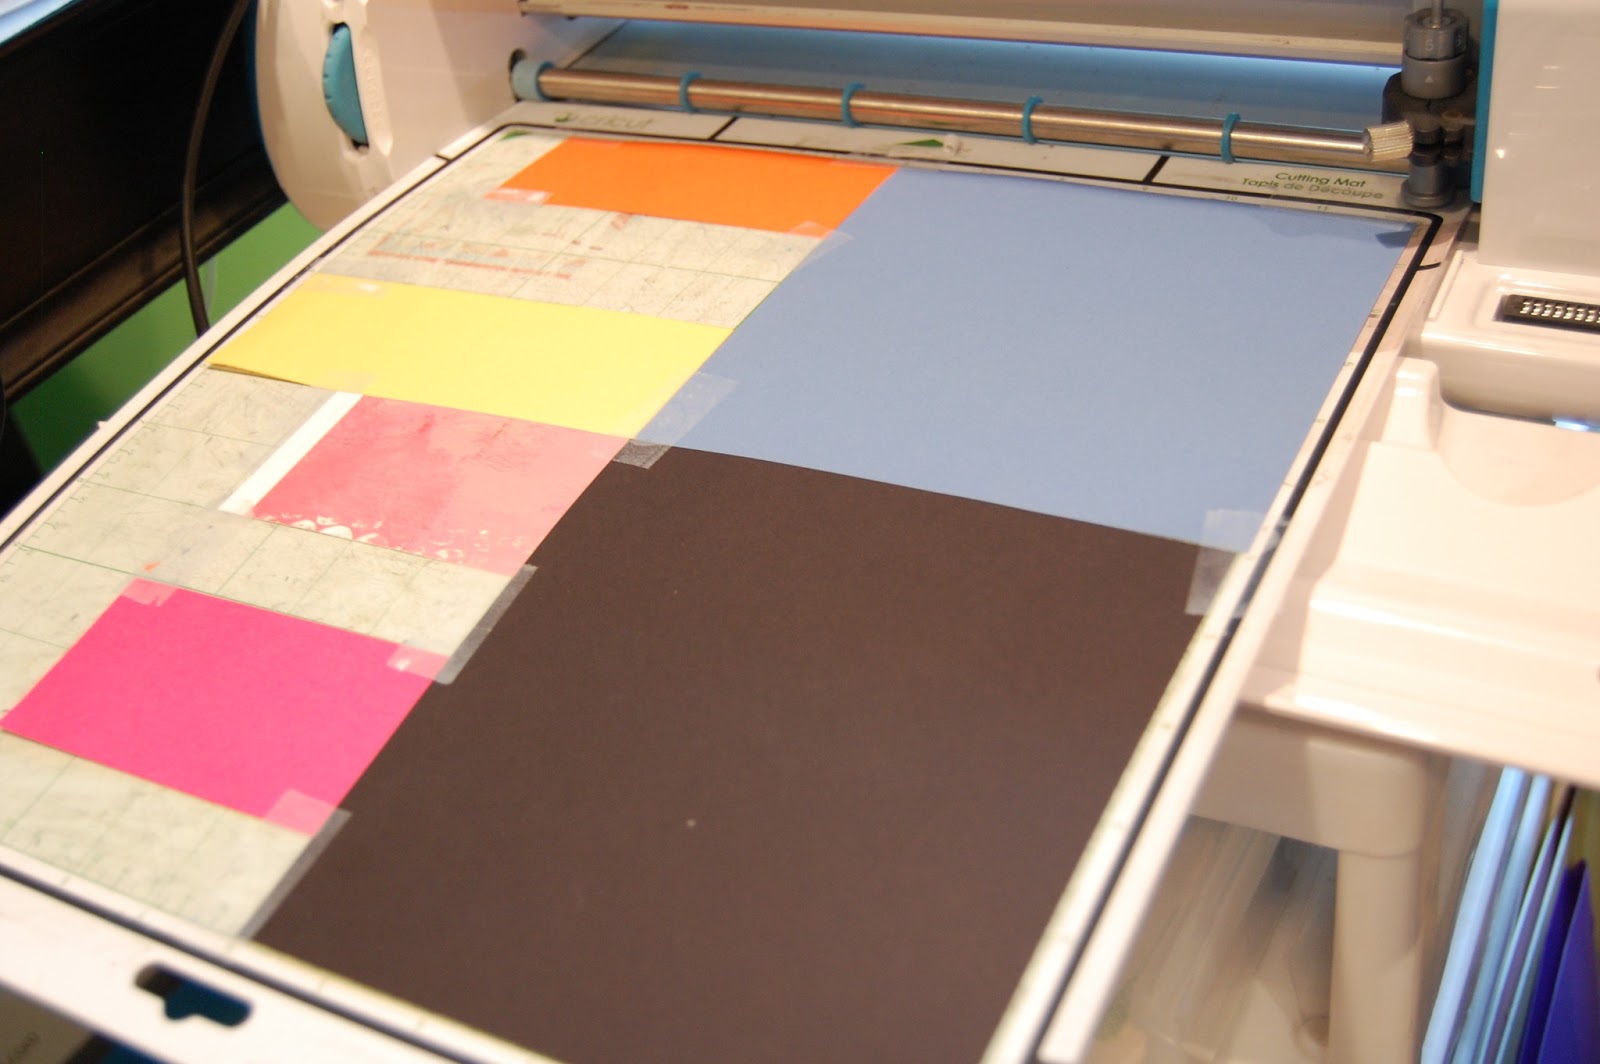

I loaded my cardstock on my mat and cut out the pieces.  


I cut some grass (that sounds funny) from Easter 2010 sized to 2.76 inches.

I cut out some flowers from Easter 2010 sized to 1.71 inches.

I cut the tulips from A Child's Year sized to 1.55 inches.

I copied the flowers onto the bottom of my mat to cut them out in green for the leaf layers.


I cut out flowers in yellow, pink and orange.  The grass and leaves are in green.


The blue I originally cut did not look as good as I hoped, so I re-cut Easter Blessing out of pink.


I inked all of the grass and leaves.  I added the chick in front along with some stickles.  The flowers also needed some sparkle, so I added stickles.


I will add a 4x4 photo of my boys from Easter in the center of the yellow mat.

I really like this paper from DCWV Collage Art stack as a background.

I hope you are having a wonderful spring.  Tulips are my favorite spring flower, what are yours?

Your next stop in this hop is the lovely TERESA.


Thursday, November 1, 2012

Halloween Treats (SweetSassyDiva)


It is Halloween week ~ time to pass out some treats!!!  Today I am the Guest Designer at SweetSassyDiva's Blog and our theme is Halloween Treats or Party Decor - be sure to stop by and see some great ideas and projects!!


I created two different treat containers using a Starbucks glass container and.......


a Crystal Lite drink plastic container.


I used this two sided paper from K and Company.  I cut the paper into strips to go around each container.


I put this square pumpkin face on my Gypsy mat from Pumpkin Carving at 1.5 inches.  One set of two were cut as is, and the other set of two I hid the eye and mouth cuts.  I cut out the jack-o-lanterns in orange cardstock and the squares in yellow cardstock.


I originally planned on mounting the pumpkin squares on this scallop circle shape from Easter 2010 sized at 2.5 inches.


 I cut one set of scallops out of the black side of the double sided paper.  I also cut out a scallop out of orange and yellow cardstock to put on the back.


I adhered the strips of paper around my containers.  The scallop circles covered too much if the strips of paper, so I modified my design.  I trimmed some squares to back the pumpkins and used some washi tape for the stems.


I used my Creative Memories circle punch to punch out an eyeball and spider for my lids.


I used added some washi tape to my containers too!


Thank you for stopping by today ~ I hope you have a wonderful Halloween!!

Saturday, March 24, 2012

Bunnies and Blossoms Banner for Kids

Welcome to the Bunnies and Blossom Banners for KIDS!!  

If you are looking for the Memories in Tyme Easter Blog Hop, please go HERE!


 Forty very talented crafty people have come together for a two day hop (Friday March 24th and Saturday March 25th) to showcase handmade banners that will be donated to the children at Pediatric Specialty Care. The hope of these banners is that they bring smiles to these children's faces and awareness of Pediatric Specialty Care to all those that hop along.  Here is a complete list of the blogs in Friday's hop. 

  1. Ellen ♥ CardMonkey - http://cardmonkey-business.blogspot.com/ 
  2. Ashley - http://theglamoroussideofscrapping.blogspot.com/ 
  3. Jearise - http://lorbysworld.blogspot.com/ 
  4. Rachelle - http://creationsbyrachelle.blogspot.com/
  5. Edwina Brown- http://edwinascreations.blogspot.com/
  6. Theresa ~ www.thescrapbookingqueen.com/
  7. Nancie ~ http://alittlepieceofmebynancie.blogspot.com/
  8. Teresa - http://scrappintplace.blogspot.com/
  9. Theresa Neubaum - http://scrappyartcrafters.blogspot.com/
  10. Janet S - http://ladyluvbug.blogspot.com/
  11. Lori - http://scrappinmystressaway.blogspot.com/****HERE
  12. Jenny - http://crazyaboutcricut.blogspot.com/****NEXT
  13. Doris  -http://mybugandmecreate.blogspot.com/
  14. Yvette- http://gammascreativecorner.blogspot.com/
  15. Jenny D - www.yogimemories.blogspot.com
  16. Sandra http://365daysofcricut.blogspot.com/
  17. Jeannie - http://polkacabana.wordpress.com/
  18. Lucy - http://love2createitall.blogspot.com/
  19. Shelly Lynn - http://kccroppers.blogspot.com/
  20. Beth McGee - http://motherandaughterdesigns.blogspot.com/


And now, on to my project.  The first thing I do when I create is grab my Gypsy.
I found the Scalloped Eggs on Easter 2010 and sized them to 4 inches.  I cut them out in yellow cardstock.

Also at 4 inches is the regular Egg from Easter 2010.
I cut the eggs out of this beautiful paper from DCWV called The Painted Petals.

 
I wanted grass on the bottom of the egg so I grouped the grass from Easter 2010 sized at 1.94 inches with the egg shape.  By grouping the grass with the egg, the sides of the grass will be shaped to fit the egg perfectly.

I used two different bunny shapes from Easter 2010 sized at 1.90 and 1.59 and cut them out of shimmery pink cardstock.  I cut out the word "spring" from Art Philosophy at .88 inches and cut it out of the same cardstock.

I assembled the pieces and added Liquid Pearls for the bunny eyes.  I added some flowers by punching out two different sizes of circles, crinkling and inking them.  I used brads to fasten them together.

I glued pink ribbon bows to the top of each egg and strung the eggs together.  I punched out green circles and glued the letters on to spell out SPRING.


Thanks for stopping by today!!  These kids and their families LOVE these banners!!

We DO have a tasty bit of blog candy to thank you for visiting us today! What's the prize??!

How about a beautiful handmade (courtesy of our Blog Hop Hostess, CardMonkey!) Cricut Cozy Covers?! Each one is individually styled in your pick of colors and embroidered words! These are RARE because CardMonkey does not make them for sale and she usually sticks to paper, not sewing!!

To qualify, there are two steps: 1. Comment on as many Bunny & Blossoms Blog Hop blogs as you wish -- the more blogs on which you comment, the more chances you have to win. There will only be one winner, picked at random by Random.Org.

2. Follow and comment on the CardMonkey blog ... Leave a comment on our Hop Hostess's site (http://cardmonkey-business.blogspot.com) and let her know if your name is picked, what 2 accent colors you'd like on your Cricut Cozy Cover, and what text you'd like embroidered (up to 3 lines). You MUST be a follower of the CardMonkey blog to win and you MUST leave a way for her to contact you if your name is picked.


  Your next stop in the hop is my dear friend JENNY!  This is her very first blog hop so be sure to give her some blog love :)


Thursday, March 22, 2012

Easter Bucket


Welcome to the Memories in Tyme Easter Blog Hop.  In this hop you will see cards, layouts, decorations and gifts to celebrate Easter.  You should have arrived from JANET.  If not, please go back to the BEGINNING so you don't miss anything!

For my project today I decorated a bucket with some vinyl for my son.
I started with my Gypsy and found this cute font on 3 Birds on Parade.  It has little birdie feet in the letters ~ so cute!!  I sized the letters to 1.24 inches.

I grabbed the bunny from Celebrate With Flourish and sized it to 4.18 inches.  Because this is for a boy, I left off the top layer with the flourish cut into it.

I cut out 9 eggs from Easter 2010 sized to 1.12 inches.


I loaded up my vinyl on my mat.  I save my scraps for this purpose.

This is my first time cutting vinyl on my new E2.  On my Expression, I set my speed, pressure and blade depth to 3-3-3.  On the E2, you select Vinyl - kiss cut.  Super easy!

I use my dental tool to weed away the extra vinyl....

and the inside pieces.

I carefully placed the pink bunny layer on the green bunny piece.

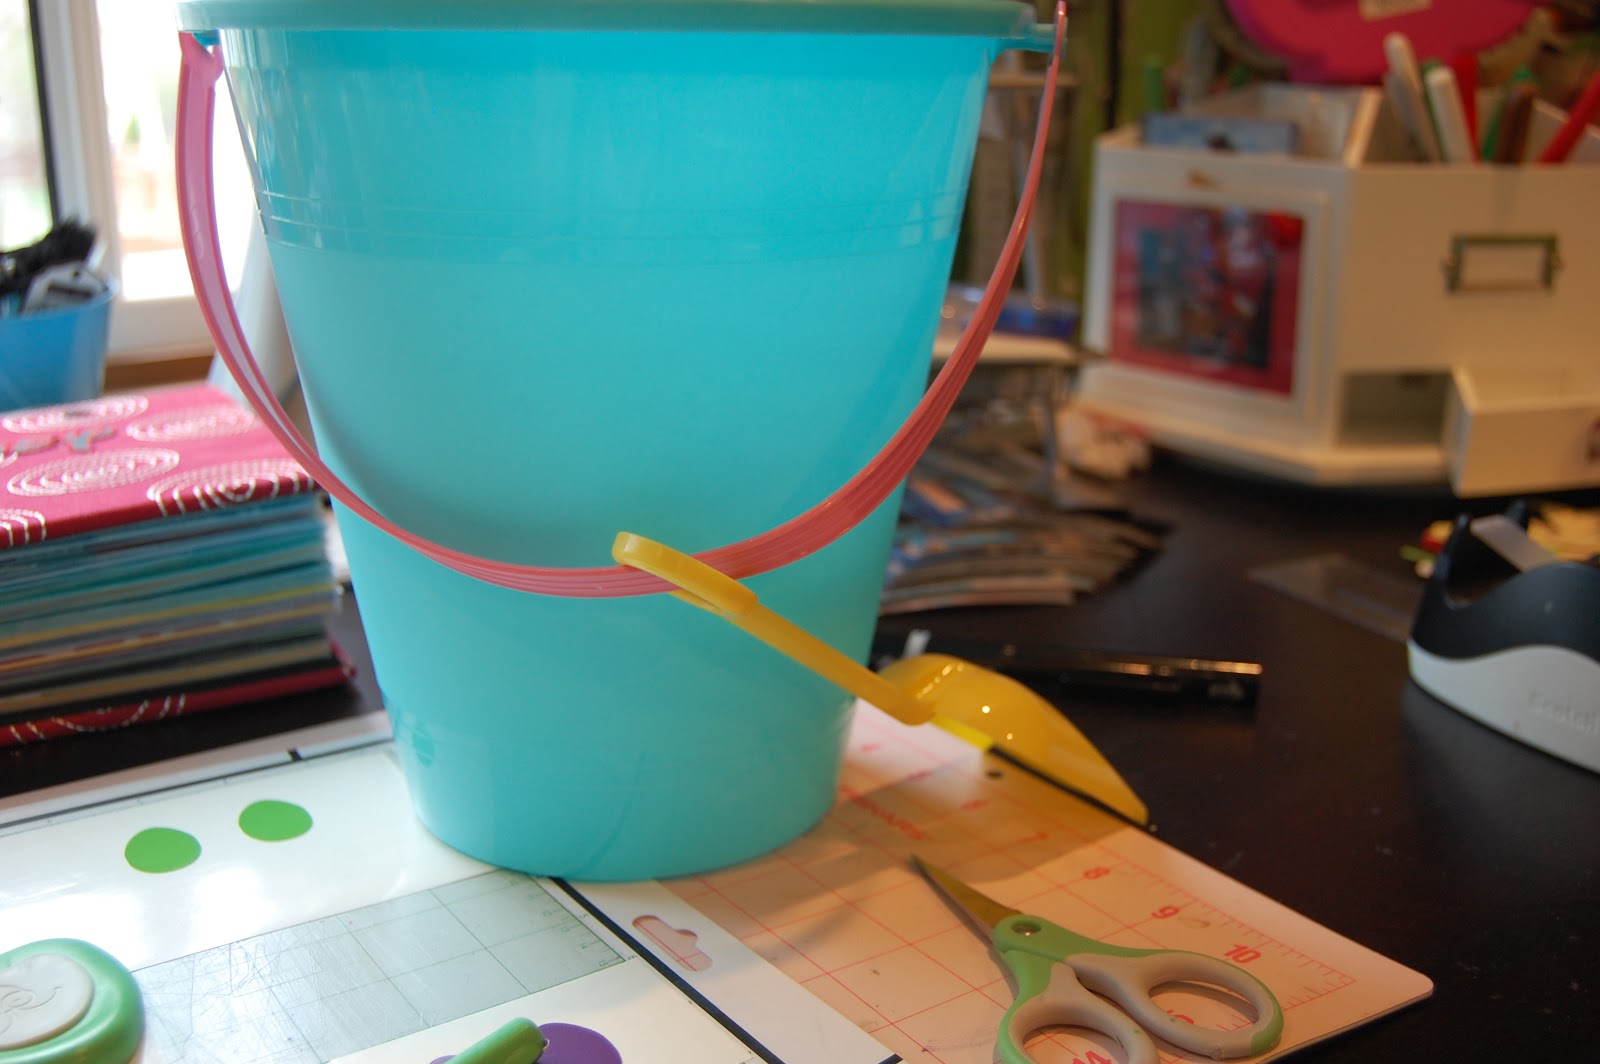
I got my bucket from Michaels for $1.00.

I put Tanner's name on the back of the bucket.

I put the bunny on the front.  I put the colored eggs around the bottom.

Here is the back. If I were making this for a girl, I would add gems to the eggs, flowers and bunny!

Your next stop in the hop is RHONDA.

Tuesday, February 21, 2012

Slider Invitation

You are invited!!!!  Hi ~ Lori here from ScrappinMyStressAway with a super fun invitation for you!

I saw a slider invitation in Hobby Lobby's  Scrapbooking Magazine (1st Quarter 2012) and thought it looked like fun to make.


As usual, I grabbed my Gypsy and got started.

I lined up all of my elements on separate Layers.  I started with a 6x6 square.  I put a circle at 5 inches on the next layer.  
I put the doily from Easter 2010 on the next layer at 3.13 inches.
I put a scalloped oval from Art Philosophy on the next layer at 2.57 inches.
I put the fancy oval tag on the next layer at 1.25 inches (the size of the coordinating stamp).

I welded two butterfly borders from Paper Trimmings at 1 inch and put them on the next layer.

I opened yet another layer and copied all of the pieces onto one mat to cut them out.

I used white card stock for my doily, orange cardstock for my circle, and scrap paper for the rest.

I cut a 6 1/4 x 6 1/4 square from light blue cards tock.  I cut my striped paper 6x6 and adhered it to the blue card stock.

The blue scalloped oval is cut on 2-sided paper.  I don't like the blue side as much as I thought I would.


I flipped it over!  Much better.

I used the You're Invited stamp from CTMH ~ these stamps come with the Art Philosophy Bundle.

I cut out this butterfly (2.24 inches) from Hannah Montana to attach to the slide.

I only glued the center of the butterfly layer and bent the wings up just a bit.
Here is the closed invitation.  I hope you can come!!