Copyright Information

Thank you for stopping by my blog! I hope you enjoy the things that I create and share! I do have a copyright on my original creations (see logo on my sidebar below).
If you create and post a creations based off of mine, please refer (with a link) back to my blog. Please do not use my ideas for files, profit or for contests. Thank you!


My Craft Goals for 2015

My Goals for 2015:

1. Update my goals for 2016 in January of 2016 :)
2. Maximize my crafting time!
3. Keep plugging away at scrapbooking photos!!
4. Learn how to Heat Press!!
5. Have fun!


Showing posts with label Window Card. Show all posts

Wednesday, July 13, 2011

Hang In There Window Card (Circus)

Hi ~ I made a Circus project for SweetSassyDiva's Mix-It-Up theme this week.  I have a good friend who is having a tough time right now and this card will be perfect to send to her.  The message is to "Hang in There" and I hope she does!!

I love making window cards.  I started out with this card shape from Fabulous Finds.  I put one on my Gypsy at 4.31w x 5.00h and made a second copy.  I found the trapeze artist from Carousel and put her and the layer on my mat at 3.04w x 4.01h (the shadow layer).  I added a second image so I could make a layer for the swing.
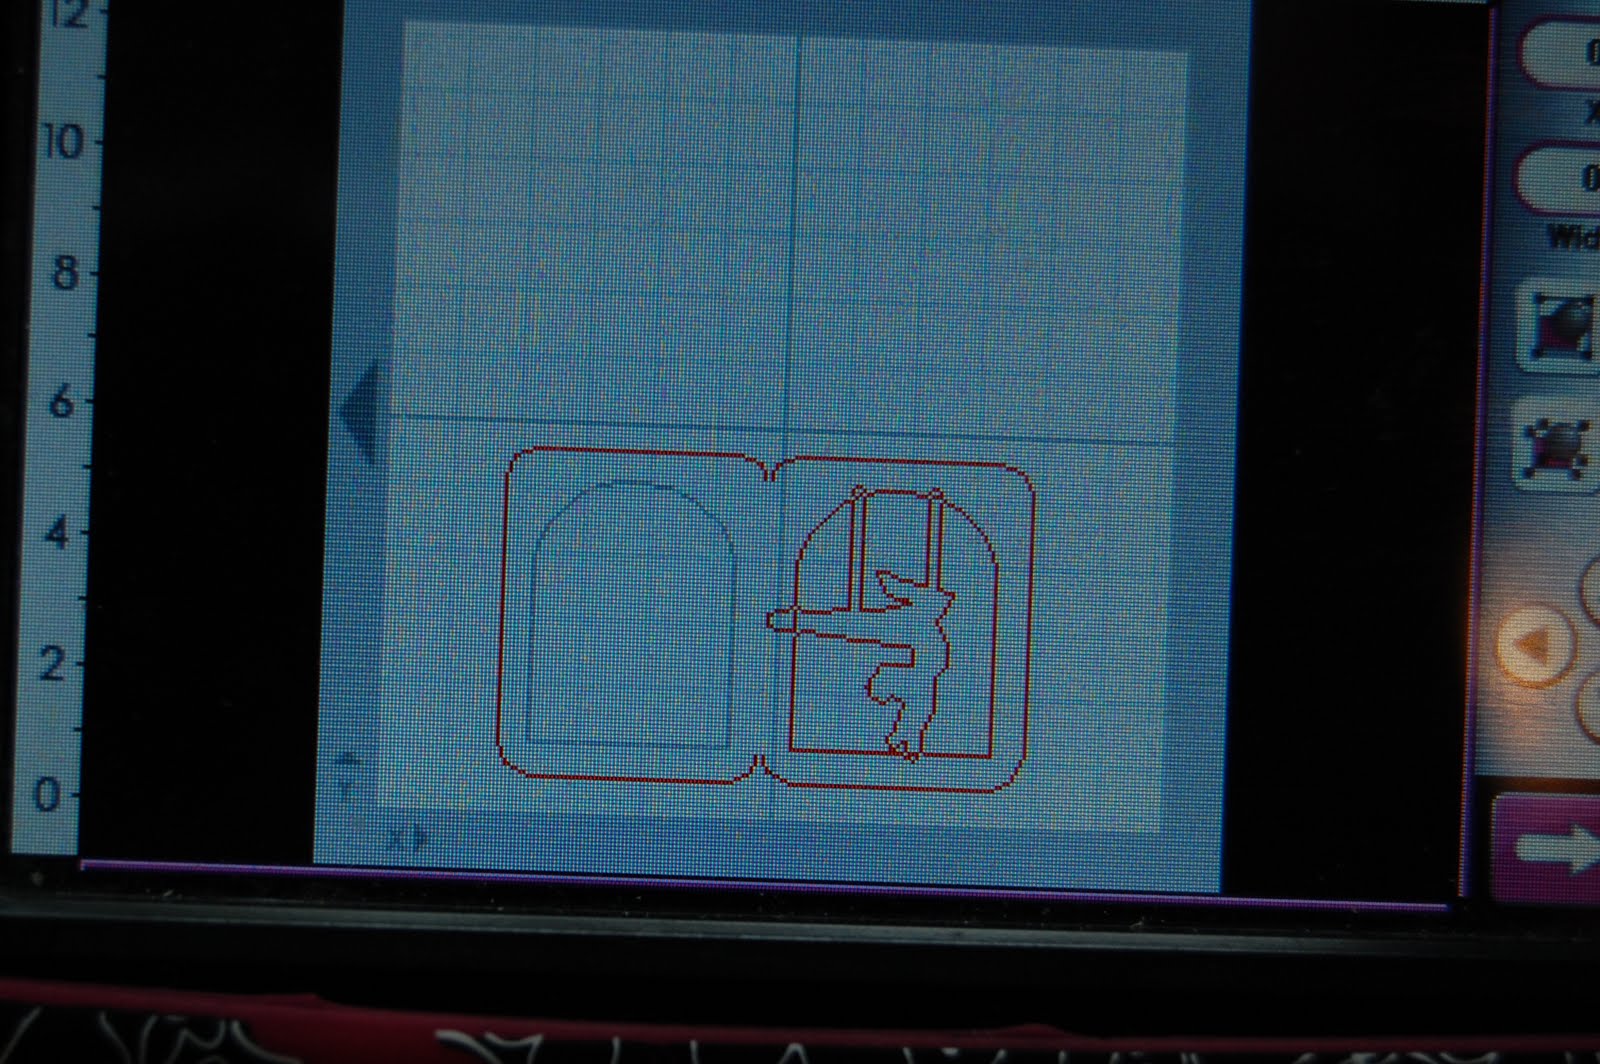
I used Hide Contour to hide the inner cut of one of the card sides.  I welded the card sides together, then welded the shadow of the trapeze artist inside the window.

I opened a new layer and copied the trapeze artists on and cut them out.

I was able to scoot the card over to the right and use this scrap (minus superman) to cut out my card.

Here is the card cut out.

Then I realized I needed another layer:  the swing, the girl, and the outfit.

I did go back and cut out one more girl in skin color after I realized I needed a solid girl, not the outfit cut outs!!  I snipped off the pieces I did not need and glued them together.  I used scraps for this entire card!!
I added some stickles to her hair, leotard and shoes.  I do not have many sentiment stamps, so I will hand write a message to my friend.

I am honored to be here at Sweet Sassy Diva's blog today!!

Monday, August 9, 2010

Thanks Window Card

I was inspired to make this window card from all of the cute window cards Sassy makes on her BLOG. 

I used the card on Don Juan that has an oval window on it.  I placed the shadow letters to spell out "thanks" welded together just bigger than the window.  I duplicated the word and moved it below the card.  After I duplicated the word, I welded the original "thanks" to the card. 

When I have a lot of images to weld, I weld one part at a time.  Here I welded the letters together first, then welded the word onto the card.  
 
I wanted to make just the front of the card in a different paper, so I first duplicated the welded card.
Then I went to the main menu (press the silver button) and switched my mat size to 12 x 24.  I positioned the card half way off the 12 x 12 half of the mat and then switched my mat back to 12 x 12.
You can see the card hanging off the mat here.  I moved it a little more to the right so the tic marks were even with the dotted line on the mat.
Here is it lined up and ready to cut.
I put my paper down on the mat making sure my arrow was on the left side so my mat lined up with the mat on the Gypsy screen.
My green glittery paper did not stick to the mat, so I had to cut it out again.  I opened another layer and copied the "thanks" onto it.  This way I could just cut the "thanks" out.  I needed to multi cut this 2 times since it is thicker than the cardstock ~ learned that after I cut it the second time!!
Here is a copy of Layer 2 page.  After I cut this out, I deleted it.
While I was waiting for the "thanks" to cut, I inked the edges of the front of my card with my Blazing Red ink and a Fantastix.
Here are all the pieces cut out.  I glued the front of the card onto the card.  I used double sided tape around the edges, and my MS Glue Writing Pen for the center.
I used my MS Score Board to score the card. 
I ran the "thanks" through my Xyron.
I used my stylus to outline the letters to help remove the glue boogers!
I added a gold sheer ribbon to the top.
