Copyright Information

Thank you for stopping by my blog! I hope you enjoy the things that I create and share! I do have a copyright on my original creations (see logo on my sidebar below).
If you create and post a creations based off of mine, please refer (with a link) back to my blog. Please do not use my ideas for files, profit or for contests. Thank you!


My Craft Goals for 2015

My Goals for 2015:

1. Update my goals for 2016 in January of 2016 :)
2. Maximize my crafting time!
3. Keep plugging away at scrapbooking photos!!
4. Learn how to Heat Press!!
5. Have fun!


Showing posts with label Mother's Day. Show all posts

Friday, May 8, 2015

Mom Layout

Our challenge at Frosted Designs is all about Mom!!  You can celebrate your mom, you being a mom, your Aunt (or any other mom) or even a person who is not a mom but has awesome mom qualities!!!

My mom died in 1989 when I was 20.  I am currently older than she got to be.  My plan was to have a big birthday party (my birthday is Monday) to celebrate that I "made it" past her oldest age....now that my birthday is near, I am consumed with guilt.  This really surprised me as these powerful emotions have been absent for almost 20 years.  

I was avoiding this project and almost did a layout of my boys instead.  But I went looking in the old photo albums and only found a few photos of just me and my mom.  This photo is at my 6th birthday party.  My mom always made our cakes - this year she made me a heart cake!
I added some handwriting and details on my page.  I also used some buttons, lace and pearls.  I don't usually use pink in my layouts, but I just loved the floral print paper. 
I tucked these pretty flowers next to the photo.

I used the green paper to mat my photo - it was yellowing around the edges and white or cream washed out the photo.  
I inked the pink doilies on my background and added a small strip of pink cardstock at the top.  I used my Cameo to cut my title.

Happy Mother's Day to all of the Moms, Grandmas, Step-Moms, and awesome mother figures!!!!!  Have a wonderful weekend!!!

Sunday, May 3, 2015

Personalized Mother's Day Tea Towels

Hello and Happy May!  I am happy to be a Designer at She's A Sassy Lady today!

May is my favorite month!!  It is the beginning of baseball, my birthday and Mother's Day.  Today I have a fun Mother's Day project today.

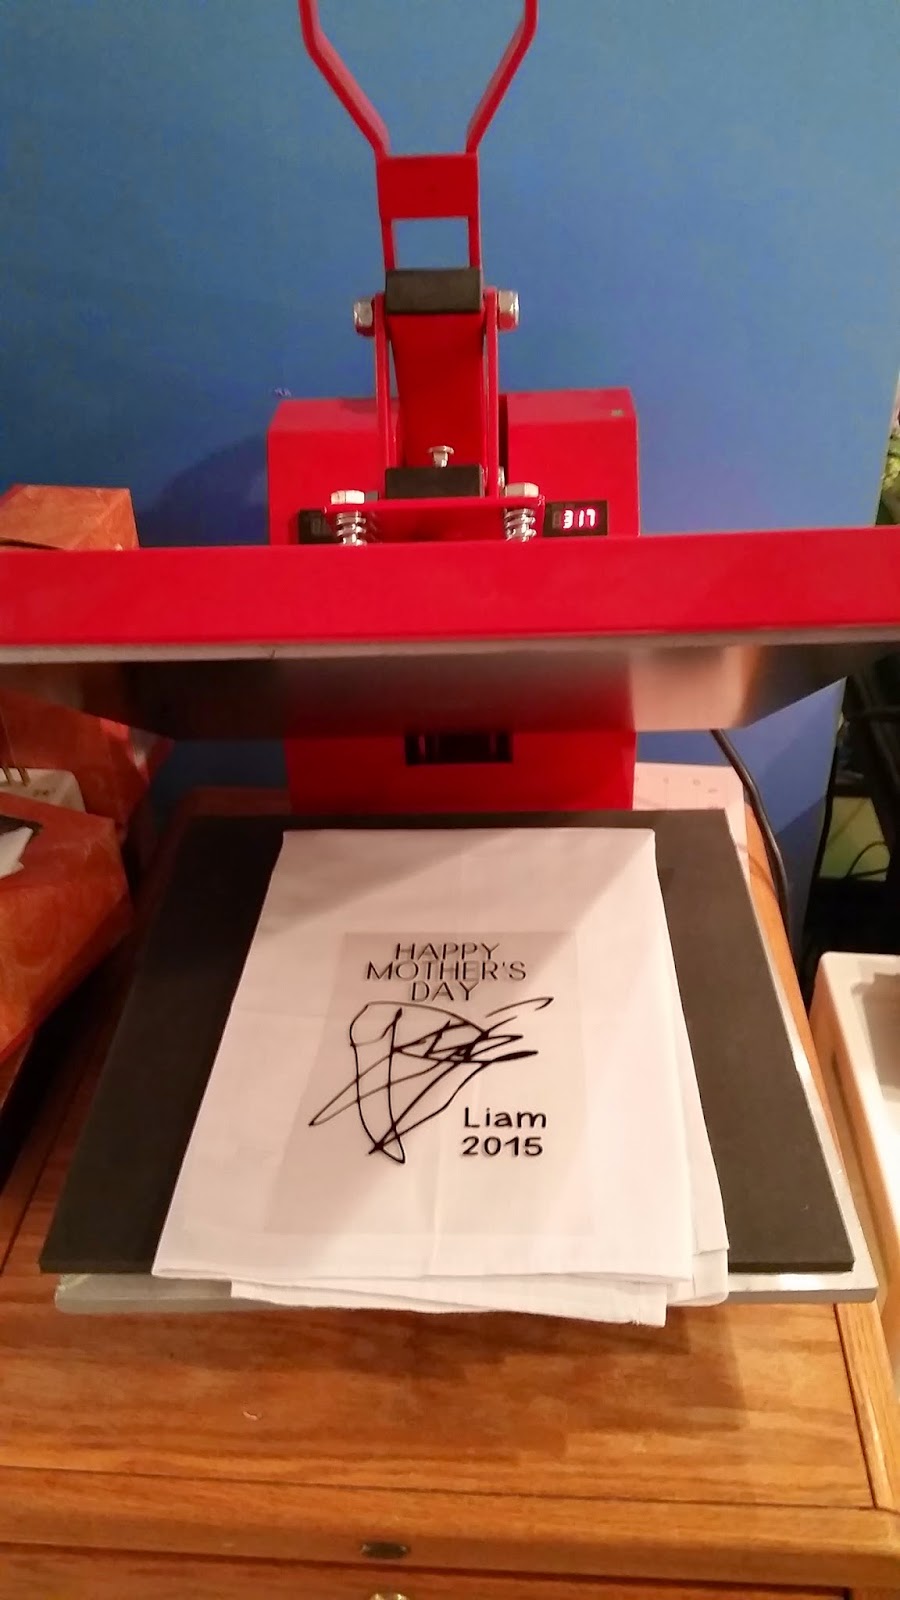
Most of you know that I have an in-home daycare.  I have the same kids for 5 years, so I try to do something different for Mother's Day every year.  This year I bought a Heat Press and decided to make some very special personalized tea towels. 
I had each of my children 2 and up color a picture with a marker.  I scanned the picture on my printer and put it on a Silhouette virtual mat. 
I traced the image and then made a mirror copy of it.  The heat transfer vinyl carrier sheet stays in one piece so the vinyl goes on your mat shiny side (carrier) down.
I sized the images to be around 5 inches wide and put them on my mat.

I cut them out of black Heat Transfer Vinyl.  I use the setting for smooth heat transfer vinyl and added a double cut. 
I used my poker tool to weed the extra vinyl pieces out. 
I pulled off the rest of the extra vinyl. 
I pressed the tea towels for 3 seconds and then I folded the towel and pressed again for 3 seconds.

I placed the vinyl design on the center panel and pressed for 15 seconds.  I flipped the towel over and pressed an additional 15 seconds. 
The towel is ready!!!

Thank you Sheila for having me over today!!  Happy Mother's Day to all of my mother, step-mother and like a mother friends!!!

Friday, May 9, 2014

Mother's Day in the Daycare

I helped my daycare kids decorate some clay post for their Moms for Mother's Day!

The babies pots are just darling!!!  I painted the pots yellow.  When the paint was dry, I painted their foot green and carefully stamped it on the pot sideways.  This looks like a caterpillar. 


I put #1 mom in black vinyl on the back. 
I cut put a caterpillar head and face on the heel in orange and black vinyl.
For the older kids, they painted their pots all by themselves.  I added #1 mom and flowers.  I cut them out and the kids got to pick the three flowers they wanted. 
I sealed the pots and we added soil and a flower.

I hope all of the Mom's out there have a wonderful weekend!!!


Wednesday, April 21, 2010

Knock Out!


This layout is from a sketch on the Practical Scrappers blog. When I was 3, I fell in our garage and hit my mouth on the cement step going into the house. I knocked my front tooth very loose. I went to the dentist the next day and had it pulled. I had a gap in my mouth for years!!

I wanted to capture the story and originally thought I would use a large tooth shape as a background for my photo. Well, it just did not look right because the tooth needed to be white and the colors didn't look good. I also changed the photo a couple of times, finally picking this one because I liked the dress ~ more important it goes with the paper I chose (he he).


I started by putting a square on my gypsy mat the same size as my photo. It is an odd size ~ 3.75 x 3.75. Then I took a scallop square from Accent Essentials and sized it to mat my photo (4.5 x 4.5). This was the paper that I HAD to use!! Then I grabbed the letters from Ashlyn's Alphabet and the tooth from A Child's Year. Using the 12 x 12 mat as my guide, I sized the letters and tooth so the title would fit where I wanted it on my page.



Finally, I made a corner by using a heart swirl from Mother's Day, copied it and rotated it -90 degrees. I anchored the swirl with a heart from Home Decor. I positioned the three pieces together and welded them. I them moved the corner piece to the scalloped frame and sized it. I arranged the pieces on my screen in quadrants by color of paper I wanted to use. I deleted the square that represented my photo and cut my paper.

I originally thought I would use paper, but I used ribbon as a background for my photo because that is what I had on hand (in other words Practical).