Copyright Information

Thank you for stopping by my blog! I hope you enjoy the things that I create and share! I do have a copyright on my original creations (see logo on my sidebar below).
If you create and post a creations based off of mine, please refer (with a link) back to my blog. Please do not use my ideas for files, profit or for contests. Thank you!


My Craft Goals for 2015

My Goals for 2015:

1. Update my goals for 2016 in January of 2016 :)
2. Maximize my crafting time!
3. Keep plugging away at scrapbooking photos!!
4. Learn how to Heat Press!!
5. Have fun!


Showing posts with label Fabulous Finds. Show all posts

Friday, December 21, 2012

Note Pads for the Teacher and Staff


I made these note pads for Tanner's Teacher for Christmas.

I used scrap paper and black and red cardstock.  The paper is 3x5 blank note cards as my paper and my Bind-It-All to bind them together.

I used Nate's ABCs for the font sized to 0.85 inches.

I used Fabulous Finds for the background rectangle sized to 6.20 (Actual size).

I cut them out in red and black cardstock.

I tend to make my note pads in bulk!!  I trim my pretty paper scraps to 3x5 or a tad bit larger than 3x5 to use as covers.  I use watercolor paper or chipboard to back my scrapbook paper.

And for the support staff:
I used Snow Friends and some scrap paper to create these notepads for the support staff.

I cut the snowmen to 4 inches and used stickles to color in the details.

Tune in tomorrow to see the gift bags I decorated to put them in!

Tuesday, November 13, 2012

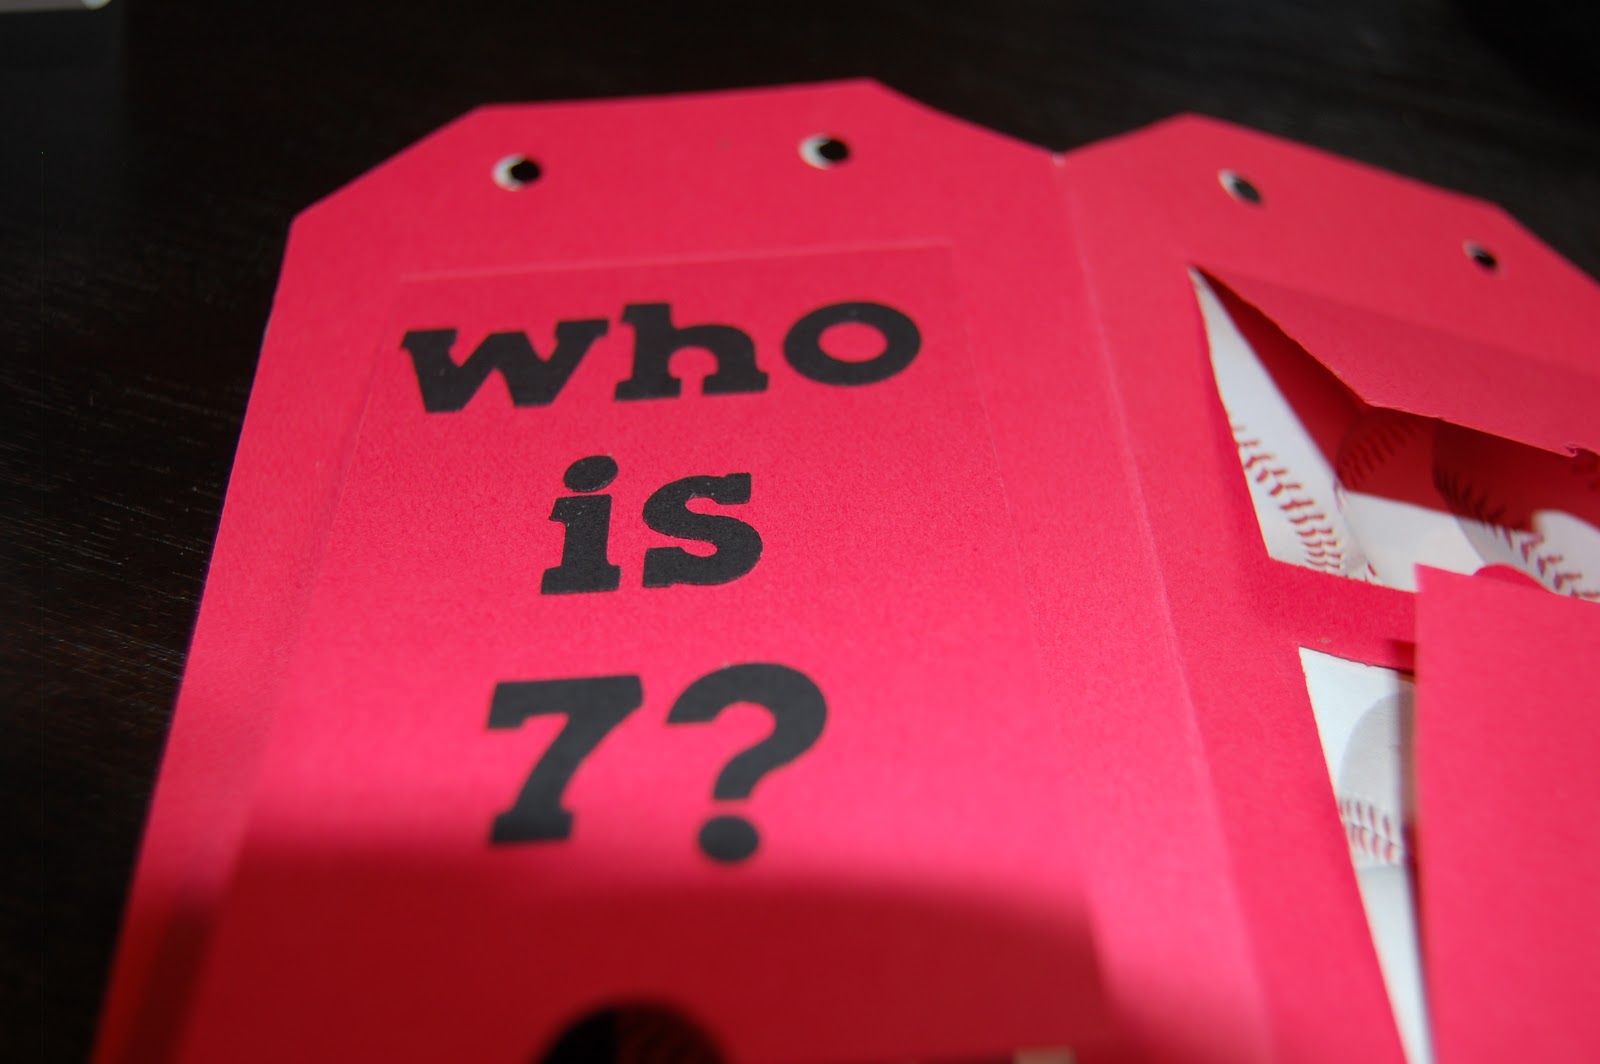
Peek-a-Boo Card


Hello!!!  I am excited to be a Designer today at My Cricut Craft Room!!  Our theme for today is to make a Card to Read With A Child.  I interpreted this to be an interactive (or peek-a-boo) card!

Tanner just celebrated his 7th birthday last week - I can NOT believe that my baby is 7!!!  He was a bit of a surprise and is 11 years younger than our middle son.  I still remember how excited I was (when the shock wore off) that we would get to go back to Disney again!!!!  We have been to Disney with Tanner 4 times and on one Disney Cruise.  We hope to squeek out one more trip next fall before he outgrows it (Mike and I will never outgrow Disney)!!!

I opened the tag card on Fabulous Finds.  I put both layers on my Gypsy mat sized to 5.5 inches.

I cut out the layers in red cardstock and some double-sided baseball paper.

I opened another Layer in my Gpysy to size the words and images for the flaps.

I used Birthday Bash.  I overlapped Tanner and welded it to fit my space.  The letters are .88 each.

The font for the rest of the letters and numbers are sized to .65 inches.

The packages are sized to 1.47 inches.

The baseball is sized to 2.06 inches.

The gecko is sized to 1.47 inches.

The balloon is sized to 3.59 inches.

I assembled the card as my cricut was cutting!  I used my ATG gun to adhere the red layer to the baseball paper.

I moved my images into groups by color.  I cut out the letters in black cardstock, the baseball and bow in white cardstock, the balloon in red (later changed to blue) cardstock, and the gecko and other package in green cardstock.

I used my throw-away piece as a template for my words.  I used painter's tape to hold my template in place.  I ran the letters and 7 through my 1" Xyron.
I stuck the letters all down, and peeled away my template.

Perfect words every time!

Here's Tanner!!

What a fun card for a child to explore!  This card can be personalized for the recipient and for different holidays.

Here are some close ups:


I added some baseball ribbon and it was complete!

Thanks for stopping by today!!  To see additional projects like this one, go to http://mycricutcraftroom.blogspot.com!!

Wednesday, July 13, 2011

Hang In There Window Card (Circus)

Hi ~ I made a Circus project for SweetSassyDiva's Mix-It-Up theme this week.  I have a good friend who is having a tough time right now and this card will be perfect to send to her.  The message is to "Hang in There" and I hope she does!!

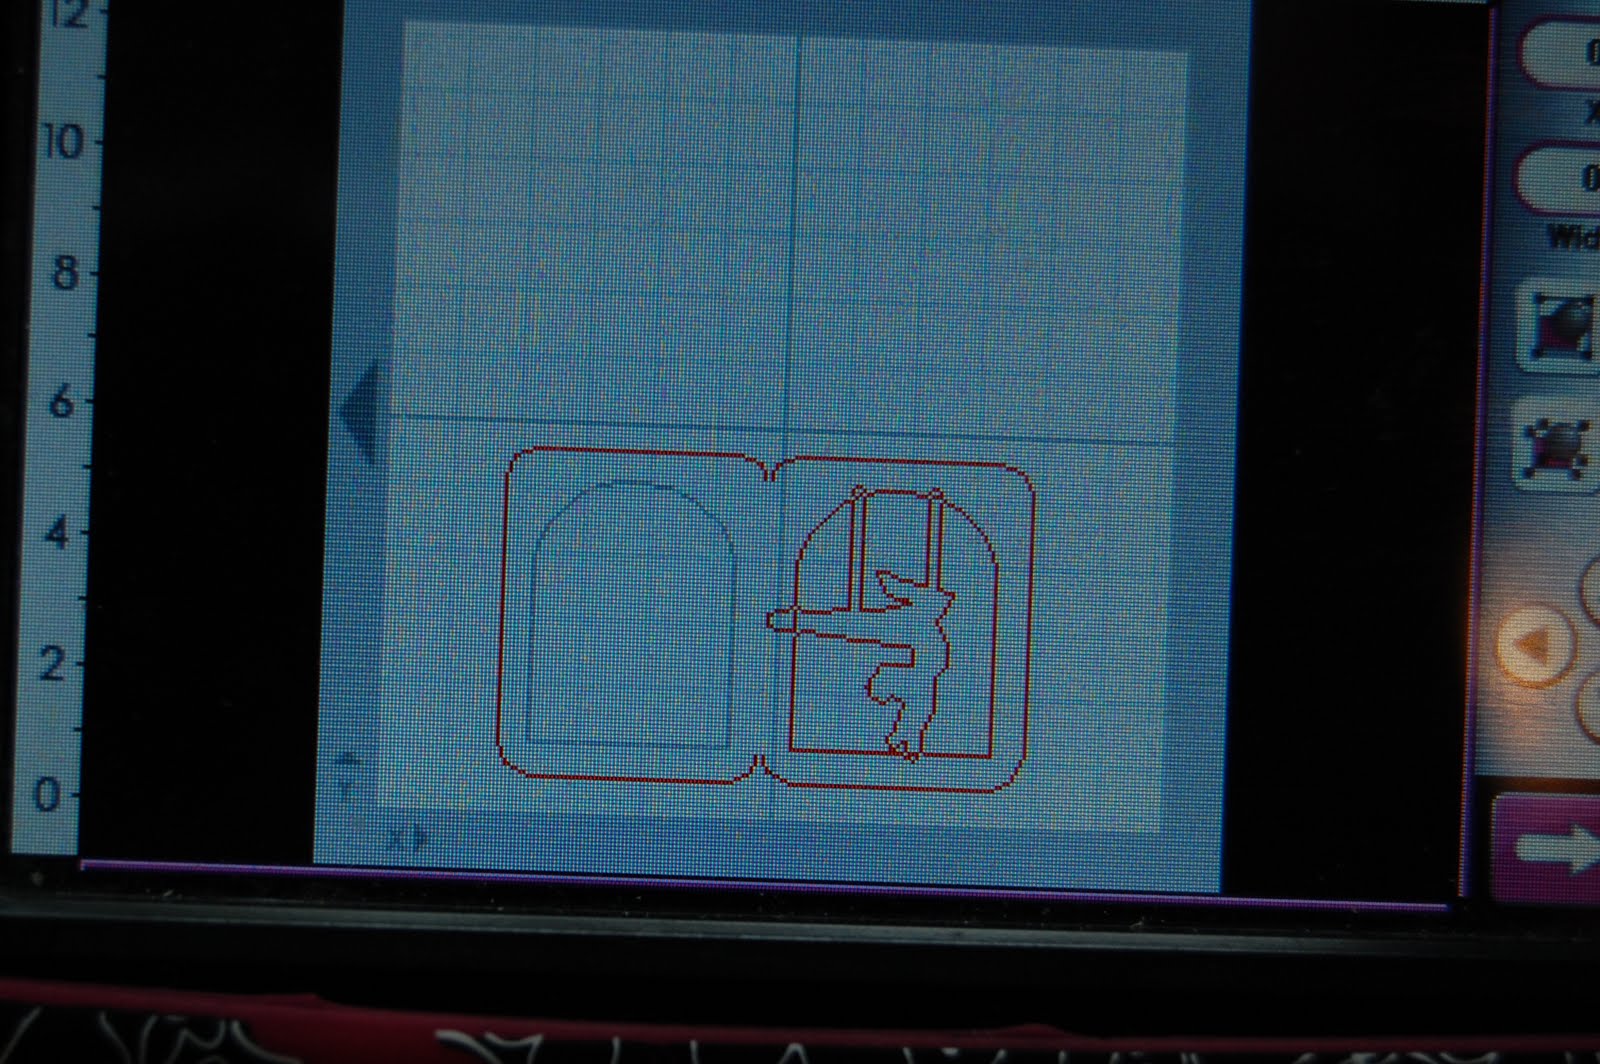
I love making window cards.  I started out with this card shape from Fabulous Finds.  I put one on my Gypsy at 4.31w x 5.00h and made a second copy.  I found the trapeze artist from Carousel and put her and the layer on my mat at 3.04w x 4.01h (the shadow layer).  I added a second image so I could make a layer for the swing.

I used Hide Contour to hide the inner cut of one of the card sides.  I welded the card sides together, then welded the shadow of the trapeze artist inside the window.

I opened a new layer and copied the trapeze artists on and cut them out.

I was able to scoot the card over to the right and use this scrap (minus superman) to cut out my card.

Here is the card cut out.

Then I realized I needed another layer:  the swing, the girl, and the outfit.

I did go back and cut out one more girl in skin color after I realized I needed a solid girl, not the outfit cut outs!!  I snipped off the pieces I did not need and glued them together.  I used scraps for this entire card!!
I added some stickles to her hair, leotard and shoes.  I do not have many sentiment stamps, so I will hand write a message to my friend.

I am honored to be here at Sweet Sassy Diva's blog today!!

Monday, November 8, 2010

Happy Birthday Tanner!!

At noon today, Tanner will be 5 years old!!  He was our surprise blessing and has kept us on our toes!  I made this card for the Gypsy Challenge that ended 11-5.  The Challenge was:
Theme: Birthday, Thanksgiving or Christmas ~ Birthday
1 Weld ~ Balloon, 5, words
1 Word ~ You Are
1 Stretch ~ Balloon
1 Flip or rotate ~ You
2 Pieces of art ~ balloon & 5

I used Fabulous Finds for the shape of the card.  I sized and copied the square and hid the cut out on the second square.  I used Celebrations for the balloon.  I did not want the stars so I hid them with Hide Contour.  I used Don Juan for the 5 and Cuttin' Up for the words.

When making a window card, I put the pieces where I need them in order to weld in the frame ~ but before I weld, I make a copy.  This way the size is exact for the top layer.

Here is the paper I used.  Tanner wanted blue and purple on his card as these are his current favorite colors!

Here he is playing on the computer while I am crafting!

And here is the card all put together!