Copyright Information

Thank you for stopping by my blog! I hope you enjoy the things that I create and share! I do have a copyright on my original creations (see logo on my sidebar below).
If you create and post a creations based off of mine, please refer (with a link) back to my blog. Please do not use my ideas for files, profit or for contests. Thank you!


My Craft Goals for 2015

My Goals for 2015:

1. Update my goals for 2016 in January of 2016 :)
2. Maximize my crafting time!
3. Keep plugging away at scrapbooking photos!!
4. Learn how to Heat Press!!
5. Have fun!


Showing posts with label Going Places. Show all posts

Friday, June 21, 2013

Watermelon Card (FD Polka Dot Challenge)


Hello!!  I made a cute summery card today for my project!!


This week's challenge at Frosted Designs is Polka Dots!!  All you need to do is create a project that includes Polka Dots on it and you can link up for a chance to win some Copic Markers!!


I pulled out my Gypsy and created a window card.


This card base is found on the Going Places cartridge.  It doesn't really fit with all of the vehicles, but I sure use it a lot!!  For this card, I sized it to 4 inches

I used the watermelon from Doodlecharms.  I welded the shadow piece of the watermelon (sized to 2.56 inches inside the frame of the card.


When I make a card, I usually make several of the same design to donate to my friend's card drive.  I cut out the watermelon pieces sized to 2.56 inches.  Note:  I did not use the seed cuts and forgot to hide them.  

I cut out the pieces in green and red cardstock from my stash.


I inked the edges and adhered the pieces together.


I added some stickle seeds.  I carefully made a dot and pulled the tip to make a tear drop shape.


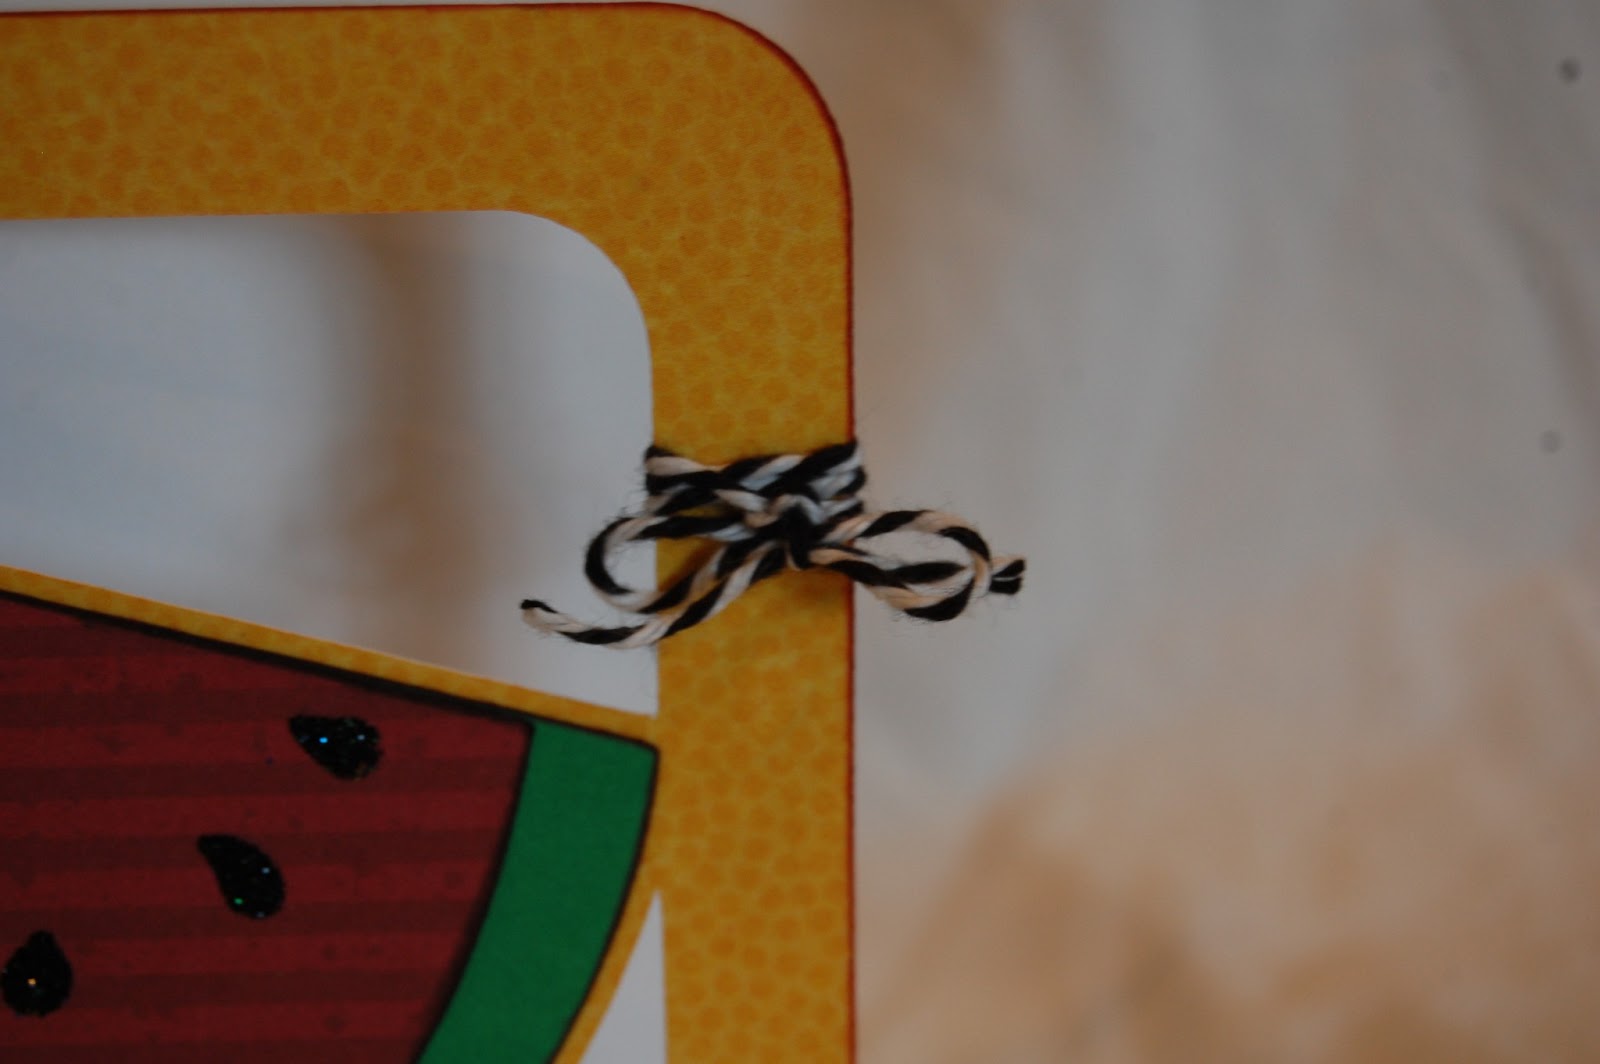
I tied a bit of twine to the edge.  Here you can see my card base is cut out of yellow polka dotted cardstock that is white on the back side.


This card is going to my friend Pam who is recovering from surgery.  She will not be able to craft for a while and I hope this cheers her up a little!!!

Thanks for stopping by and I hope you link up your polka dot project with us!!!

Friday, April 12, 2013

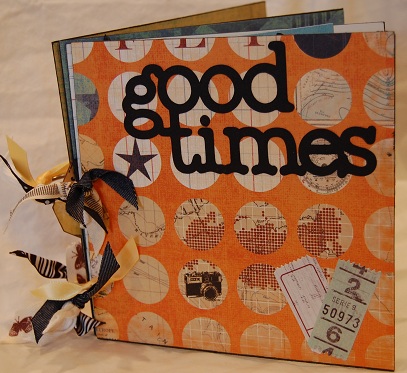
Travel Mini Album


This week at Frosted Designs, our new 2-week challenge begins.  Our theme is TRAVEL!


I covered the 6x6 chip board pages with paper from Heidi Swap - No Limits paper pack.


I used several cuts from my cricut.  Many were from Going Places.  

Enjoy life is from Graphically Speaking.

I created a pocket by adhering three sides of a 6x2 piece of paper to the bottom of the page.  I used my ATG gun.


I put a 6x6 square on my mat to represent the page.  I overlapped a 6" star from George and GROUPED (not welded) them together.  I wanted the two tips of the star cut off.  

I copied and flipped another set so I could cut out the cardstock and paper for both sides.


I love this star page!!  I used the negative piece around the Road Trip! and backed it with light blue paper and tucked a ticket behind it.


I added a tag and made another pocket.


I added the age old question to the back - Are we there yet??

I finished off the rings with some ribbons.


I loved this paper pack because of the orange and blue and touches of travel.  This will be a fun mini album to add photos to.

Be sure to join us at Frosted Designs for our Travel Challenge!!

Wednesday, June 13, 2012

Cricut in the Daycare

Many of you know I have an in-home daycare in my basement.  I love using my Gypsy and Cricut in my daycare and here are some of my most-used (or still hanging up) projects.

This first one is a clock face from My Quiet Book.  I cut out the pieces at 10 inches.  I adhered the numbers to the circles and the circles to the clock face.  I poked a hole in the center with my dental tool (cricut tool kit).  Then I used my 9" Xyron to laminate it.  I punched a hole in the clock hands and laminated them too.  I used a brad to connect them together.

This will hang in the Kitchen Area but can also be used during Table Time.


I painted a piece of canvas red and cut out different letters from Cuttin' Up! in yellow and white cardstock to make my Alphabet Soup!  This was a PG project (Pre-Gypsy) so I was just cutting random sizes using capital and lowercase letters.  My son was the first to tell me which letters I missed!

We are teaching the children the months of the year.  I took 6 pieces of white cardstock (8 1/2 x 11) and cut them in half.  I took the months from Designer's Calendar and saw that November was the widest word.  I sized November to 11" wide.  I sized the other months to the same HEIGHT as November and cut them out.

For now, we use them in this pocket chart, but they could easily be made into a book.

Birthday Train!

This is another PG project!  I cut all of these pieces from Going Places and laminated them.  I used my computer to label the months.  I have had this train in my daycare for over 5 years!  I trim a photo of each child and place them in the proper car.

I am re-doing my Family board.  I have a lot of teacher kids who are gone over the summer, so I take the time to freshen things up.  I cut out 2" letters from 3 Birds on Parade for my title.  I used a piece of black foam core board and we hang photos of family members on the board.  This is good for the children to see mommy or daddy as well as their friends.

I use my cricut a lot with my daycare and will be better at sharing those projects with you in the future!!!

Please come back on Friday to see what my crafty space looks like clean AND dirty, as well as some of my organizational tips!!


Friday, June 8, 2012

Watermelon Mini Card


Welcome to My Cricut Craft Room's Picnic Blog Hop!!!  We have a variety of Picnic inspired projects for you!

If you found me first, please go to the BEGINNING so you don't miss anything.  Below is a complete list of blogs in the hop!


When I think of a picnic,  I think of juicy slices of watermelon ~ yummy!!

I wanted to make a window card with a juicy slice, so I started with my Gypsy.

On the "card" function key in the Going Places cartridge, I found this square frame card.  I sized it to 3 inches tall.

I found this watermelon from Doodlecharms.  This watermelon fit the inside cutout area better than the other watermelons I found.  I sized the shadow of it to 1.92 and welded it inside the frame.

I added the watermelon layers to my mat, all sized to 1.92. 

I used cardstock from my scrap file to cut out my pieces. 

When I cut out the red layer I realized there were no seed cut outs.  I re-cut the red layer and trimmed off the rind.

In order to use patterned paper on the front of my card, I copied the card on my mat and positioned it off the mat.  This allowed me to cut just a little more than the front of the card.  I trimmed the extra off and adhered it to the front.

I inked the green layer with green ink.

I adhered the layers on the card.

I put glossy accents on the seeds and tied twine around the left side.

What is your favorite picnic food??

Thanks so much for stopping by!!  Your next stop is the Awesome APRIL!

Monday, March 5, 2012

Look Mom....No Worms LO

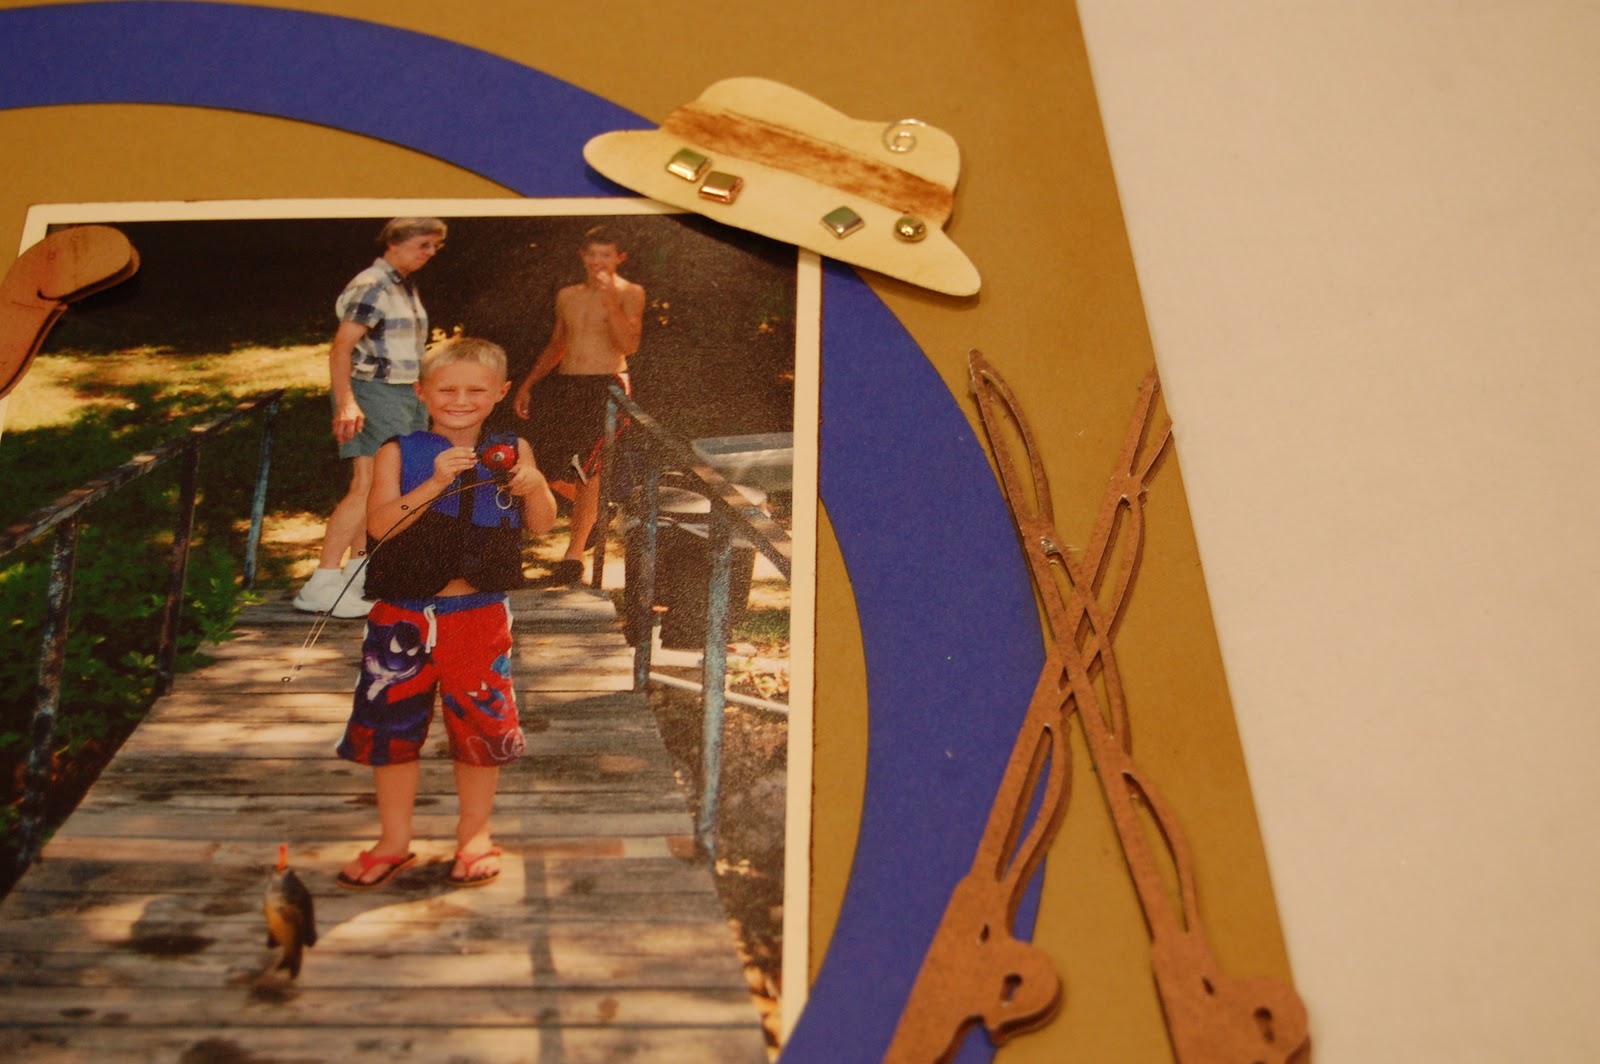
Lori here from ScrappinMyStressAway.  I am scrapping Tanner's pictures from our annual Ozark vacation.  One of his favorite activities is fishing.  Mike and I are not big into fishing, but my brothers are and Tanner loves spending time with them.  He was very proud that he caught two fish without a "worm" on his hook.  He was using a rubber worm.
When I work on several pages that all go together, I will sketch them out.  Once my sketch is complete, I grab my Gypsy and get to work!!

I started out with this circle frame from Doodletype and sized it to 10.65w x 10.18h.

I cut it out of blue cardstock and placed it on a piece of Kraft Brown cardstock.

Here are my photos. 

I opened another Layer on my Gypsy and put my title on the mat.  I used Batman font and shadow.  The capital letters are sized to 1 inch and the lower case letters are sized to .76 inch.  

I added the waves from Going Places.  The image is a waterskiier on the waves, but I used Hide Contour to hide the skiier.  I sized the waves to 6.23w x 4.99h.  I copied and welded the waves to create a border (total size is 11.5w x 5.84h).  I copied a second border.

I used black cardstock for the shadow letters.  I used red cardstock for LOOK MOM and orange cardstock for no worms!  I went back later and added three more exclamation points so I could use the periods in red in the title.

I cut out the waves in silver metallic cardstock.  I have a hard time matching the color of the water so lately I have been using silver and really like the look.

I inked the edge of the paper and the edge of the photo mats with Vintage Photo Distress Ink.

I saved the cut out piece from my shadow letters and used it as a template to line up my words.  I ran my letters through my 1 inch Xyron and stuck them down.

I gently pulled up my "template" and my title was perfect!  This is one of my favorite things about using my Gypsy!!

I grabbed some worms from Boys Will Be Boys and sized them to 1.35 inches.  I found the fish from Paper Dolls for Everyday, Life is a Beach and Boys Will Be Boys.  I sized them at 2.29 - 2.65.

I found fishing poles from Boys Will Be Boys and Paper Dolls for Everyday.  I ended up using the ones from Paper Dolls for Everyday sized to 4.99w x 4.37h.  I thought the fishing vest from Paper Dolls for Everyday would look like Tanner's life jacket, but it did not so I did not use it.  I did use the fishing hat from Paper Dolls for Everyday sized to 2.48w x 4.86h.

I used inks and makeup sponges to color my cardstock.


Here you can see the green, blue and pink in the fish.  They are cut out of the same paper as the waves but look different.  I pop dotted some of them on my page and adhered the rest flat.  This gives dimension.

I added some metal brads and a clip to the hat to resemble pins and a fish hook.  I inked and cris crossed the fishing poles.

I love to handwrite my journaling so I cut out a larger worm (4.04w x 2.53h) in cream cardstock and journaled on it.  I tucked it behind my photo.

The other worms are peeking out from behind the photos too!  I tied knots in some twine and ran it across my page.

Here is my completed layout.


I included a shot of the layout that will go on the page next to it.  Thanks so much Sheila for having me over today!