Copyright Information

Thank you for stopping by my blog! I hope you enjoy the things that I create and share! I do have a copyright on my original creations (see logo on my sidebar below).
If you create and post a creations based off of mine, please refer (with a link) back to my blog. Please do not use my ideas for files, profit or for contests. Thank you!


My Craft Goals for 2015

My Goals for 2015:

1. Update my goals for 2016 in January of 2016 :)
2. Maximize my crafting time!
3. Keep plugging away at scrapbooking photos!!
4. Learn how to Heat Press!!
5. Have fun!


Showing posts with label DC Comics - Batman. Show all posts

Wednesday, April 17, 2013

Teacher Appreciation Posters

Teacher Appreciation is coming up!  One of the things we do in our Elementary School is volunteer to make posters for the teachers and staff.  I had to stop myself at 4!!!  I only have 1 in elementary school, and in addition to my son's teacher, I picked the Librarian, SPED Teachers and a 6th grade teacher.

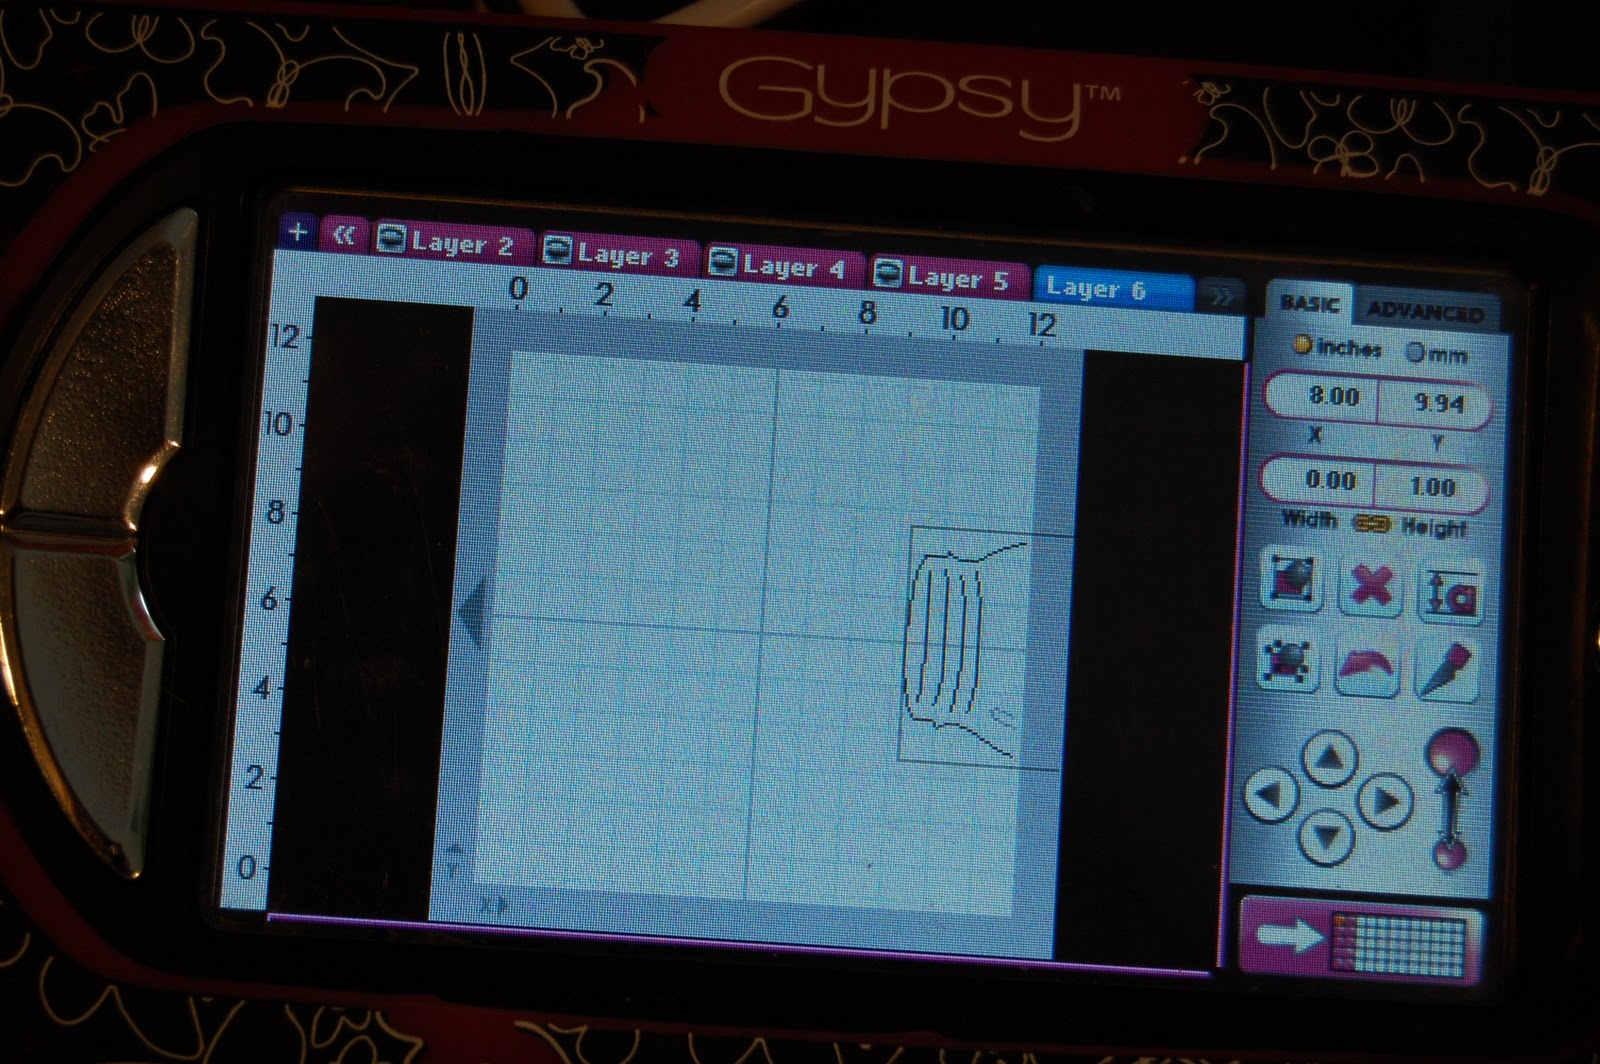
I used my Gypsy and a 12x24 mat to line up my letters and use the template (leftover piece) to adhere my letters perfectly!  All of my posters were inspired by Pinterest!!


First up is the poster for Tanner's teacher.  Tanner picked this one out.  I used Plantin' Schoolbook for the font and Hannah Montana for the butterflies.  I wrote each student's name on a butterfly and added some stickles.


For our SPED Teachers, I used this quote that I saw on Pinterest.  I used Hannah Montana for the font.  I  hid the circle inside the "a" and added a heart also from Hannah Montana.  I grouped the heart and the"a" together.

I added four hearts sized to 3.77 inches for the teachers.  I used Nate's ABC's for the teacher names.


Mr. Rodningen is one of our 6th grade teachers.  He loves rocks and displays them in the window sill of his classroom.  Every morning our children have the option to participate in walking club.  When it is cold, rainy or snowy, we walk inside the building.  Recently we walked inside and I noticed his rocks for the first time.  I saw this poster idea on Pinterest but did not think it was a good choice for the female teachers.....but it was perfect for Mr. R!!  No one had signed up to make his poster yet so I took it!!

I used Batman for the font.  I tore and inked paper to look like rocks.


I had soooo much fun making this one!!!  I realize that school librarians are now Media Specialists and they do so much more than read books, but I could NOT resist this design!!!  


I started out with  7 pieces of white cardstock and painted them red, green, lt. green, orange, purple and lt. purple.  I added some white and darker shades of each color to create a finger paint look.


I cut out the letters from Nate's ABCs and traced them on the back of the papers and cut them out.  The heart is hand drawn.


I traced part of the heart and sketched the caterpillar on the side.  I hand cut out the pieces of the caterpillar from the green and light green papers.


Most of you know that I have an in-home daycare.  I currently have 5 (of my 8) families who are teachers.  I love our teachers and truly believe they have the most important job - shaping our future leaders, managers, presidents, etc.  They work long after their day is done and are on several committees, mentor programs, morning/afternoon duties - they give so much!  This is the least I can do to give a little back!!

For all of you teachers reading this post - Happy Teacher Appreciation Day!!

I am linking up my posters at Pink By Deisgn!!

Tuesday, January 1, 2013

Happy Sassy New Year!!


Happy New Year!!!


I am excited to spend my New Year's Day at She's A Sassy Lady and The Bug Bytes!!!

Normally, my January Sassy post features my hand made Thank You cards.  This year I thought it would be more fun to share my goals for 2013 instead.

My Crafty Goals for 2013 are:

1. Find the rest of my mojo!!! It broke with my wrist and I have gotten some back. I need to seek out challenges, blog hops and classes to rejuvenate!!
2. Finish Tyler's High School Album before his Graduation Party!!!
3. Reinvent my scrapbook style - I am feeling a little stale and very cricut dependent!
4. Seek out DT opportunities that match my talents and goals.
5. Conquer my fear of creating videos and learn how to edit!!

My Personal Goals for 2013 are:

1. Clean and organize my closets.
2. Clean and organize my scrap nook.
3. Worry less.
4. Smile more.
5. Stay healthy.

I did not get to clean out my closets, storage room and scrap room last summer because I broke my wrist.  I got a jump start the few days before Christmas and shredded 3 boxes of old paperwork - which felt GREAT!  I cleaned out the storage room - so I need to KEEP it clean!!!

And Finally, I have a New Year's Eve Party Hat to share with you!!
Isn't this a fun hat!!  I found the inspiration for this (and the photo at the top of my post) on Pinterest!

I used this party cone from the DC Comics Batman cartridge.  I sized it to 8.06 inches and rotated it -30 to fit on the 12 x 12 mat.

I used this number paper from Michaels because it reminded me of the countdown to the ball dropping!

I was going to use crinkle ribbon around the edges of the hat, but found this fun gold trim at Michaels and thought it was even better!!
I used Glue Dots to adhere the trim to the top and bottom of my hat.  I kind of gathered it as I glued it down to give a little bit of flair (as opposed to just wrapping it tight around the bottom of the hat).


I found the clock parts on Close to My Heart Artiste and sized them to 3 inches.

I cut them out in cream cardstock, black glitter cardstock and gold cardstock.

I cut out the clock shape in black glitter as well as cream.  I offset the cream on top of the black to give a partial shadow.  I stuck a gold gem at the bottom of the hands.  I pop-dotted the clock onto the hat.

Here is my party hat!!

I hope you have a wonderful 2013!!!

~Lori


Monday, March 5, 2012

Look Mom....No Worms LO

Lori here from ScrappinMyStressAway.  I am scrapping Tanner's pictures from our annual Ozark vacation.  One of his favorite activities is fishing.  Mike and I are not big into fishing, but my brothers are and Tanner loves spending time with them.  He was very proud that he caught two fish without a "worm" on his hook.  He was using a rubber worm.
When I work on several pages that all go together, I will sketch them out.  Once my sketch is complete, I grab my Gypsy and get to work!!

I started out with this circle frame from Doodletype and sized it to 10.65w x 10.18h.

I cut it out of blue cardstock and placed it on a piece of Kraft Brown cardstock.

Here are my photos. 

I opened another Layer on my Gypsy and put my title on the mat.  I used Batman font and shadow.  The capital letters are sized to 1 inch and the lower case letters are sized to .76 inch.  

I added the waves from Going Places.  The image is a waterskiier on the waves, but I used Hide Contour to hide the skiier.  I sized the waves to 6.23w x 4.99h.  I copied and welded the waves to create a border (total size is 11.5w x 5.84h).  I copied a second border.

I used black cardstock for the shadow letters.  I used red cardstock for LOOK MOM and orange cardstock for no worms!  I went back later and added three more exclamation points so I could use the periods in red in the title.

I cut out the waves in silver metallic cardstock.  I have a hard time matching the color of the water so lately I have been using silver and really like the look.

I inked the edge of the paper and the edge of the photo mats with Vintage Photo Distress Ink.

I saved the cut out piece from my shadow letters and used it as a template to line up my words.  I ran my letters through my 1 inch Xyron and stuck them down.

I gently pulled up my "template" and my title was perfect!  This is one of my favorite things about using my Gypsy!!

I grabbed some worms from Boys Will Be Boys and sized them to 1.35 inches.  I found the fish from Paper Dolls for Everyday, Life is a Beach and Boys Will Be Boys.  I sized them at 2.29 - 2.65.

I found fishing poles from Boys Will Be Boys and Paper Dolls for Everyday.  I ended up using the ones from Paper Dolls for Everyday sized to 4.99w x 4.37h.  I thought the fishing vest from Paper Dolls for Everyday would look like Tanner's life jacket, but it did not so I did not use it.  I did use the fishing hat from Paper Dolls for Everyday sized to 2.48w x 4.86h.

I used inks and makeup sponges to color my cardstock.


Here you can see the green, blue and pink in the fish.  They are cut out of the same paper as the waves but look different.  I pop dotted some of them on my page and adhered the rest flat.  This gives dimension.

I added some metal brads and a clip to the hat to resemble pins and a fish hook.  I inked and cris crossed the fishing poles.

I love to handwrite my journaling so I cut out a larger worm (4.04w x 2.53h) in cream cardstock and journaled on it.  I tucked it behind my photo.

The other worms are peeking out from behind the photos too!  I tied knots in some twine and ran it across my page.

Here is my completed layout.


I included a shot of the layout that will go on the page next to it.  Thanks so much Sheila for having me over today!

Friday, January 27, 2012

Cricut Craftin Friends Blog Hop


Welcome to Cricut Craftin Friends Blog Hop!  I am a Sweet Sassy Diva Friend to Suzanne!!!  You should have arrived from Shawnee!

Here is a complete line up of wonderful blogs to visit:

Suzanne
Also posting for Cindy who does not have a blog

Fantabulous Cricut Challenge
Blog  Friends
Lasting Memories
Message Board Friends
Sweet Sassy Diva Blog Friends


I recently went to an all day crop and got my son's album caught up. It was great to get caught up, but I did not have my camera to take pictures step by step.  

He is a high school junior and I have a hard time with his pages at times.  I do a lot of baseball, bowling and tennis pages (aka boring) and try to keep them plain (also boring).  This photo was taken this year of my three boys and I just loved the colors.

I grabbed my Gypsy Girl and created my title by welding the word Brothers from the shadow font from Batman.  I sized the letters (shadow and regular letters) to 1.71inches.  The word three is from Graphically Speaking and is sized to 1.47 inches.  

I needed a little more fluff, so I added 3 amigos sized at 2.53 inches and Certified at 2.18 inches, both from Graphically Speaking.

I cut everything out of black cardstock except the regular letters.  I used a lavendar cardstock for those.  I added a purple border behind my photo and adhered it all together.

This is my end result.  A little plain and not fancy ~ perfect for a 17 year old boy!  I am surprised I got away with the purple paper (he he)!!

Thanks so much for stopping by today!!!

Your next stop is Mindy!!

Monday, January 16, 2012

All About the 70s Blog Hop Day 2

Welcome to Day 2 of the All About the 70s Blog Hop!


70's Hop

Welcome to the "All About the 70's" Blog Hop!!
We're so happy you could join us for this super-fun hop showcasing cards, layouts and projects that feature anything and everything related to the 70's!!   So pull out your bell-bottoms and peace signs, and join us for the FUN...  You'll find an array of ideas throughout this hop -- From decorations to gift ideas and more, we hope you'll enjoy each and every GROOVY project along the way!!  This is a TWO-DAY hop, so be sure to check it all out (besides, we have a FAR OUT prize for a random someone who visits and comments on each stop for each day!!)... We can guarantee some psychedelic excitement for this event... So let's get hopping!!  If you've hopped over from INSERT NAME/LINK of person BEFORE YOU, then you are in the right place!!  If you've just popped in to visit my blog or are reading this via email and you'd like to join our FUN, then please CLICK HERE to start at the beginning with Lynda's blog...
 *** 70'S HOP DAY ONE (January 15):
70'S HOP DAY TWO (January 16):


For my project today, I created a layout about a Time Capsule our class buried in 2nd Grade.  We dug it up  in 6th grade.  I only wish I remembered some of the things we put in it!!!


I wanted a brick background and remembered that the Batman cartridge had one.  I cut out the shadow and  the layer at 8.70 inches.

The bricks in the background of my photo were darker so I grabbed my inks.

I used Walnut Stain and Vintage Photo to darken up the brick and give some dimension.


I found this jar from Doodle Charms and sized it to 7.71 inches.  I hid the inside cuts with Hide Contour and copied and pasted a second jar and hid everything except the highlight detail.  I cut both out of vellum.

I made one more copy and moved it off the mat for the jar lid.  I cut this out of white cardstock to match the  jars in the photo.

I used Hello Kitty Font Shadow letters for my title.  I sized them at 1.12 inches.

I cut out the letters in black cardstock and saved the negative piece to use as a template.  I ran the letters through my Xyron.

I adhered the letters using the template as my guide.

I peeled off the template and my title was perfectly lined up!

I journaled on my jar lid after I inked the edges.

There is a huge macreme wall hanging in the background and I just had to add some twine to tie that in (no pun intended).  If my memory returns of the items we put in our jar, I will add those.

Thanks so much for stopping by!!

Your next stop in the hop is Rachel.