
I am finishing up my very first Scrapbook Design and You (SDU) class next week and I wanted to make a little something for my students. This is my first time teaching this class and I am finding my groove! One of the classes is all about the importance of journaling and I wanted to make a journal for each of the ladies to keep with them in their purses. I am still without my Gypsy,so I had to remember how to use the Cricut the "old" way.
I took an inexpensive pad of watercolor paper and cut two sets of 3 1/8 by 5 1/8 rectangle for each notepad. I also cut the same size (two sets each) of paper from a K&Co. paper pad. I left the insides of the covers white, but sometimes I cover them as well.

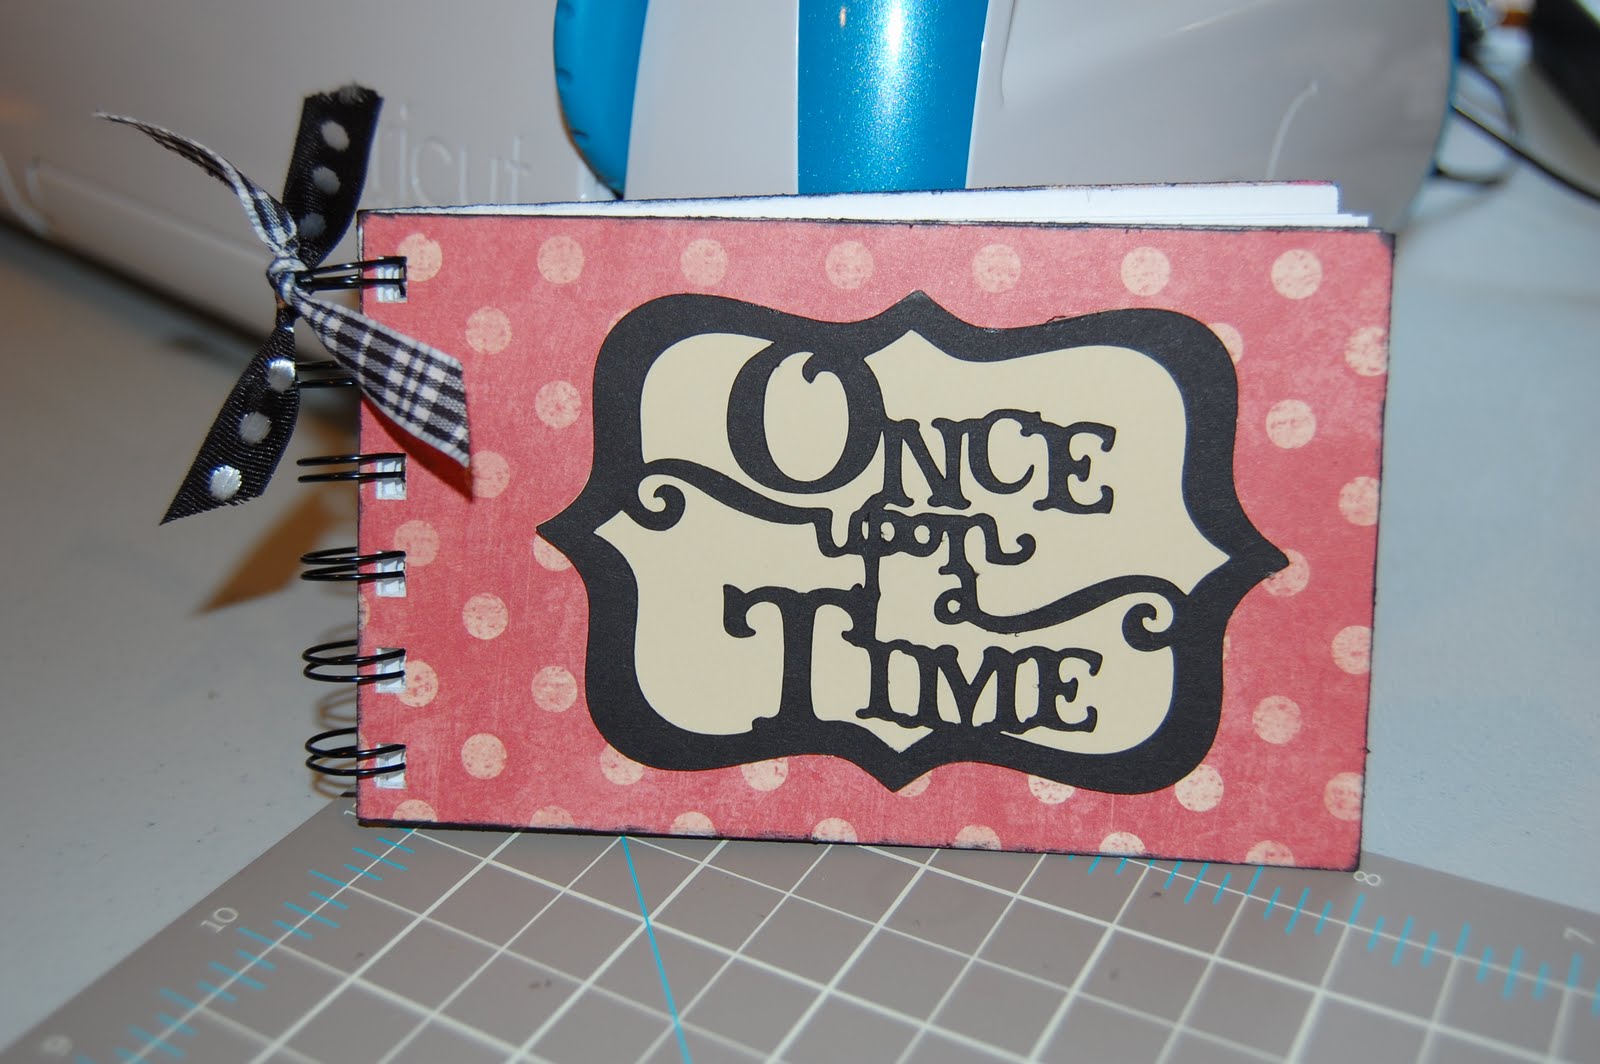
To embellish the cover, I used Storybook for the accent frame. I wanted "Once upon a Time" since this journal is for writing stories and tidbits that will help with journaling later on. I guessed at 2 1/2 inches and got lucky!

I used my MS glue writing pen to glue the frame down onto the accent blackout piece.

I left the blackout pieces on my mat until the accent frames were glued on.

I inked the edges of the covers with StazOn black ink and a fantastix. I got this technique from MakeupGirl217.


I got out my trusty Bind It All. I used my new Space Bar so the holes are punched a little closer to the edge.


I centered the cover and back (flipped the way it will be once assembled) and pushed the lever down. I have to stand up in order to do this!!

The pages of the note pads are 3x5 blank index cards. I just stocked up on several packs as the back to school supplies are everywhere! I use 40 sheets per note pad.

To assemble, put the note pad together the way it goes, then flip the back cover over the top as if the binding is on **the back cover is the top, the cover is the middle and the pages are on the bottom of this photo.

You put the o-wire in so that the loose pieces are threaded through the back, front and then the pages. You want the connected pieces to end up in the back of the note pad.

You stand up the note pad with the o-wire down, then push the lever down. This will bend and close the wire.

If you are not careful, you can cut too close to the edge!! I am glad I did not glue on the embellishment yet!!

Here are the finished note pads!
A close up!!


