Copyright Information

Thank you for stopping by my blog! I hope you enjoy the things that I create and share! I do have a copyright on my original creations (see logo on my sidebar below).
If you create and post a creations based off of mine, please refer (with a link) back to my blog. Please do not use my ideas for files, profit or for contests. Thank you!


My Craft Goals for 2015

My Goals for 2015:

1. Update my goals for 2016 in January of 2016 :)
2. Maximize my crafting time!
3. Keep plugging away at scrapbooking photos!!
4. Learn how to Heat Press!!
5. Have fun!


Showing posts with label Rock Princess. Show all posts

Thursday, October 4, 2012

Master Crafter Entry ~ Rock Star Mini Album


I created two projects and had my followers vote on their favorite.  My mini album won the most votes!  Thank you so much to my followers, facebook friends and email scrapbooker group for sharing your opinion with me!!!

Here are the supplies I received in my box.  

I used the Scissor Mouse to cut apart my water color paper that I used for my book pages.

This thing is slick!!!  I was surprised at how easy it was to use and I did not need a cutting mat!!


I used Lacy Labels for the shape of my pages.  I sized the page to 6.40 width x 3.89 height.

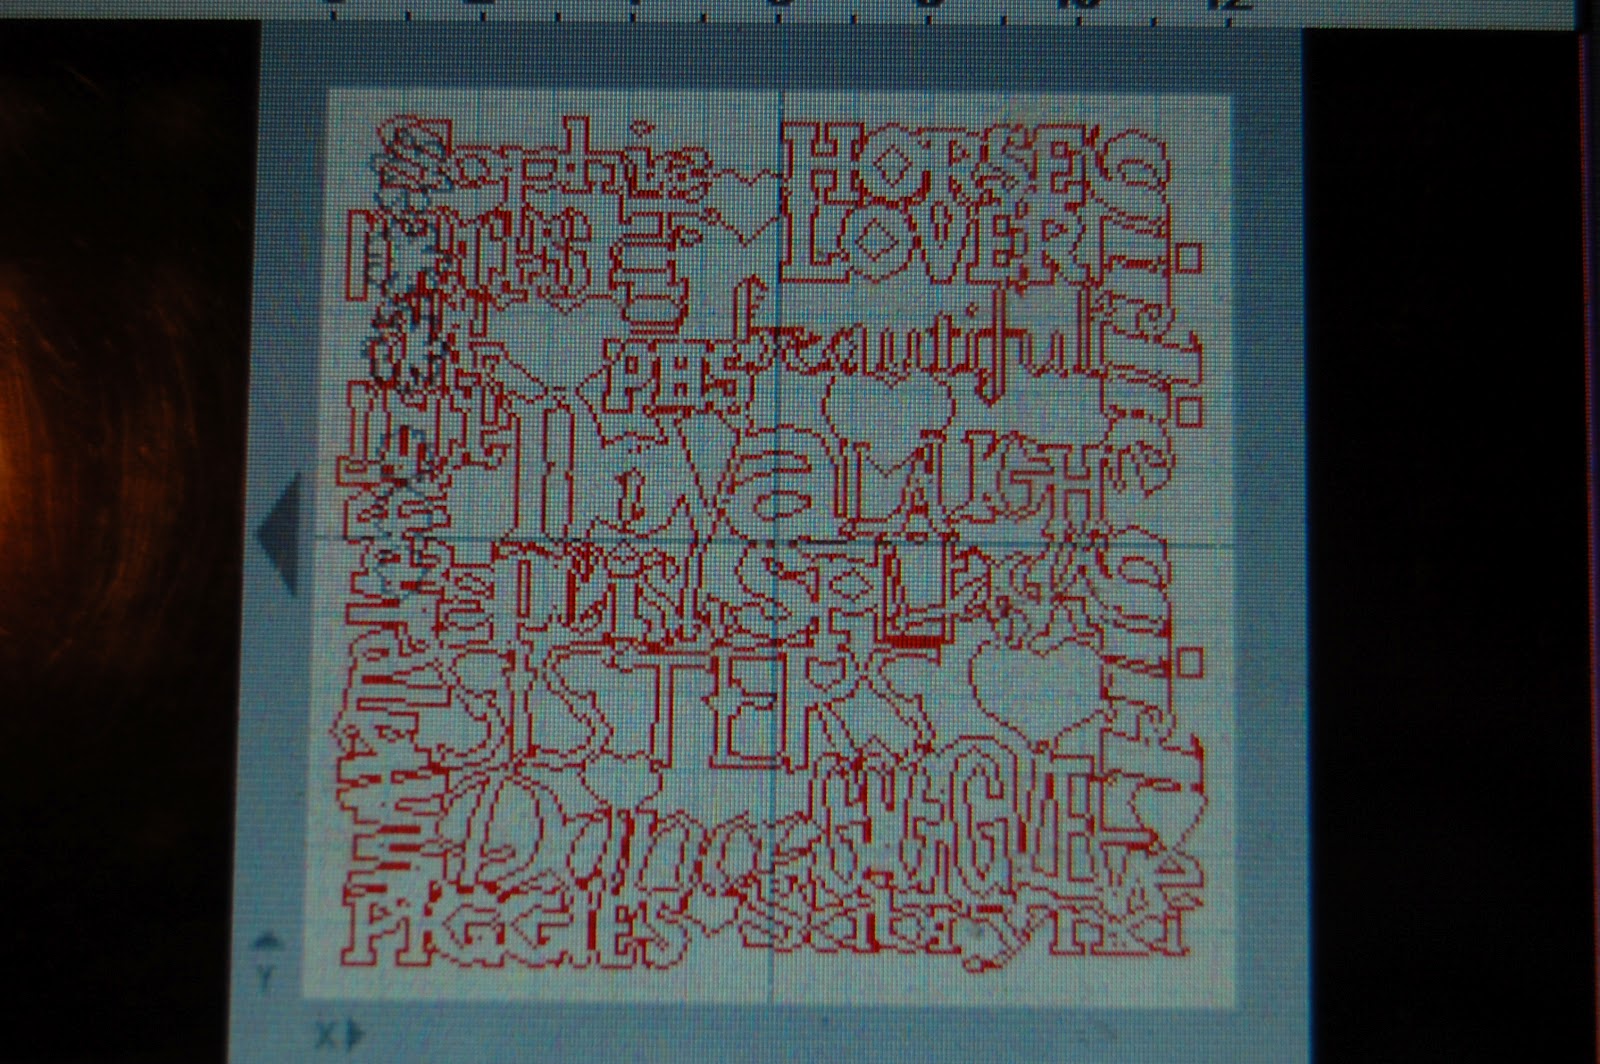
I went to Rock Princess for my titles and fun die shapes.  I used the size of my pages (on another Layer) to help me size the phrases and cuts.  They range in size from 1.27 inches to 2.06 inches.

I used gold paper from my stash and the rest of the paper came from my DWCV mini stack.

I sized and layered the star over the edge of the shape of my page and cut it out.

More cuts from Rock Princess.
I cut the cloth bag into strips and stamped "destiny" on it to create a ribbon.  I also used the drawstring tie from the bag to tie on my rings.


The big purple button did not match my color scheme, so I covered it with scrapbook paper and added a tiny butterfly on top from a Martha Stewart punch.

I added the green bling to the little crown.

I used Rock Princess to cut out some phrases and fun "rock star" shapes.

I cut out a partial star to create a page within the album.

I tied a strip of the cloth bag and glued it to the microphone.


Here is the back.  I just love the guitar paper!!
If you like what you see, please vote for me HERE starting on Sunday!  My entry is #20!

If you want to see my other project using these supplies, it is HERE.


Monday, September 3, 2012

Nieces Are Nice Layout

Happy Labor Day!!  Today I am the Guest Designer over at She's A Sassy Lady with a spunky layout of my nieces.

****If you are looking for the Halloween Spooktacular Banner Blog Hop, please go HERE!

I love welding with my Gypsy and really wanted to make a unique background for this picture of Sophie and Sabryna.  I took random words that describe these two sisters and used a variety of fonts and cartridges to create my background.

I am not sure if this is subway art or not, but I have fun making backgrounds like this.  I added some hearts (George) and ready made words (Giggle, Whatever, Splish Splash, Dance and Diva) and created the rest.  Sophie shows horses and Sabryna has always loved piggies.  I think they are beautiful and made sure the picture was just under that word!

Here are the carts I used:  A Child's Year, Birthday Bash, George, Graphically Speaking, Hannah Montana, Home Accent, Home Decor, Mother's Day Bouquet, Rock Princess, Shall We Dance, Varsity Letter and Wall Decor and More.

I usually open a 12x24 mat and put all of my words on the right side initially.  I size them and place them on the left side until all the spaces are filled.  Then I re-size my mat (from the main menu) back to 12x12.  I weld everything together and cut.  I used blue cardstock and carefully mounted it to a light blue cardstock trimmed to 11.75" square.  I mounted the light blue cardstock to the same color blue cardstock I used for the word mesh.


I used Mother's Day Bouquet to make these flowers.  I sized the small ones at 0.73 inches and the bigger ones at 1.12 inches.  I cut them out of pink cardstock and added a pearl to the center.

My sister-in-law took this photo of the girls on picture day last year.  I used mostly blue to match their clothes, but if you look closely you can see the pink flowers in the bush behind them.  That was all I needed for my accent color.

What a fun layout of my nieces.  This one just might be going in a frame for a while!!

Thank you for stopping by today!!


Thursday, January 5, 2012

Monogram Notepad (Frosted Designs Cardstock Only Challenge)

This week at Frosted Designs, the challenge is to use colored cardstock only (no patterned paper).  Sounds easy?  I thought so too!!!  

I decided to make a note pad for me (for a change) and had a hard time with the design that would use all solid colored cardstock.  Here is what I finally came up with!

I put a 3x5 rectangle on Layer 2 of my Gypsy so I knew how to size my letters.  On Layer 1 I put several "L"s within the 3x5 rectangle.  
In the center is Creative Memories Reminisce Accents (Monogram Shift Lock)  sized to 1.59 inches.
From top to bottom, left to right:
CM Storks Delivery (LC) sized to 1 inch
Martha Stewart Elegant Cake Art (UC) sized to 1.82 inches
Paper Lace 2 (UC) sized to 1 inch
Rock Star (UC) sized to 1 inch
Songbird (LC) sized to 1 inch
Paper Lace (LC) sized to 1 inch
Sans Serif (UC) rotated 90 degrees sized to .80 inches
Quarter Note (UC) sized to 1 inch
Pooh Font Set (UC) sized to 1 inch

I welded the letters all together.

I cut it out of purple cardstock.

I put the design on a 3x5 piece of green cardstock.  I lowered the design so when I punched the holes at the top I would not punch through it.  I cut out a 3 1/8 x 5 1/8 piece of chipboard and purple cardstock for my cover.  The top of my cover looked a little bare so I added some purple ribbon and green twine.

I used my ATG gun to adhere the cover.  I used my Bind-It-All to complete the note pad.  I have a tutorial HERE for making note pads with the Bind-It-All.  I use blank 3x5 notecards for my paper.

I am delighted to design for Frosted Designs!   I hope you consider entering our challenge this week!!

Saturday, January 15, 2011

Here Kitty Kitty

Here is a layout I made for my friend Beth.  Her cat Flower passed away last week.  I used a basic template that I keep on my Gypsy and added a few extra rectangles on it along with the cat, mouse and yarn.  You can see how I created the basic frame file HERE.

I found this cat on Cindy Lou and added Diamond Stickles.

This mouse came from My Community.

The yarn is from Create A Critter.  I found this cat paper pad at Michaels.

Here is the completed layout again just waiting for Beth's photos!