Copyright Information

Thank you for stopping by my blog! I hope you enjoy the things that I create and share! I do have a copyright on my original creations (see logo on my sidebar below).
If you create and post a creations based off of mine, please refer (with a link) back to my blog. Please do not use my ideas for files, profit or for contests. Thank you!


My Craft Goals for 2015

My Goals for 2015:

1. Update my goals for 2016 in January of 2016 :)
2. Maximize my crafting time!
3. Keep plugging away at scrapbooking photos!!
4. Learn how to Heat Press!!
5. Have fun!


Showing posts with label Hello Kitty Font. Show all posts

Thursday, June 27, 2013

Baseball Photo Decor with Square 1


I have been playing with Square 1 Masterpiece Repositionable Adhesive Fabric and I have to say - this is by far my favorite project I have made!!!!

I bought these canvases LAST summer to make something for my cousin's wedding.  She never got me the photos I asked for so it just sat and sat and waited for a different opportunity.

I don't have the exact project so show you but here are two similar ones I found on Pinterest:
 

Take the wedding photos from the left and put them on the canvas and add wedding words - that was my original project.

Being a baseball mom, it just hit me to create a baseball canvas.  I did not want to mod podge photos onto the 4x4 canvases, so I just copied them onto the repositionable fabric on my copy machine/printer!!


This stuff is amazing and the best part is - as Tanner grows I can replace the photos!!!

If you want to find out more information on this product, just go HERE.  It is on sale through Sunday, June 30 2013!!!


I trimmed three of the photos to 4x4.  The last photo I kept 4x6 because it was going in a scrapbook page.

I trimmed the photos and put them on the canvas pieces.


You just peel them off the backing like a sticker!  If they go on crooked - no worries!!!  You just try again!


You can see I was stuck on the vertical positioning at first.

I came up with my own baseball sayings and they were not fitting in the space, so I turned it horizontal.


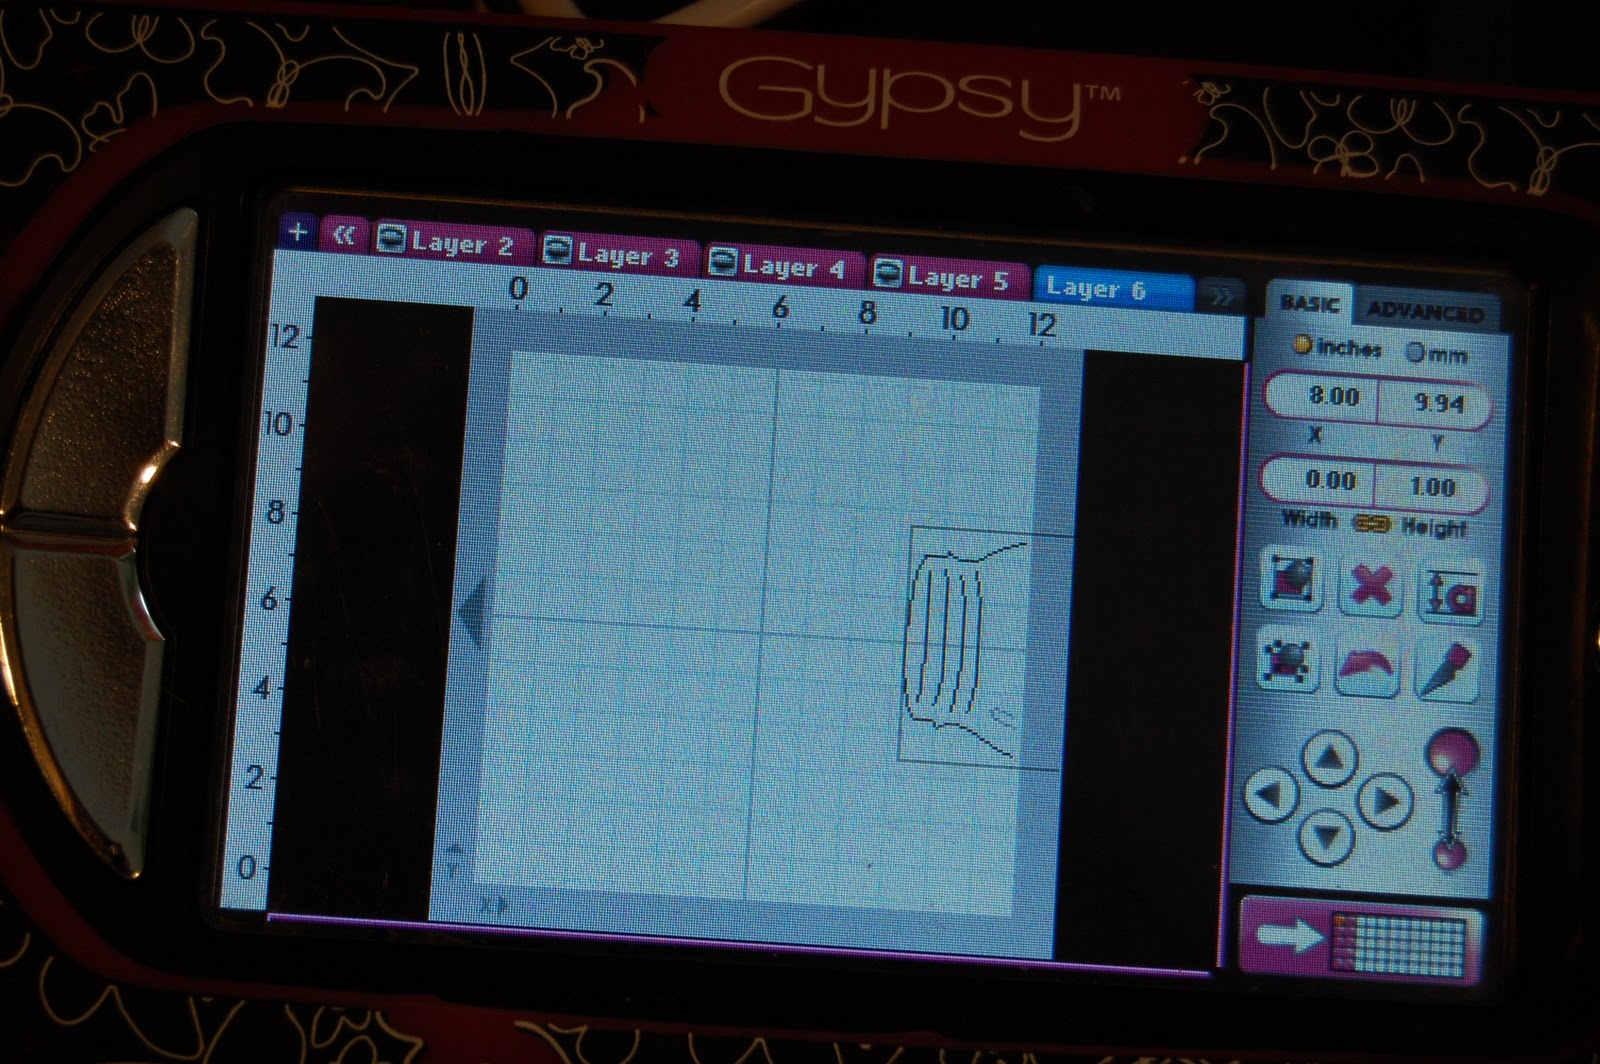
I used my gypsy and MyCutSearch.com to find all my fonts!!

I use MyCutSearch all the time to find images on cricut cartridges.  I did not know how to search fonts until I asked.  I wanted to share what I learned with you - so HERE are the directions with photos!!


I used:
 Hannah Montana, Hello Kitty Font, MS Seasonal Art Cake, Base Camp, Artiste, Craft Room Basics, and Nate's ABC's


I cut the words out in vinyl and transferred them to the top half of the canvas.


I adhered black ribbon around the edges of the canvas.


I used washi tape, a ruler and my 12x24 cricut mat to space my small canvases on the bottom half.


I love that washi tape doesn't stick too well for this project!!


I used hot glue to adhere them down and peeled the washi tape off.


Here is a side view so you can see the dimension.  I originally covered the small canvases with ribbon, but did not like the gaps it had - so I took it off.


Tanner played his first season of select baseball this year and we are coming up on our state tournament.  I am very proud of him!!  He is 7 on an 8 year old team.  He has been watching his brothers play baseball his entire life and now is his turn!!!

I purchased frames with special mats for his brothers several years ago and can not find anything similar now.  I have to say, I like this one MUCH better than his brothers frames!!!


Monday, January 7, 2013

Good Times in 2013 Jar

I am excited to be back today at She's A Sassy Lady.  I was a day off and posted last Tuesday (because I thought it was the first Monday of the month).  Lucky for me, Sheila did not have anything else scheduled so we left it posted.

  I don't know about you, but 2012 was a rough year.  At the end of the year, I had a hard time remembering the good things that happened (and there were some great things) because the bad things were really bad.  

My uncle passed away, my college-aged son had ACL surgery, my mother-in-law had rotator cuff surgery, my husband had kidney surgery, I broke my right wrist were the big things.

Please - I don't need sympathy - that is not the point.  The point is I want to remember the GOOD things that happen at the end of each year instead of dwelling on the bad things.

I saw one of these jars on facebook and had to create one for 2013!
I took a Mason Jar that was left over from my cousin's wedding (good thing in 2012) that I got to co-host the shower and make decorations (great thing in 2012).  

I wrapped some butterfly scrapbook paper around the jar.  I cut the paper to 2 x 12 inches.  I tied some white crinkle ribbon from 3 Girl Jam around the top and added some butterfly charms and a charm that says "inspire" because I was inspired to focus on the positive.

I used my Sizzix butterfly emboss and cut die that I got from Stampin' Up to cut out a page from an old book.

I used this image from Lacy Labels sized to 2.65 inches.  I cut it out of purple cardstock.

I inked one of the butterflies green and used a mini glue dot to adhere it to my label shape.

I used Hello Kitty Font sized to .65 inches (.53 inches for "in") for my title.  I cut them out of black cardstock.  My cricut was being naughty and did not cut out all of my letters, so I ditched the letters and kept the numbers.

I wrote "Good Times in" and added a purple gem to the butterfly.

Every time something good happens in 2013, I am going to write it down on a slip of paper and put it in the jar.  On New Year's Eve this year, I am going to read them all!!!

I am really trying to focus on the positive in 2013 and my One Word is SMILE.  When I smile, everything seems better :)

I hope you have a wonderful 2013!!!  I plan on it!!

Monday, July 23, 2012

One Last Visit to Rosenblatt LO (CCR + Imagine)

Here is a simple layout combining Cricut Imagine with CCR.

I built the layout in CCR using the Snapshot Nature cartridge to open up a 12x12 square and filling it with grass.  Next, I opened up a 11.5x2 rectangle and filled it with baseballs from Snapshot Everyday.  Last, I opened up a 10.25x8.25 rectangle to use as a photo mat and filled it with yellow.

I printed this out on my Imagine.

I used Gypsy and Expression to cut out the words with Hello Kitty Font.  These were sized to 1 inch.

I added the photos and a beer bracelet that they were handing out.  We were also allowed to take dirt.

I made a second page (forgot to save the file) and it was very similar.

I had the option to order this collage when I ordered my photos.  I usually don't get one, but really liked this one.  I sized the yellow rectangle to frame my collage (8.25x10.25).

I trimmed both pages and centered them on a piece of Kraft cardstock.

Rosenblatt has been the home of the College World Series since forever!!!  This was the second season at the brand new stadium in downtown Omaha.  The few days before the CWS started this year, they opened up the field and encouraged people to come down and get one last look, run the bases, take photos and take dirt.  

The Omaha Zoo will take over this land.    It was very somber down at the Blatt.   It is truly the end of an era!!!

Thursday, May 10, 2012

Mom Tile ~ All About Mom!!

I am excited to share my Mom Tile this week at Susana's Scrappin' Corner!

I modified a tile project that I made as a Christmas gift last year.  I LOVE being able to save my projects on my Gypsy and  tweak them for a new project!!!


I used Gypsy Wandering, Hannah Montana, Hello Kitty Font, Home Accent, Mother's Day 2010, Nate's ABCs and Quarter Note for the words and placed them Subway Style on my mat and arranged them around the word Mom.
I cut out the vinyl on my E2 using my Vinyl setting.  If you are using a Cricut or Expression, use setting 3-3-3 for a kiss cut.

I use Clear Contact paper as my transfer paper.  The trick is to de-stick the contact paper on your jeans several times.


I put the vinyl on a 12x12 tile that I bought at Lowes.  I love making tiles!!  You can purchase an easel to display the tile.  I made this for my Mother-in-Law for Mother's Day!

Thanks Susan for having me over to play today!!!

Thursday, March 22, 2012

Sea World Layout (Sketch Challenge)

This week, our theme at Sweet Sassy Diva's is this sketch challenge.  This is Lori from ScrappinMyStressAway and I created my layout with some photos of our recent trip to Sea World.  I couldn't decide between Sea World and Dr. Seuss.....
I reversed the sketch and used only a few Cricut cuts this time.  My Gypsy will not cut welded images right now which is very hard for me!!!    I weld almost everything!!!  My E2 was getting updated all day (currently still updating at the time I write this) and I had to unpack my Expression to cut out my images.  To say this layout was challenging would be correct!!!

I used some paper from my new DCWV Paper Pad ~ The Snapshot Stack.  I thought this was fitting as I took a ton of photos at Sea World!

I grouped my cuts for both layouts on one Layer of my Gypsy.  I used Hello Kitty Font for my title and cut out the letters at 1.27 inches.

I cut the whales out from Life is a Beach at 1.82 inches.

I cut out my titles in red cardstock.  I cut the whales out of white and black cardstock.  I cut a little design into the black whale so the white "spots" showed.

I lined up my words where I wanted them to be on my Gypsy so I can use the template to adhere them to my layout.

Perfectly centered and straight every time!!

Here is one of the whales and my journaling tag.  This tag was from a KandCo set.  There was an orange detail that did not match, so I covered it up with the black and white ribbon.

Here is Shamu!  I trimmed a photo from the Shamu Show to the same size as......

Tanner with Shamu!

Sea World was a great time!  I loved the shows and feeding the dolphins!  I hope to return one day!
Thanks for having me on your blog today Bobbi Jo!!!

Come back again to see Dr. Seuss!!

Monday, January 16, 2012

All About the 70s Blog Hop Day 2

Welcome to Day 2 of the All About the 70s Blog Hop!


70's Hop

Welcome to the "All About the 70's" Blog Hop!!
We're so happy you could join us for this super-fun hop showcasing cards, layouts and projects that feature anything and everything related to the 70's!!   So pull out your bell-bottoms and peace signs, and join us for the FUN...  You'll find an array of ideas throughout this hop -- From decorations to gift ideas and more, we hope you'll enjoy each and every GROOVY project along the way!!  This is a TWO-DAY hop, so be sure to check it all out (besides, we have a FAR OUT prize for a random someone who visits and comments on each stop for each day!!)... We can guarantee some psychedelic excitement for this event... So let's get hopping!!  If you've hopped over from INSERT NAME/LINK of person BEFORE YOU, then you are in the right place!!  If you've just popped in to visit my blog or are reading this via email and you'd like to join our FUN, then please CLICK HERE to start at the beginning with Lynda's blog...
 *** 70'S HOP DAY ONE (January 15):
70'S HOP DAY TWO (January 16):


For my project today, I created a layout about a Time Capsule our class buried in 2nd Grade.  We dug it up  in 6th grade.  I only wish I remembered some of the things we put in it!!!


I wanted a brick background and remembered that the Batman cartridge had one.  I cut out the shadow and  the layer at 8.70 inches.

The bricks in the background of my photo were darker so I grabbed my inks.

I used Walnut Stain and Vintage Photo to darken up the brick and give some dimension.


I found this jar from Doodle Charms and sized it to 7.71 inches.  I hid the inside cuts with Hide Contour and copied and pasted a second jar and hid everything except the highlight detail.  I cut both out of vellum.

I made one more copy and moved it off the mat for the jar lid.  I cut this out of white cardstock to match the  jars in the photo.

I used Hello Kitty Font Shadow letters for my title.  I sized them at 1.12 inches.

I cut out the letters in black cardstock and saved the negative piece to use as a template.  I ran the letters through my Xyron.

I adhered the letters using the template as my guide.

I peeled off the template and my title was perfectly lined up!

I journaled on my jar lid after I inked the edges.

There is a huge macreme wall hanging in the background and I just had to add some twine to tie that in (no pun intended).  If my memory returns of the items we put in our jar, I will add those.

Thanks so much for stopping by!!

Your next stop in the hop is Rachel.