Copyright Information

Thank you for stopping by my blog! I hope you enjoy the things that I create and share! I do have a copyright on my original creations (see logo on my sidebar below).
If you create and post a creations based off of mine, please refer (with a link) back to my blog. Please do not use my ideas for files, profit or for contests. Thank you!


My Craft Goals for 2015

My Goals for 2015:

1. Update my goals for 2016 in January of 2016 :)
2. Maximize my crafting time!
3. Keep plugging away at scrapbooking photos!!
4. Learn how to Heat Press!!
5. Have fun!


Showing posts with label Winter Frolic. Show all posts

Friday, April 26, 2013

Oh Christmas Tree (Frosted Designs)


This week, our new challenge begins at Frosted Designs.  It is a 2 part challenge, using doilies and following the sketch below:


You have 2 weeks to create and link up your project on the side bar at the Frosted Designs Blog.


I used a phrase from Winter Frolic for my title.  I sized Oh Christmas Tree at 1.35 inches.


I chose two shades of green cardstock for the cuts.  I adhered the C R S M S onto the title.

I wanted the title to stand out a bit, so I cut out a tag to adhere it onto.


I found this tag on CTMH Artiste and sized it to 1.59 inches.  I cut out two tags since the paper I used was thin. 


I adhered the two tags together, then adhered the title on top.


I used my Tim Holtz distress marker (Barn Door) to ink the edges.


I cut these ornament borders from Winter Frolic at 1.47 inches.

I ended up cutting out two each in red, green and gold metallic cardstock.


I trimmed 1/8 inch off of each edge of my music cardstock to create a border behind it.  I kept one of the strips and adhered the ornament borders onto it.  I overlapped the ornaments to add interest.

I adhered this strip down on my layout under the pictures.


I adhered the ric rac ribbon on top of the border strip.  This give me an ornament banner.


This quote was on the bottom of the music cardstock - the 1/2 inch that has the bar code that you typically cut off and throw away.  I trimmed it out, inked the edges red and created a border with a scrap of green cardstock.

I started out making my own doilies out of cardstock, but then I found these red doilies.  They are leftover heart shaped doilies from Valentine's Day.  I really like the red color!  I trimmed them and positioned the doilies to look like circles.


I adhered the title on top of the photo.  It may be hard to see in the pictures, but the song printed on the cardstock is Oh Christmas Tree - how perfect for my layout!!!


I also loved the cardinal in the bottom corner so I made sure not to cover much of him up.

We have at least 3 trees every Christmas.  This tree is our live tree.  I love that Tanner is on Mike's shoulders in order to reach the top of the tree!!  Tanner decorated the entire tree this year :)

Don't forget to dig out some of your doilies and create a layout based on the sketch!  Join us at Frosted Designs!!


Sunday, December 23, 2012

The Bell Still Rings (and other gift items)

I was inspired by a project on Pinterest to make this.  I made this for a raffle item for my son's bowling tournament.

I bought a 12x12 canvas and painted it blue with acrylic paint.

I used Paper Lace 2 for the font.  I sized the letters to 1.59 inches and left space for the bell.  I bought the bell and ribbon at Michaels.

For my next project (also inspired from Pinterest), I used a 12x12 tile from Home Depot.
The star is from Winter Frolic.

The letters are from Lovely Floral.

The swirl is from Home Accents.
I hid the background piece of the star from Winter Frolic.  It is sized to 5.64 inches.

I sized the letters to 2 inches and centered them to form the tree shape.

I added the swirl to the bottom as the trunk at 4.99 inches.

I just love the details of these letters.  I purchased this cartridge (Lovely Floral) specifically for the font!


I cover journals a lot as gifts.  I stock up on these journals when the back to school supplies go on clearance.

I found this apple filled with "teacher" words and printed it off onto cardstock.  I covered journals with school themed papers and layered on the apple.  I used tissue tape on the binding and added a little ribbon.

These were given to Tanner's Kindergarten and First Grade teachers, the art teacher,  and one other favorite teacher.

For my next gift - I had to get creative when our spirit wear order did not come in before Christmas.

Our youngest son will be playing select baseball for the first time this spring.  We ordered Grandma a shirt, and Grandpa a shirt and hat.  I had to wrap something, so I made my own out of paper:

He is playing for the Papillion Storm Chasers and will be #2!

I used Baseball for the cap.  I cut two out at 5.82 inches, one in white and one in black cardstock.  I fussy cut the white part.

The SC is from Hannah Montana sized to 1 inch.  The 2 is from Varsity Letter sized to 1.39 inches.

I used my white gel pen to draw the line at the top of the bill.

I used a circle punch to create the button for the top of the hat and trimmed off the top.

I used Paper Dolls for Everyday for the Jersey and sized it to 18.11 inches (5.5 inches using Real Size).  I cut it out in white and black cardstock.

I used Varsity Letter for the 2.

I made two of these, one for each!

Now back to my favorite one...


I hope you still truly believe!!!

Have a very Merry Christmas!!!


Wednesday, February 22, 2012

Creating Titles with Gypsy (Christmas Card Photos LO)

I had several people ask me for help making titles with the Gypsy recently.  For this week's class, I created this layout title along with some helpful information.  I combined this title with 2x2 or 2x4 squares from Christmas cards and Christmas card photos, along with our Christmas card photo.  I got this idea from Ali Edwards a few years ago and it is a great way to sum up each Christmas.
For my title, I started with Winter Frolic.  I found this phrase and put the shadow layer on my mat.  I sized it to 11.52 inches WIDE.  The height is 3.77 inches, so I placed the regular layer on my mat sized to 3.77 inches tall.

I wanted to weld the year to my shadow layer.  I grabbed 2011 from Winter Woodland sized to 1.12 inches tall and welded it to the title.  I placed the regular layer of 2011 also sized to 1.12 inches on my mat.

Because I wanted two different colors of paper for my title, I copied one to Layer 2.

I used black cardstock for my shadow, red and green cardstock for my top layers.

Here is the title all put together on my layout.
I grabbed this tag from Winter Woodland sized to 2.41 inches.  I liked the "greetings" as these were all from Christmas cards. 

I used the same black and red cardstock to cut out the tag. 

Here is my completed layout.  I have included my tips and tricks below for creating a title on the Gypsy. Enjoy!

Word title using shadow letters:
Place your title using the shadow feature on your mat.  Making sure the title is grouped together, adjust the width to 11.50 inches.  Place the regular letters on the mat and make the HEIGHT the same (not the width). 
If you want a welded title, weld your shadow letters only.  Then size the width to 11.5 inches.  Do not weld your regular letters, just know that some will overlap and some may not.

Word title
When you want to use a word or phrase from a cartridge, place it on your mat.  If there is a shadow feature, place the shadow on the mat.  Size the width to 11.50 inches.  If you have any layers, size them to the same HEIGHT as the shadow size. 

Welding images together
Place the images you want to weld on your mat.  You can weld border features, shapes, letters, numbers or combination of any of these.  Size the Width to 11.50.  Note, if you have several things to weld and they are larger than 11.50, start with a 12x24 mat.


Bonus:
After you cut your shadow layer (or title without a shadow) save the trash!!  Your leftover paper will become a template for adhering your title on your page perfectly!


Friday, February 3, 2012

Twine or Ribbon Challenge

This week the Fabulous Friday Challenge at Frosted Designs is to use Twine or Ribbon on your project.  I saw a digital layout on Pinterest that gave me this idea.  I prefer actual paper and texture on my layouts.  Here is the page I was inspired by:
Here is a LINK to this project.  As you can see, my style is a bit different but the sketch is the same.

I started with some Christmas paper from my stash and gold cardstock.  I designed my layout on my Gypsy.  On the first Layer, I put a triangle from George on my mat.  I unlinked chain below the width and height and stretched my triangle to fit the page.  I sized it 5.00w x 11.50h.  I found the phrase Oh Christmas Tree from Winter Frolic and cut out both layers at 2.53 inches.  I intended on putting 2012 on my layout until I remembered that Christmas 2012 hasn't happened yet.....  I found the numbers from Designer Calendar.

On the next Layer, I put some jingle bells on the mat sized to 1.12 inches.  I used stars and hearts from George sized to 1.35 inches.  I cut out a sign post from Christmas at 2.88 inches, but did not use it.

I added our annual Christmas Tree Hunt photo of my boys.  One great sketch ~ two different looks.  Be sure to join us at Frosted Designs for our Twine or Ribbon Challenge this week!!

Monday, January 30, 2012

Christmas Hidden Journaling Layout

Lori here from ScrappinMyStressAway!  This week's theme at Sweet Sassy Diva's is Hidden Journaling.  I love hiding journaling on my page so I can fit more pictures!!

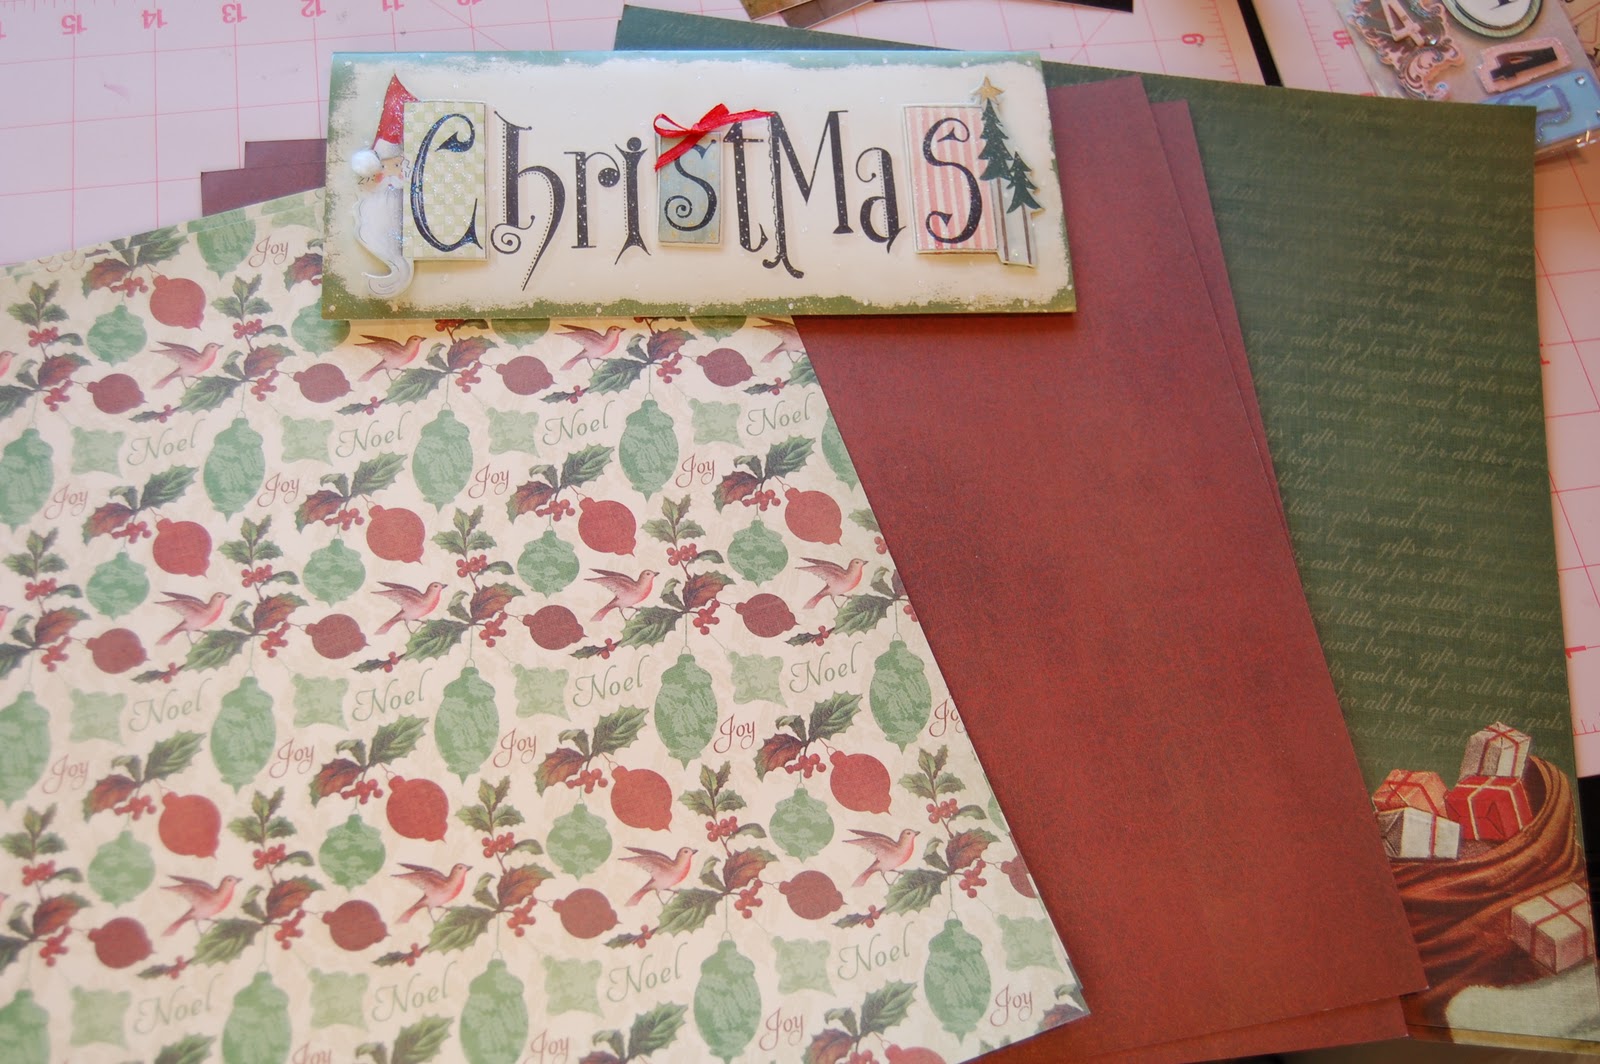
I received this Christmas card from my Aunt Chris and just LOVED it!  My first thought was this could be a title for a layout!

I grabbed some papers from this paper pad.

These papers were my favorite for this project.

I lined the card with the green paper and then white cardstock to give me space for my journaling. 

I used Winter Frolic and gold cardstock for my embellishments.  I welded 3 ornament borders (top) sized to 2.14 inches and (bottom) 1.80 inches.  I cut out the Phrase Making Spirits Bright at 2.24 inches.  I cut out the tag at 3 inches and the ornament balls at 2.88 and 3.12 inches.

Here are my cuts.

I needed another picture here and really liked this photo of me, but not the red bow on my head!

So I covered it up with this ornament border!

I trimmed the bottom of the green page (Santa sack and toys) and adhered it to the bottom of this page.  This page was a fun collection of photos of us being techy on Christmas Eve.  My niece is playing on my tablet.  My son is teaching my Sister-In-Law how to play Hangman with Friends on facebook with her friend (and my other niece joining in on her ipod touch).  My SIL is also teaching my youngest how to play games on their tv.

I added some sheer gold ribbon for some texture.


Here is my hidden journaling with an ornament border.