Copyright Information

Thank you for stopping by my blog! I hope you enjoy the things that I create and share! I do have a copyright on my original creations (see logo on my sidebar below).
If you create and post a creations based off of mine, please refer (with a link) back to my blog. Please do not use my ideas for files, profit or for contests. Thank you!


My Craft Goals for 2015

My Goals for 2015:

1. Update my goals for 2016 in January of 2016 :)
2. Maximize my crafting time!
3. Keep plugging away at scrapbooking photos!!
4. Learn how to Heat Press!!
5. Have fun!


Showing posts with label Tags Bags Boxes and More. Show all posts

Wednesday, November 20, 2013

Christmas Tag with Bling


This is our second annual Tag Swap!  Together with designers from She's A Sassy Lady and The Bug Bytes, we create tags and swap with each other.  The idea was to have lots of pretty tags to use for the holidays, but these tags are WAY too pretty to use!!!

The requirements are simple, 6 1/4 x 3 1/8 is the minimum size and you need to make 16 of the same tags.  The hard part is deciding which tag to make!!!


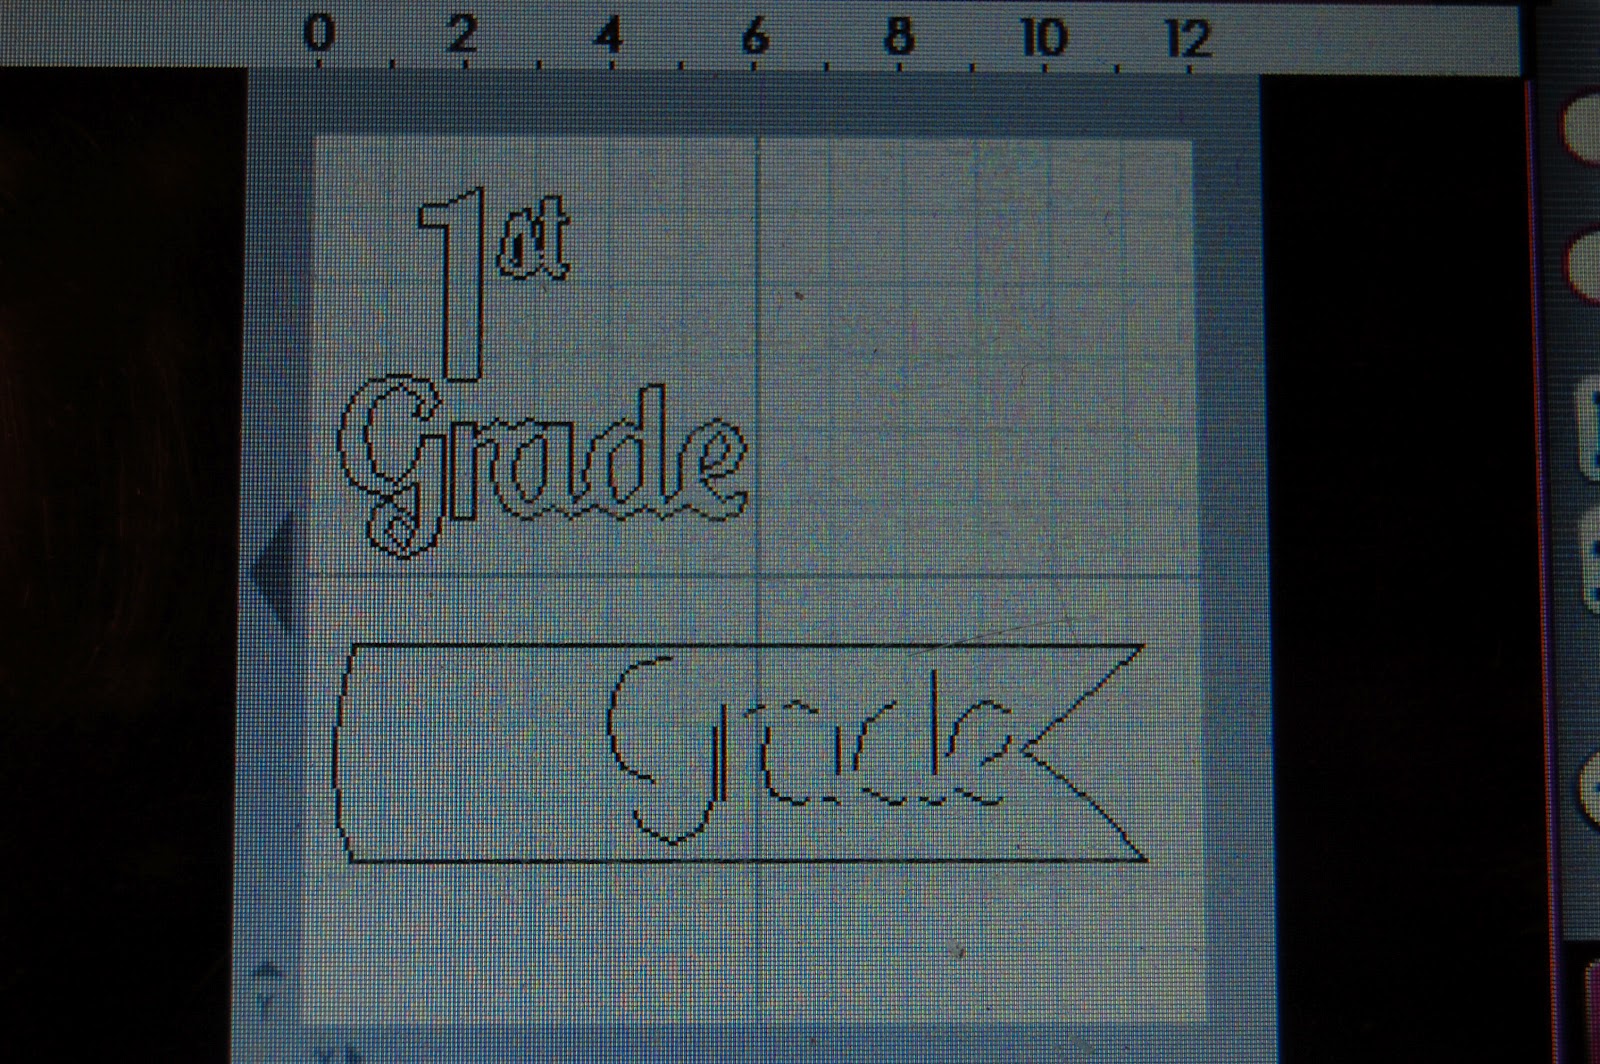
I found this tag from Tags, Bags, Boxes and More and sized it to 6.25 inches for my base tag.  I used Hide Contour to hide the holes at the top of the tag.  I cut these out of light blue cardstock.


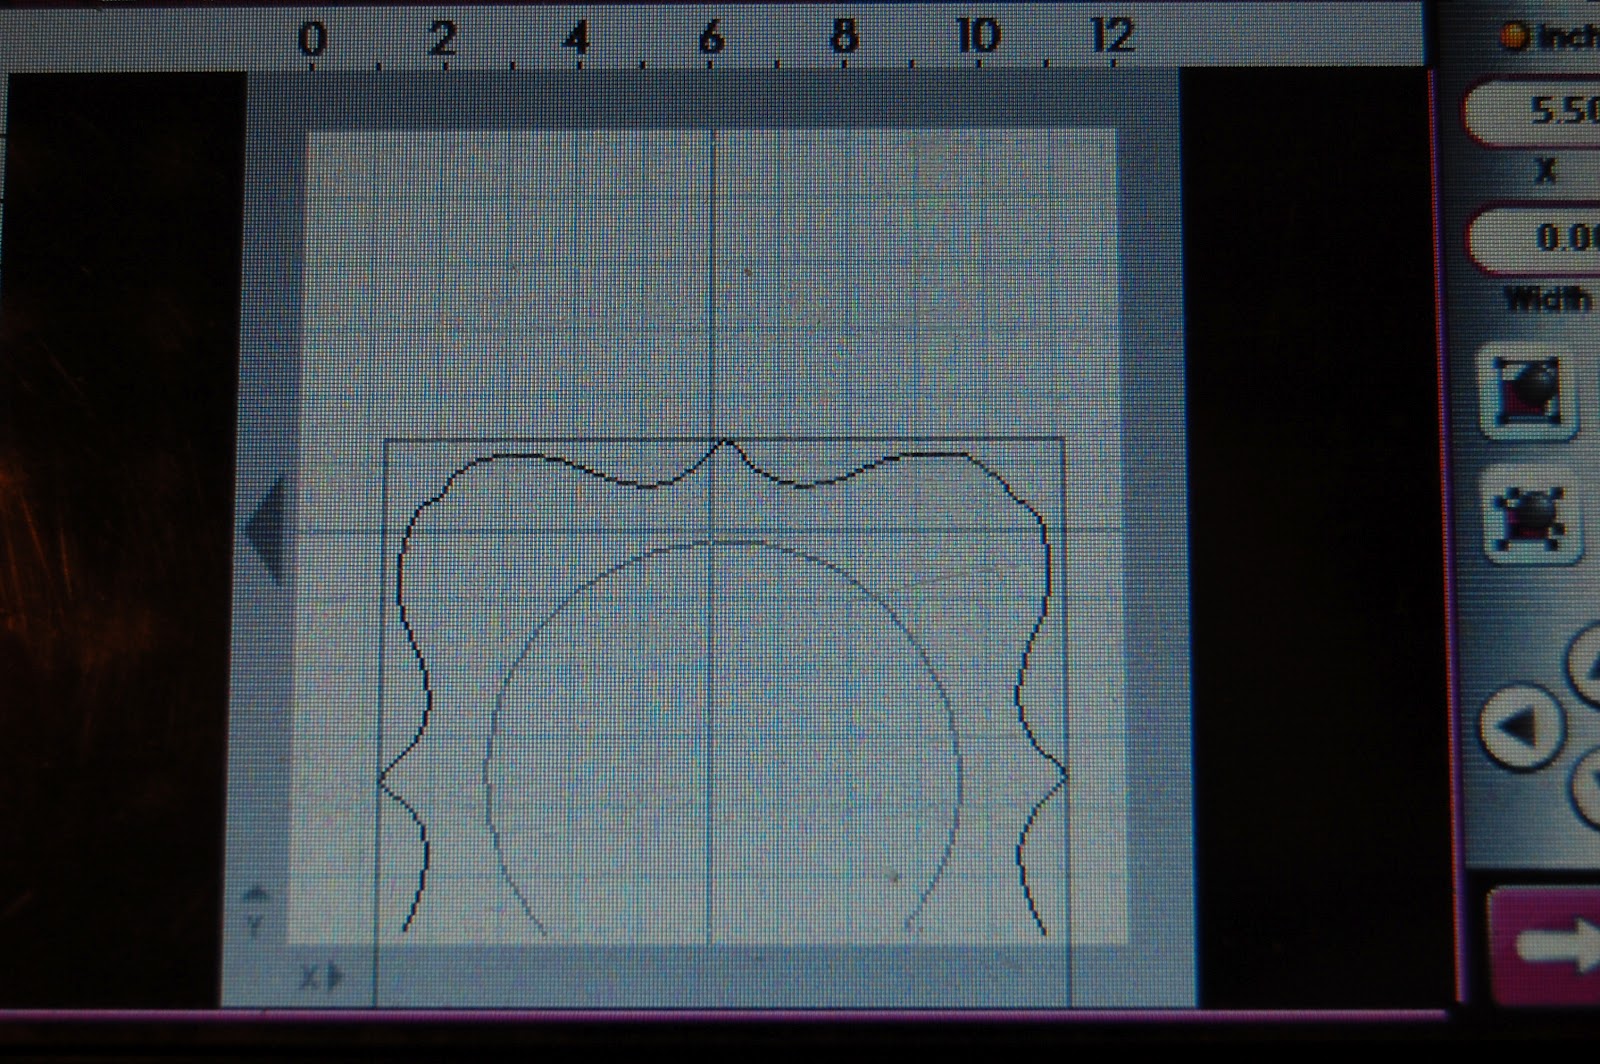
For the tag layer, I used the same tag sized to 5.66 inches.  I cut these out of Carta Bella paper Merry and Bright.


The ornament ball was found on Christmas Cheer and I sized it to 3.82 inches.  I cut this tag out of pink glitter paper.

When cutting glitter paper, I put it glitter side down on my mat.  I clean my mat with dish soap, water and a scraper to get the glitter off (well, most of it anyway).


I used clear Rhinestone Resin Self Adhesive Sticker Sheets from The Buckle Boutique.  I just love these!!  You can cut them with a cricut machine, sizzix, or even scissors as I did here!

You can find them HERE.

My tag is also featured today at The Buckle Boutique Blog!!

Here are the rest of the tags I received in the swap:


Aren't they gorgeous?!?


One last glance at mine!! 

Thanks for stopping by today!!

The Buckle Boutique's Website . . . click HERE
The Buckle Boutique Blog . . . . clickHERE
Facebook Page . . . click HERE
Twitter Page . . . click HERE
Pinterest Page . . . clickHERE


Friday, March 15, 2013

Special Delivery Card (Up Up and Away Challenge)


This week at Frosted Designs, our next challenge is Up Up and Away begins.  For this theme you can use hot air balloons, planes, birds, clouds, etc.

Our challenges now run for two weeks to give crafters more time to create a project.  The linky is in the side bar on the right side of the Frosted Designs Blog.

I have a new baby coming to my daycare.  He was born a couple of weeks ago and I can't wait to meet him in person!!!  I wanted to make a card to go along with his baby gift.


I found this cute stork on 3 Birds on Parade and sized the pieces to 2.18 inches.

The sentiment also came from 3 Birds on Parade.  I sized "Special Delivery" to 1.12 inches.

The tag card came from Tags, Bags, Boxes and More and I sized it to 4.25 inches.


I used cardstock scraps to cut out the pieces.  I ended up changing the color of the stork body and wing to colors that looked better with the background paper.

I inked the pieces with dark blue and adhered them together.


Look at that tiny binkie!!!  So cute!!!

I trimmed a light blue piece of cardstock for a mat.  I inked the edges blue and tied on a bit of twine to match the beak. 

I added stickles to the wing, beak and blanket.


I love the layered sentiment.  The shadow piece is the same paper as the blanket.


I tore some white cardstock into clouds.  I inked the edges and added some crystal stickles.

What a sweet little card for a sweet little boy.  I can't wait to hold little Liam!!!

Don't forget you have plenty of time to link up your Up Up and Away project at Frosted Designs!


Thursday, December 6, 2012

Christmas Gift Tag

My husband is giving his employees each a Starbucks gift card for Christmas.  Half of his employees work in his building, and the other half live out of state.  Today I am showing you how I packaged the gift cards for his local employees.  If you come back on the 15th, you will see how I created a card with a pocket for the gift cards to be mailed.

As usual, I grabbed my Gypsy and found the images I needed.  These tags come from Tags, Bags, Boxes and More and I sized them to 4 inches.  I cut them out of kraft cardstock.

The trees came from Teresa Collins Christmas Collage (CCR exclusive) and I sized them to 3.2 inches.  I cut them out of a green Christmas paper.

I stamped the tag with Pink by Design's Distressed Music background stamp.

I added a little sparkle (stickles) to the tree.

On the back, I used a sentiment from Cardz TV Stamps "Christmas Joy".


Starbucks was nice enough to give me 7 plastic cups with my gift card purchase.  I put some candy in the cup along with the gift card and topped it with some shread.  I used a cellophane treat bag and some red ribbon to close it up and attach the ribbon.

Join me on December 15th for the Holiday Blog Hop to see the card I made for the rest of the gift cards!!  See you then!

Thursday, September 6, 2012

1st Grade Layout

I finished Tanner's First Day of School layouts.  I love the picture of him walking ahead of me to school!!  I found this great paper at Archivers and could not resist.

I took advantage of the free Cricut Digital Iimages K-12 to create my title.  I sized the pieces to 2.94 inches and cut it out of black and lime green cardstock.

I offset the star from George and sized it to 10.76 inches.  I offset the star so the pattern on the paper would be the right way (straight) after I cut it out.

I cut out a little tag and created this clipboard journaling tag.

I added a little twine and tape to complete this layout.

Of course, I had to create another layout to go with it!!
A group of high school band members greeted the children on the first day of school.  They played music for about 15 minutes before school started.  It was a great ice breaker!

I cut this background shape from Ashlyn's Alphabet at 9.59 inches and hid the center.  I wanted to use this paper for a future project, so I dropped the image off my mat to only cut out the size I was going to use.

I put some banner flags on my mat from Birthday Bash at 1 inch to make a little banner.

I cut out some tags (used one on each page) from Tags, Bags, Boxes and More at 3 and 4 inches.

I cut out Fight Song from Quarter Note at 2.18 inches and some notes (also from Quarter Note) at 1.35 inches.

Here is my journaling and the notes.

I created some banner flags from tape and added them to my banner.

Here is where I tucked the title.

The first day of school was a great day.  Half day for the kids!  No more kindergarten door - these two buddies are all grown up now!!


Friday, February 17, 2012

Valentine Door Hanger

This week at SweetSassyDiva's the theme is "Not a Card or Layout" so I decided to finish a project I started earlier.  I saw something similar several months back and created a file in my Gypsy right away (so I did not forget) and never even did a test cut!  I was thinking this would be cute for Valentine's Day.


I started with this box from Tags, Bags, Boxes and More and welded this layer of an ornament from Christmas.  The box is sized at 10.90w x 6.88h and the layer of an ornament is sized at 4.81w x 29.12h.

On a side note, the layer of the ornament can be used as a wine bottle tag!

I cut out my box in red card stock.

I scored and creased on the fold marks and used my ATG to adhere it together. 

I found an image from my Holiday Vignettes program and printed it out on white cardstock.  I cut it out.

I had to guess at the size of the image and it turned out pretty well!


I wanted to put a doily behind the image, so I opened up Lacy Labels and found an oval shaped doily.  I rotated it 90 degrees and sized it to fit the front of the box (4.91w x 3.47h).

I grabbed the "XOXO" from Sentimentals and sized it to 2.74w x 1.12h.

I cut both out of cream colored card stock.

I inked them both with Antique Linen ink to age them.

I wrapped some wide brown ribbon around the middle of the box and adhered the doily to the box.  I pop-dotted the image to the doily.  Now I just have to wait for my Valentines to be delivered!!!


Today is also Fabulous Friday Challenge at Frosted Designs.  My post today is a Mardi Gras Banner.  Here is a sneak peek.  Come back Sunday for a full tutorial!!


Thursday, December 8, 2011

Elf Cocoa

This week we are sharing Housewarming Gifts at Sassy Diva's!  This is Lori from ScrappinMyStressAway here with a cute little gift.  I made Cocoa Packets.
I was inspired by my Santa's Village Imagine cartridge.  I cut out some Elf Cocoa labels at 3 inches.  I also cut some scallop shapes.  I found the image on the Imagine (one of the pre-loaded shapes) and filled it with the red polka dot paper design at 3.5 inches.
I cut out the crayon box at Tags, Bags, Boxes and More at 7.12 inches in brown kraft cardstock.  I also cut out some tags for another project.
I inked the edges of the box, label and scalloped rectangle with Vintage Photo ink.  I used some 3GirlJam crinkle ribbon to make the handle and around the box.  I also used my ATG gun to glue the bottom of the box closed.
Here is the box with the lid closed and cocoa tucked safely inside.
These make fun little gifts.  The only problem I discovered is that only ONE packet fits inside!!  We had our first snow this weekend ~ just in time for some hot cocoa!!